No task is difficult if executed with planning and confidence. I added around 250 g of refrigerant to my Mitsubishi Pajero Sport.
BHPian married recently shared this with other enthusiasts.
Introduction
In my close to 40 years in automotive, my favourite area has been technical stuff, and under the technical umbrella, my most favourite subset has been air-conditioning. To substantiate this claim, here is some stuff that I’ve created.
By the time Part III was published, I almost had enough of the shoddy practices of many car AC technicians. Most of us cannot do without ACs (aircons) today; it’s become that addictive and therefore, service providers hold us to ransom.
Why this thread?
This subject has been discussed via this marvellous thread by friendly mod @Gannu_1. I’d not repeat what has already been beautifully described by @Gannu_1, but add some details on my initial steps towards atma nirbhar (self reliant) air-conditioning in DIY mode.
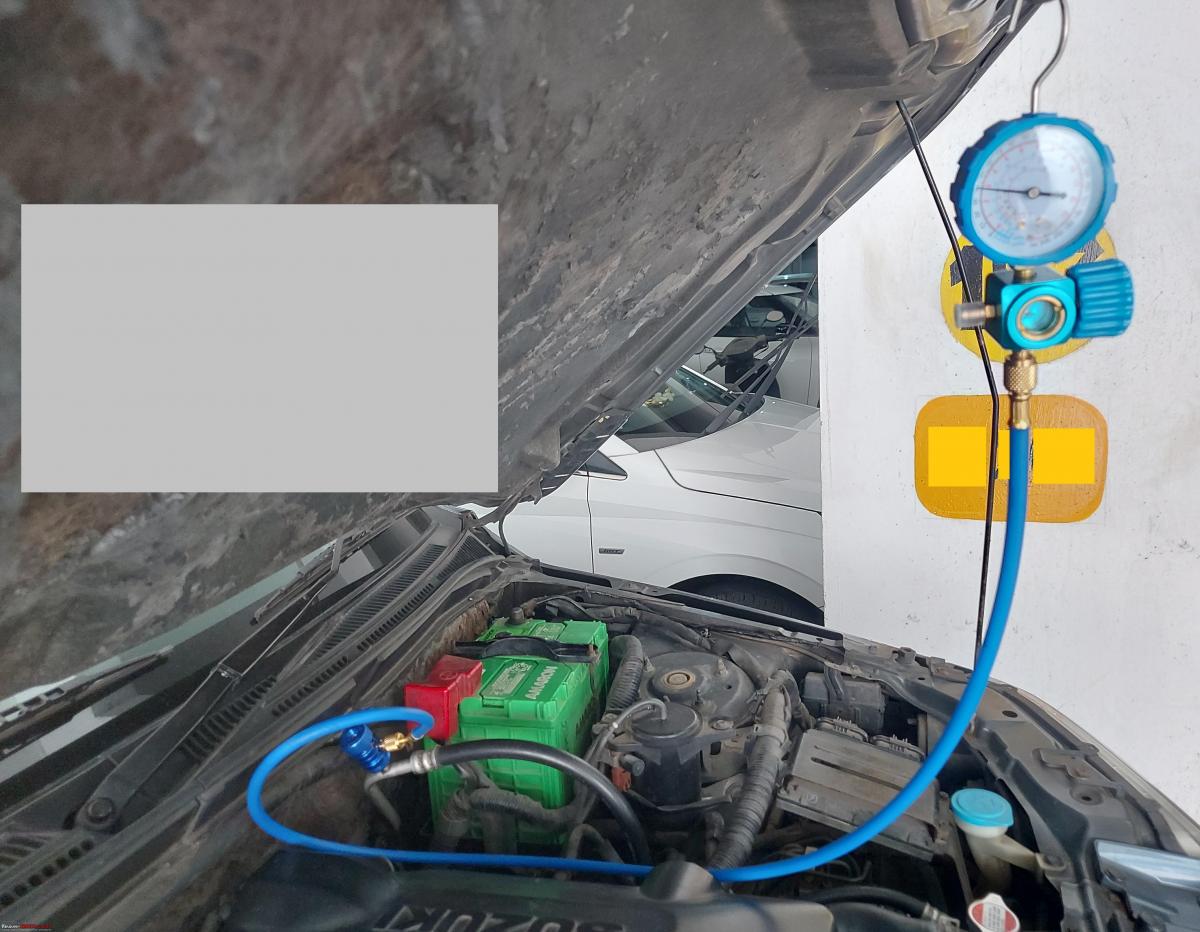
The driver towards atma nirbharta (self reliance)
I was out of action for a while due to a bypass graft surgery, and one of the cars seemed to have gone a little low on refrigerant apparently over time and due to little to no usage. I wasn’t sure whom to go to for aircon in a new city. I was wary of landing with the wrong people. However, having operated large hydrocarbon refrigeration systems, and being fully aware of the risks, undertaking refrigerant top up was small fry. I decided to roll up my sleeves and do it myself.
Why would the car aircon go low on refrigerant?
I’d got the car’s aircon all done up in mid-2021. Even with a healthy condenser, healthy evaporator core, healthy hoses / piping, the only weak points are the joints (o-rings) and the compressor seal. Standing pressure in the system would go as high as 130psig in a warm engine bay. A car’s aircon (AC) holds anywhere between 450g and 900g and very very small amounts of refrigerant escaping from seals, joints isn’t uncommon, especially on older equipment.
Actions taken to move towards self reliance
- Scanning the online marketplace: My first step was to scan the Indian market to see what was available and at what price point. I looked at Amazon and Flipkart casually just to gauge price points. However, being fully aware of the risks of getting substandard and unsafe stuff, I was in no way taking the online marketplace route.
- Scanning YouTube: I did this just to understand the price points of various products over a wide spectrum of perceived quality
- Scanning the local marketplace: I then looked at aircon spare dealers/ distributors, did my dissection on their published ratings, and went shopping.
Findings during shopping
Aircon spares retailers are aplenty but I’m always wary of them for fear of being shooed away for the questions that I ask. However, I found a distributor, whose rating was reasonable, but finding the place in an old building was like traversing a crystal maze. After a few misses, I eventually landed there. The owner was kind enough to help me with various available options.
- Refrigerant (R134a) : SRF Floron, Mafron, Value, Blue Star and Chemours
- Double manifold gauge (low side blue, high side red plus 3 charging hoses blue, yellow and red : Options – Grade1, Arham
- Compound gauges low side blue (full vacuum to 250psi): with sight glass with hanging hook vs without sight glass – Grade1, Arham, VALUE
- Gauges hi side red (0 to 500 psi) : same options as item #3
- Charging hoses : a) length options 90cm, 150cm, 180cm b) Brand options Arham, Husky (Indian), VALUE
- Car low side and hi side couplers : local grade1, local grade2, VALUE
- Refrigerant can valve : only one option available
I wanted the very best in everything because this could turn out to be a good long term investment, but the stuff was overshooting my estimates by a mile. However, almost when I was closing in on getting these, the folks at the place disappeared to their Godown to execute a big order and never returned for almost 1hr 45mins. I’d already lined up a couple of other things to do and this wait irritated me, so I left the place. Met the owner on my way out and told him I had two other jobs to finish so I’d get back later.
Meanwhile, I completed the other two tasks, returned home, did some more due diligence on what I actually needed, and asked around at a couple of retailers. Although the prices weren’t too much off, what made me get back to the distributor was the authenticity of the products, a GST invoice, and the availability of a wide range of refrigerants.
Finalising the purchase
I went back to the distributor in the evening and examined all options again. My choices and the logic therein are as follows:
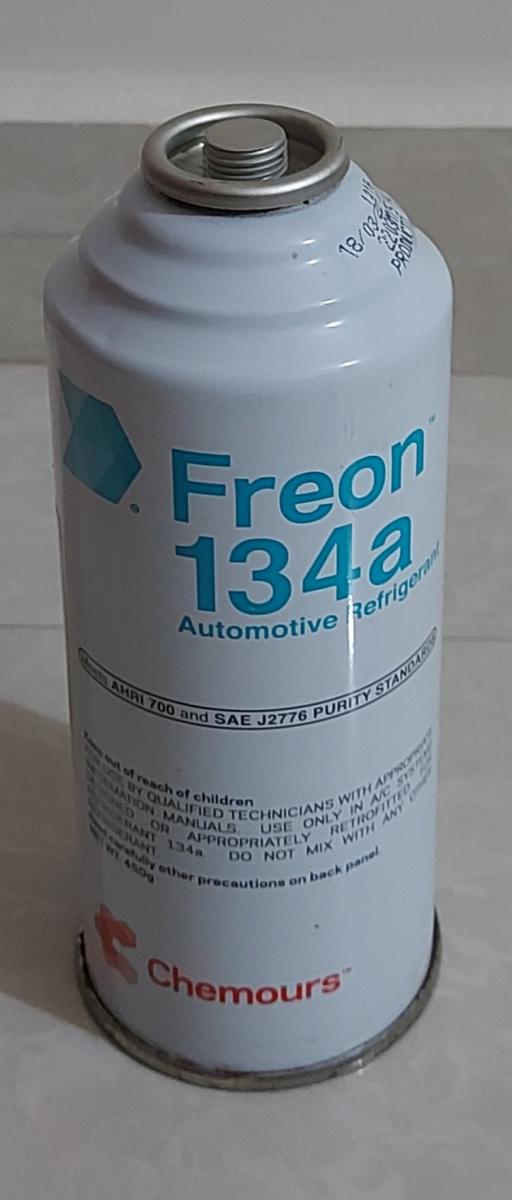
- Refrigerant : Chose Chemours as this is considered better than the rest. Also, my cars have been running on Chemours. FYI – Chemours is just 35 bucks more expensive than SRF Floron. Based on the brand, R134a retails for between INR 350 and 500 a can of 450g.
- Double manifold gauge with hoses : INR2100 – rejected as I am a little wary of a manifold that has both high-side and low-side valves on the same rail. If the high-side valve passes, it can cause havoc.
- Compound gauge low side blue : Arham vs VALUE. I chose Arham on trial. Arham was close to INR860 while VALUE was INR1750
- Pressure gauge hi side red : Did not procure as from experience, I am quite okay with just the low side pressure reading for a top up job. Decided to get the high side later
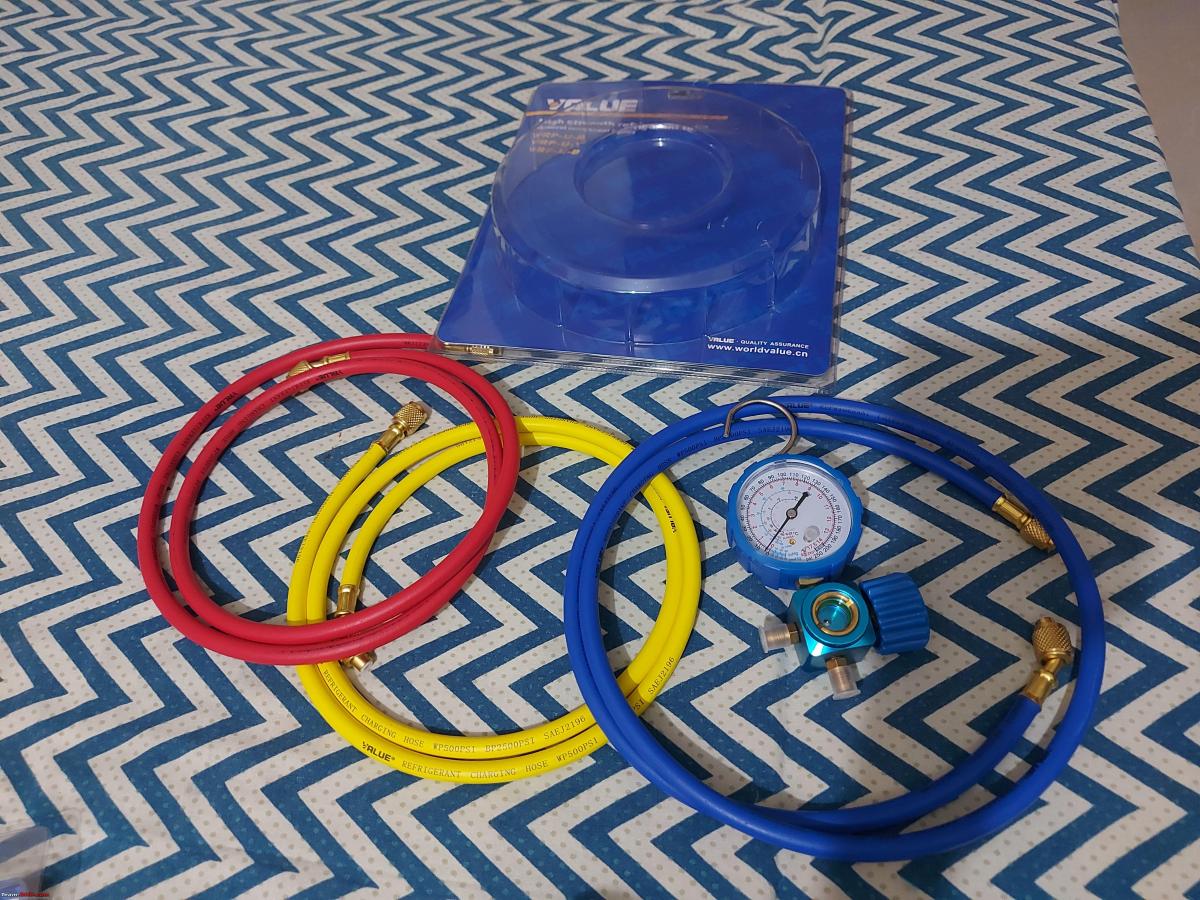
- Charging hoses : Examined all the options carefully and it was a difficult choice to make. Finally went with the 150 cm hoses from VALUE. The difference in quality was evident and I strongly recommend 150 cm hoses over 90 cm ones any day. It helps, especially when the low and hi side ports are awkwardly placed, and if the engine bay is huge. Husky hoses were good but the finish quality of the crimping and the end threaded joints left some room for improvement. Arham was also good enough. Set of three hoses – Arham 90 cm was INR800, Husky 150 cm was 1400, VALUE 150 cm was 1700
- Car low side and hi side couplers : chose VALUE for INR 1950 against the grade 1 which was a mere 1000 bucks
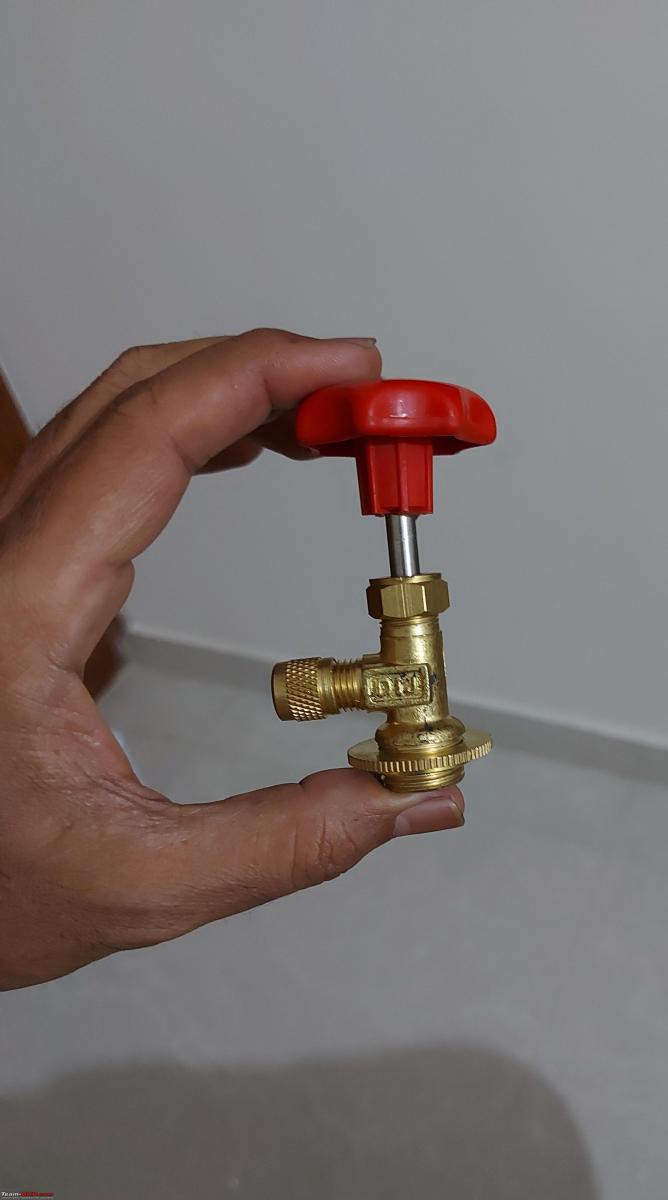
- Refrigerant can valve – INR 295
Items 5,6 are in my view very critical to safety and for quick isolation hence the choices.
Items not purchased
Hi side gauge – not purchased now

Compound gauge – VALUE – not purchased

Items purchased
Car low and hi side couplers from VALUE – later realised these have a safety interlock by design viz. the quick couplers won’t disengage until the knobs are turned anticlockwise to disengage from the car AC port

Refrigerant – Chemours
Refrigerant can valve
Hoses 150cm from VALUE and Compound gauge Arham with sight glass and hook
Understanding the components
The can valve must be kept open when fixing on the can. The valve must be closed only after one has connected the valve to the can, and to the hose and is ready to charge refrigerant
Refrigerant can – valve open (note the long stem length)

Piercing nozzle position when valve is open

Refrigerant can – valve closed (note the shorter stem length now)

Piercing nozzle position when valve is closed
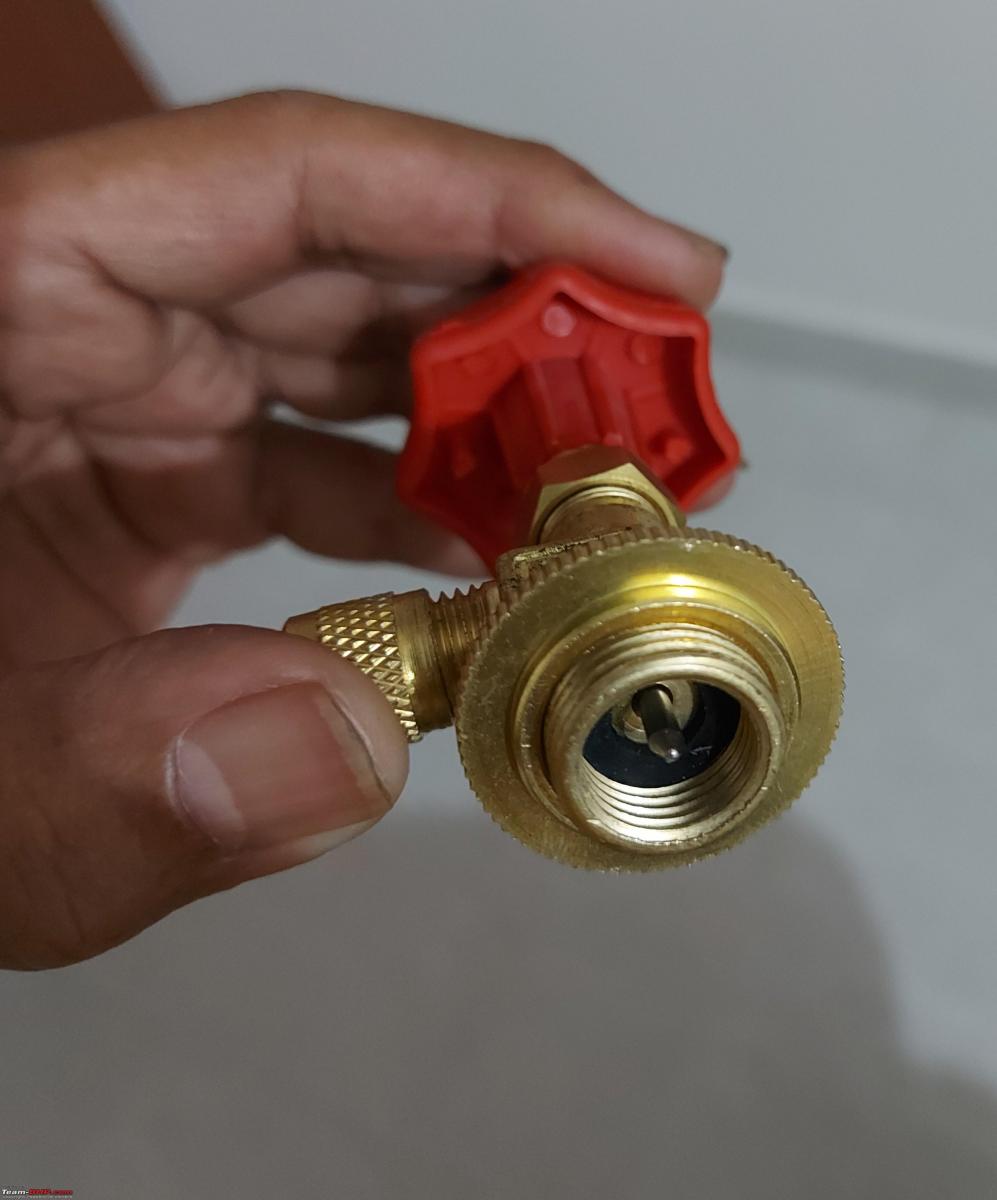
How the valve is fixed onto the can – threads inside to fix the valve to the can and then a locking nut on the outside to lock the valve in position

One hose connected to the gauge on one side and car coupler on the other side – car coupler hooked to the low side port
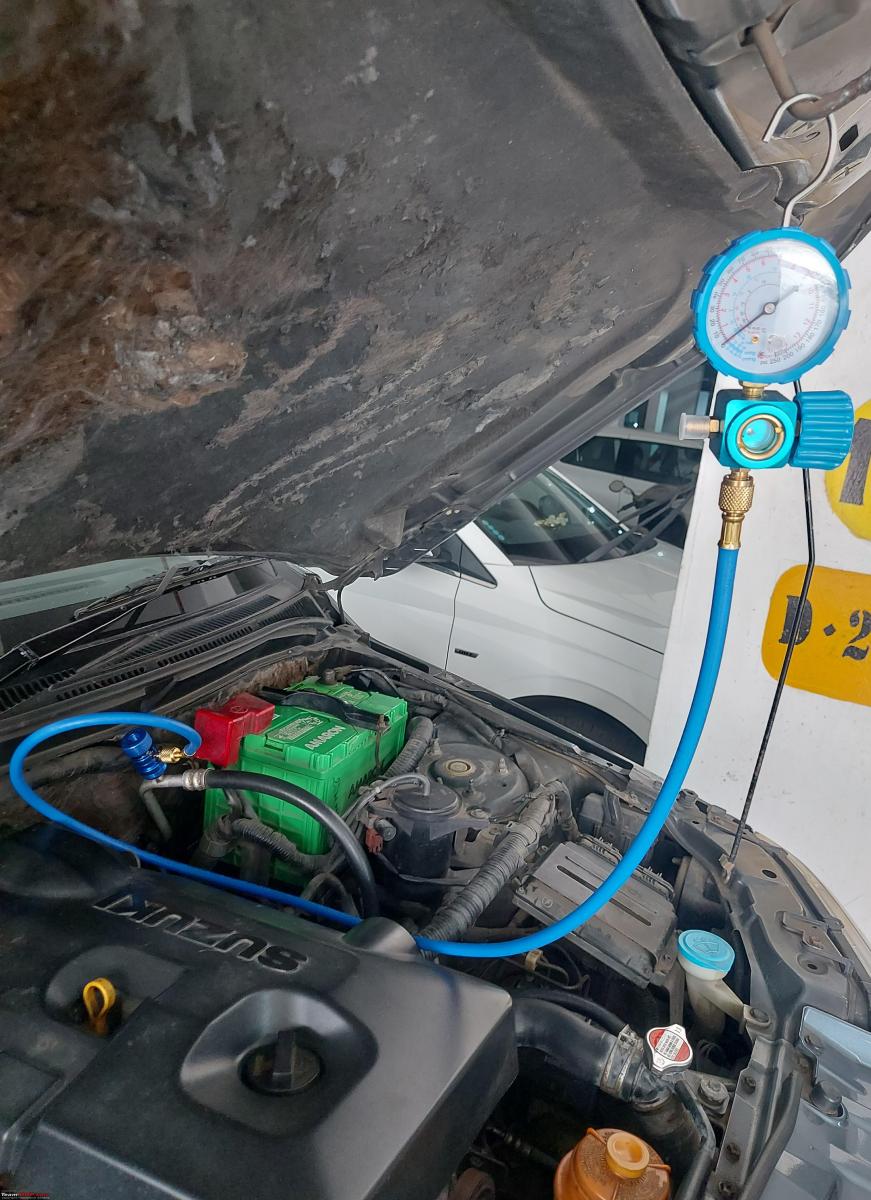
Standing pressure in a warm engine bay – With the blue valve under the gauge closed, the pressure inside the hose will be sensed by the gauge. When the car coupler knob is rotated clockwise, the schrader valve pin is pressed allowing the low side standing pressure to be seen on the gauge

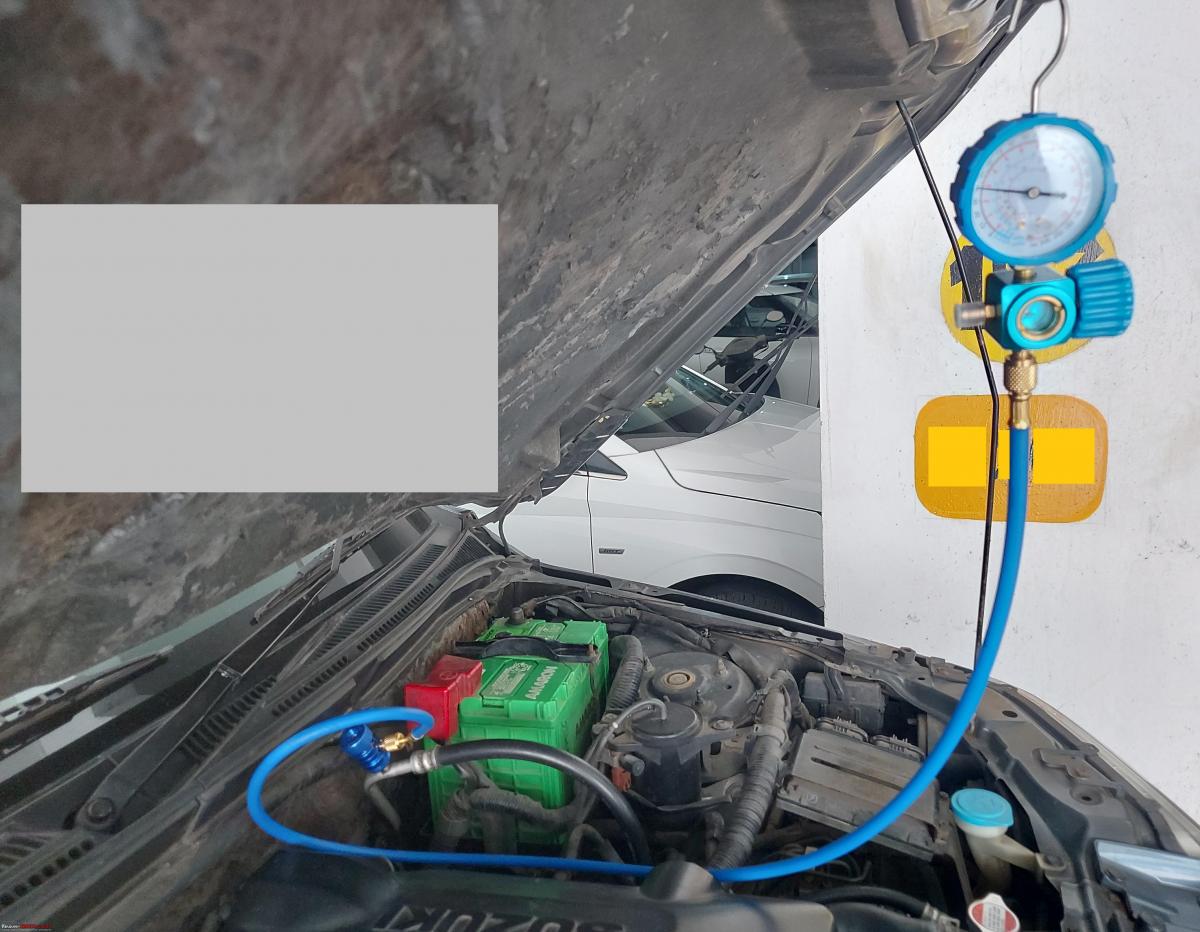
Switch on the AC compressor and the gauge reading would drop to indicate the system low side pressure – this pressure can be a little lower or higher based on ambient temperature
Continue reading vigsom’s DIY experience for BHPian comments, insights and more information.


