Whole chunks of metal were gone from the inner side of the front discs. No idea how that happened.
BHPian Jeroen recently shared this with other enthusiasts.
Spanner mate Peter arrived early this morning with his very rare Lancia Dedra LX. We checked and Peter should now, being a professional classic car appraiser. His Lancia is considerably more rare than say a Ferrari GTO. There are only a few of these Lancias left here in the Netherlands, probably in the world.
Peter will admit the Ferrari has the better value though!
Anyway, we had to prepare the car for the APK (Dutch MOT). First thing, both front brake disc and pads needed replacing.
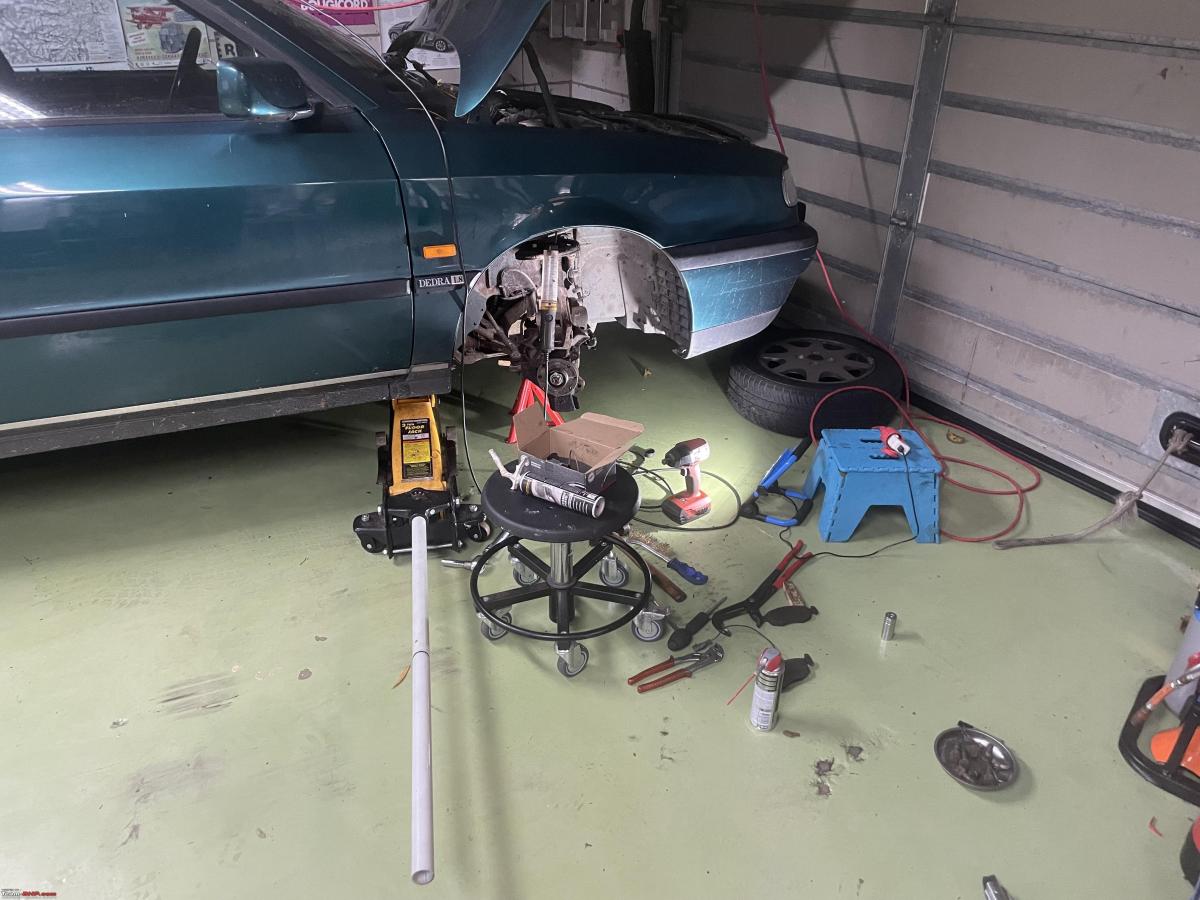
First the left side. The jack and axle stand underneath. All these sorts of brake systems are pretty much the same. Still, they all come with subtle differences. So it always takes a bit of experimenting on how to pull them apart.
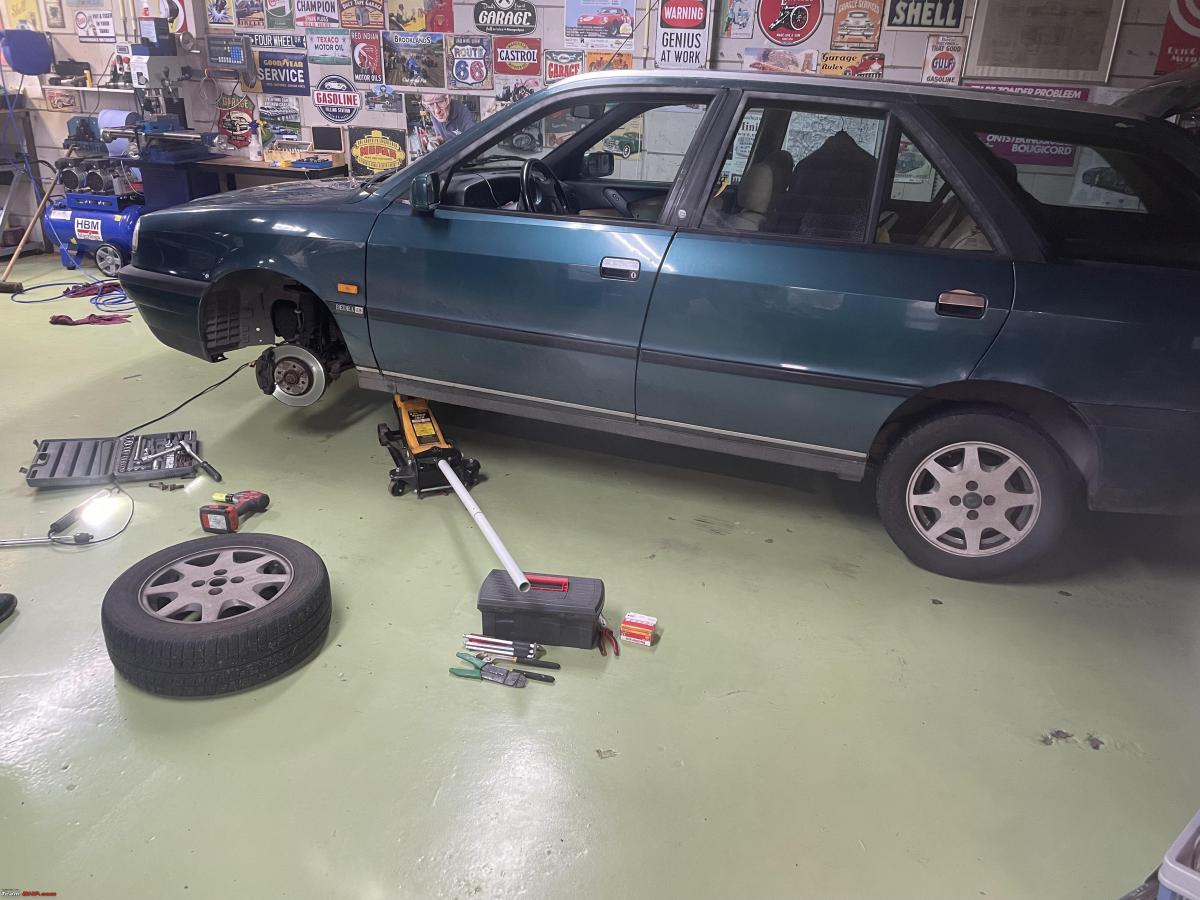
At first glance, these discs don’t look too bad and the brake pads are fine.

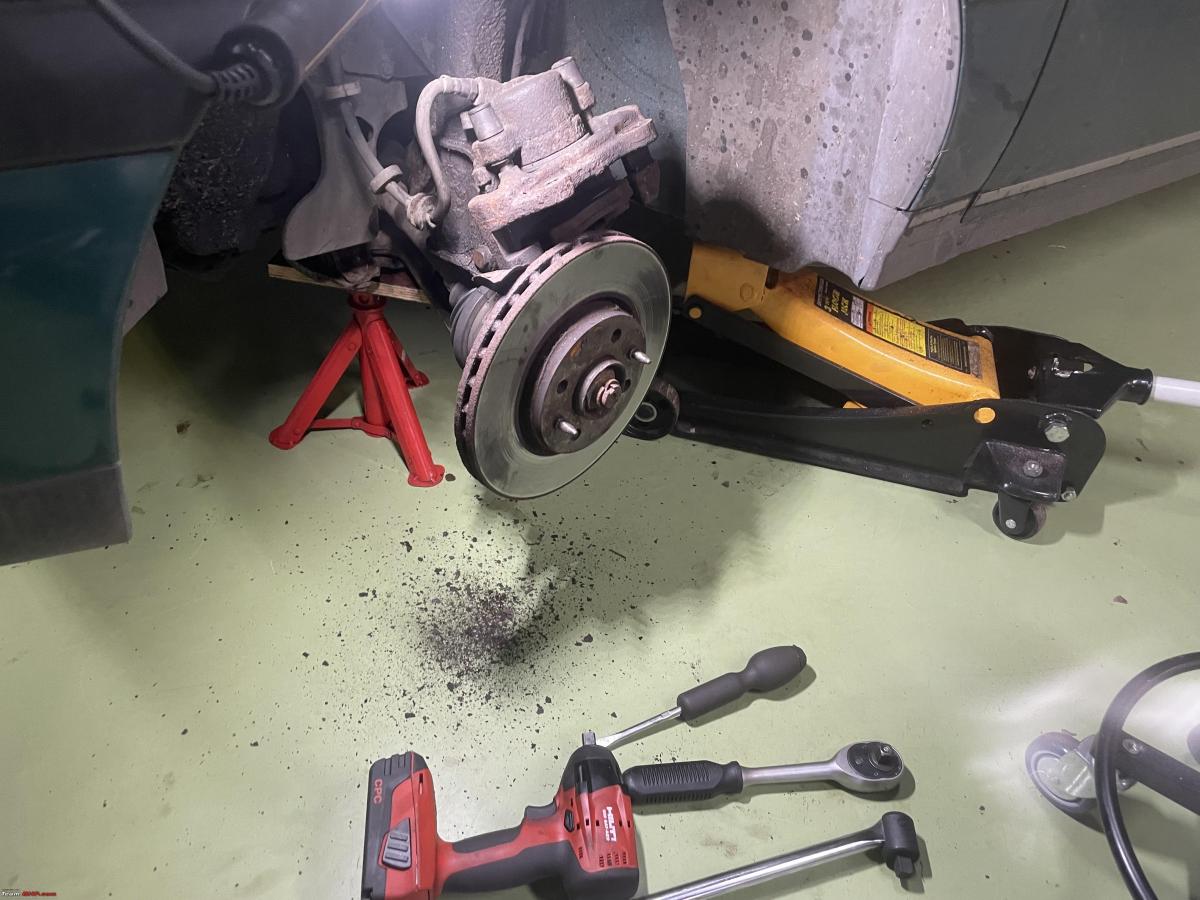
But look at the inner side of the disc!

We had never seen anything like it. Normally the disc wears more or less evenly. There might be a bit of a ridge on the outer diameter, but here whole chunks of metal were gone. No idea how that happened.
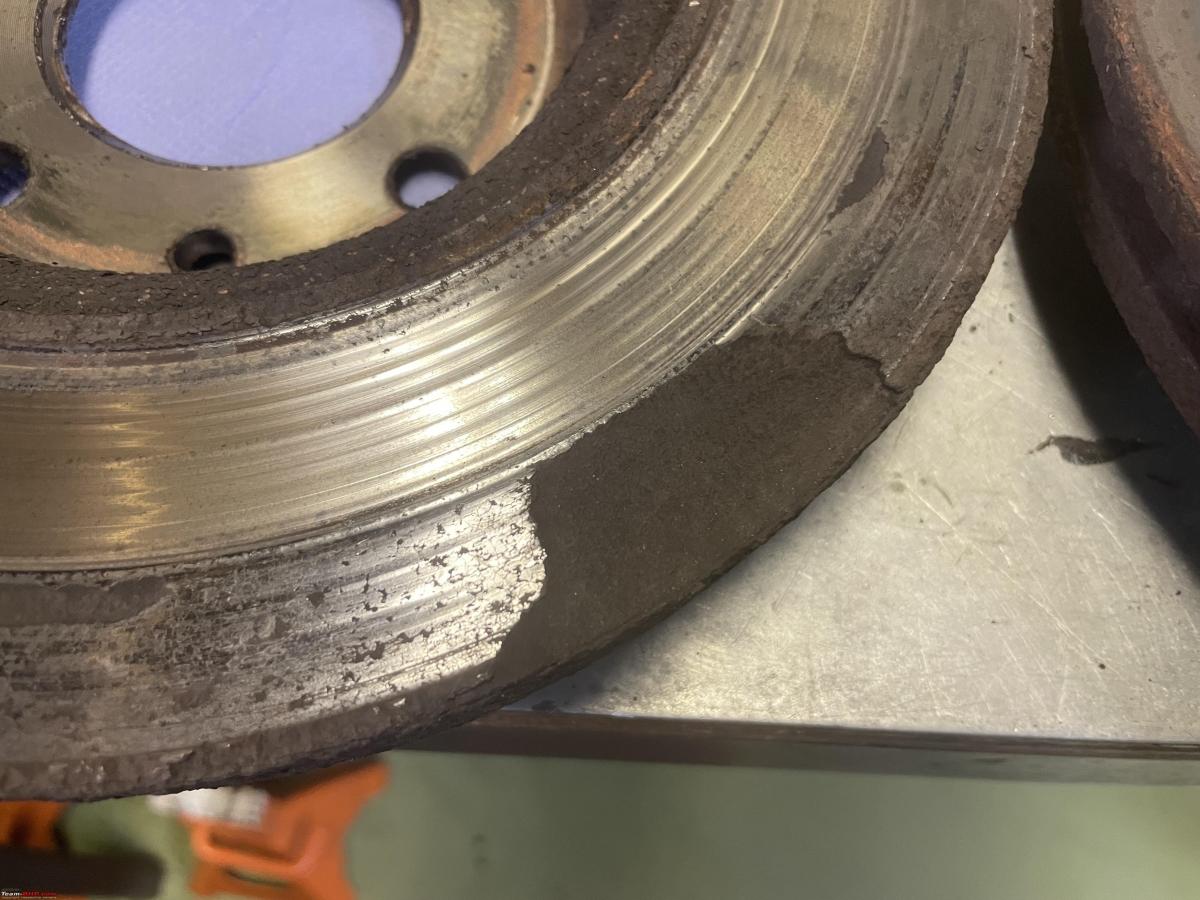
The outer side is ok.
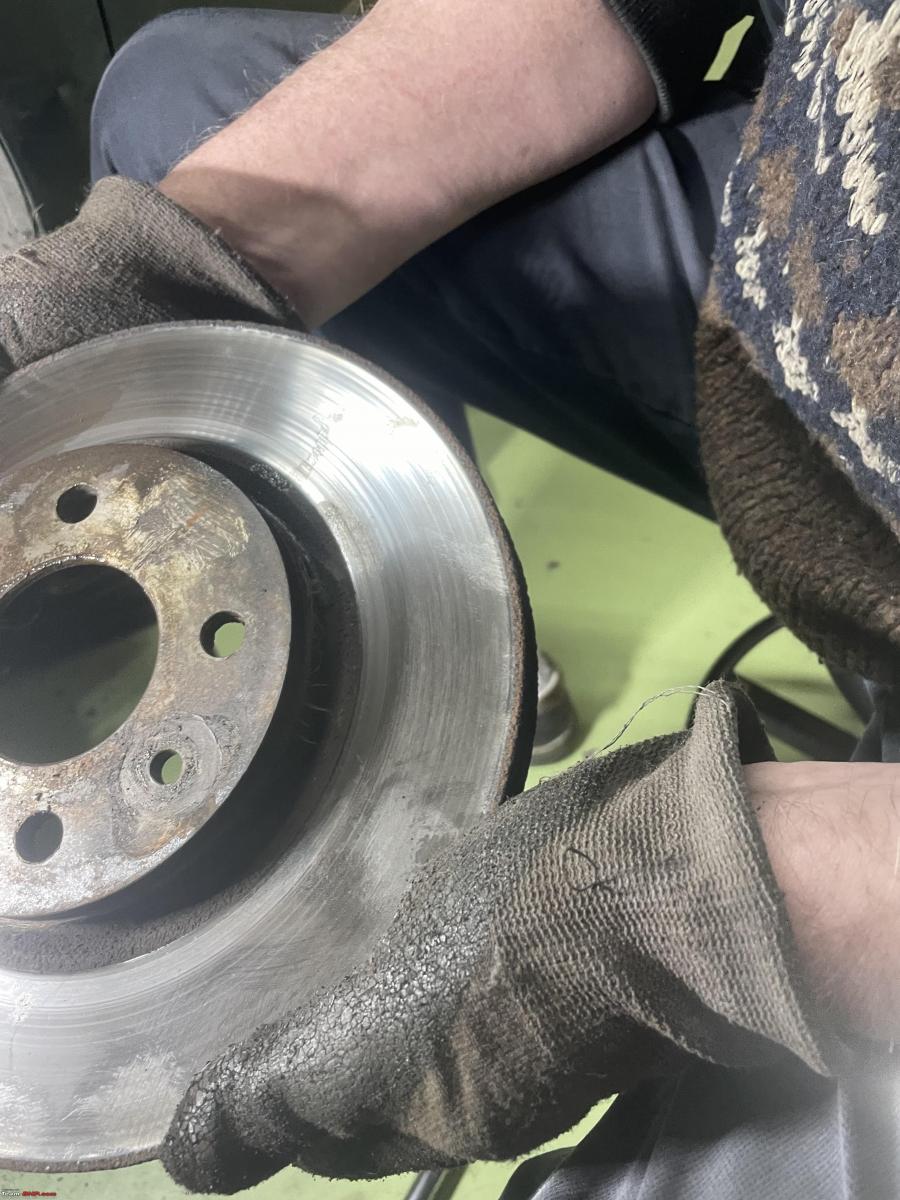
When you replace the discs, you should always replace the brake pads, even these looked almost new with hardly any wear. Looking very smart. I had never seen a disc with this sort of finish. Looks almost as if it was sprayed. I checked, it was not!!

Same procedure on the other side. We turned the Lancia around for easier access.

If you look very closely, you can just spot the wire from the brake pad wear sensor. Remarkably, the Lancia is equipped with 1 (one!) brake pad sensor. Some people claim it is some very remarkable clever Italian engineering. Peter and I think it is because Italian accountants were involved, not engineers.
It looks very smart with the new discs!!

Everything came apart very easily. This is often one of the most difficult parts when working on brakes. Especially old brakes on old cars, that might have been standing idle for a considerable amount of time. Luckily even pushing the calipers back in to accommodate the new pads was quite easy.
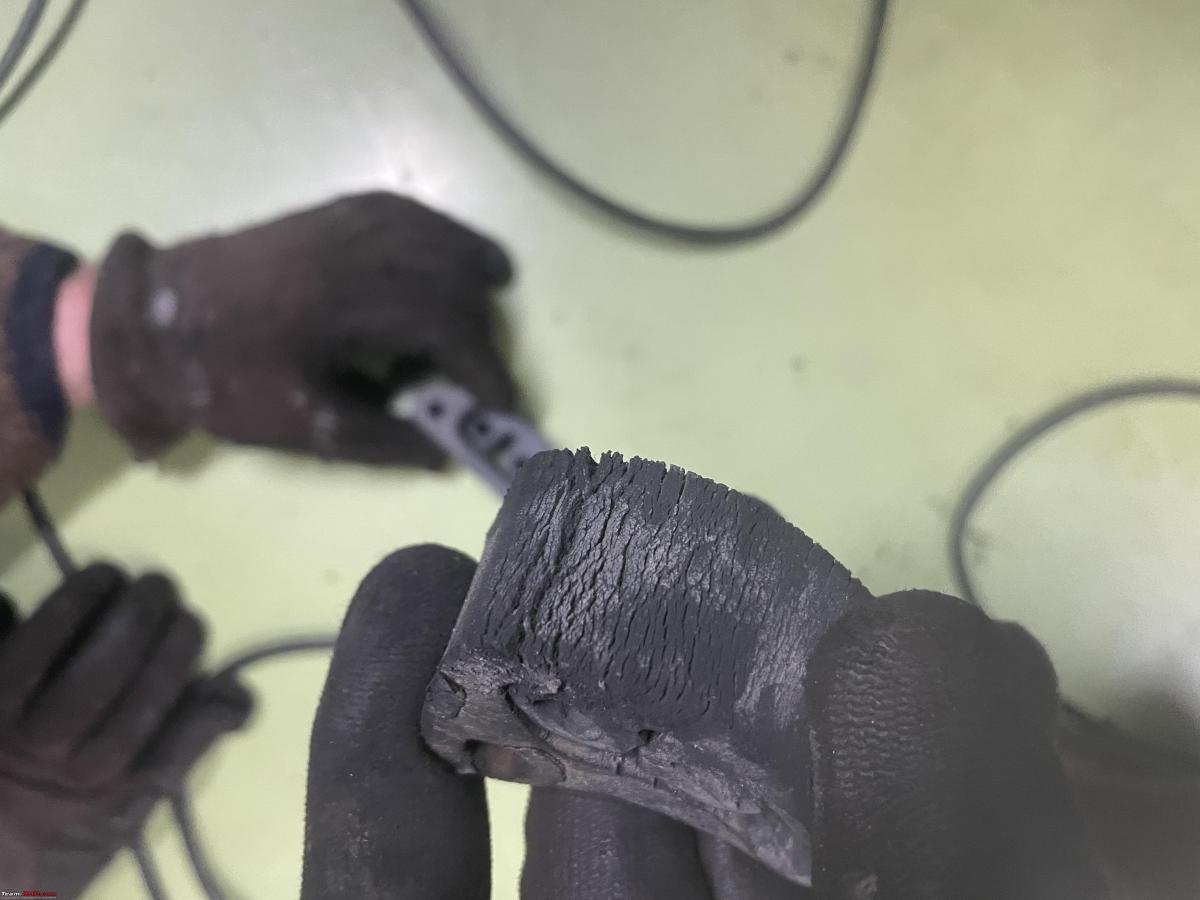
The rubbers that hold the exhaust in place were also in very poor shape, so we replaced all three.

Did I say poor shape? Cancel that, completely deteriorated to the point of breaking is a more apt description.
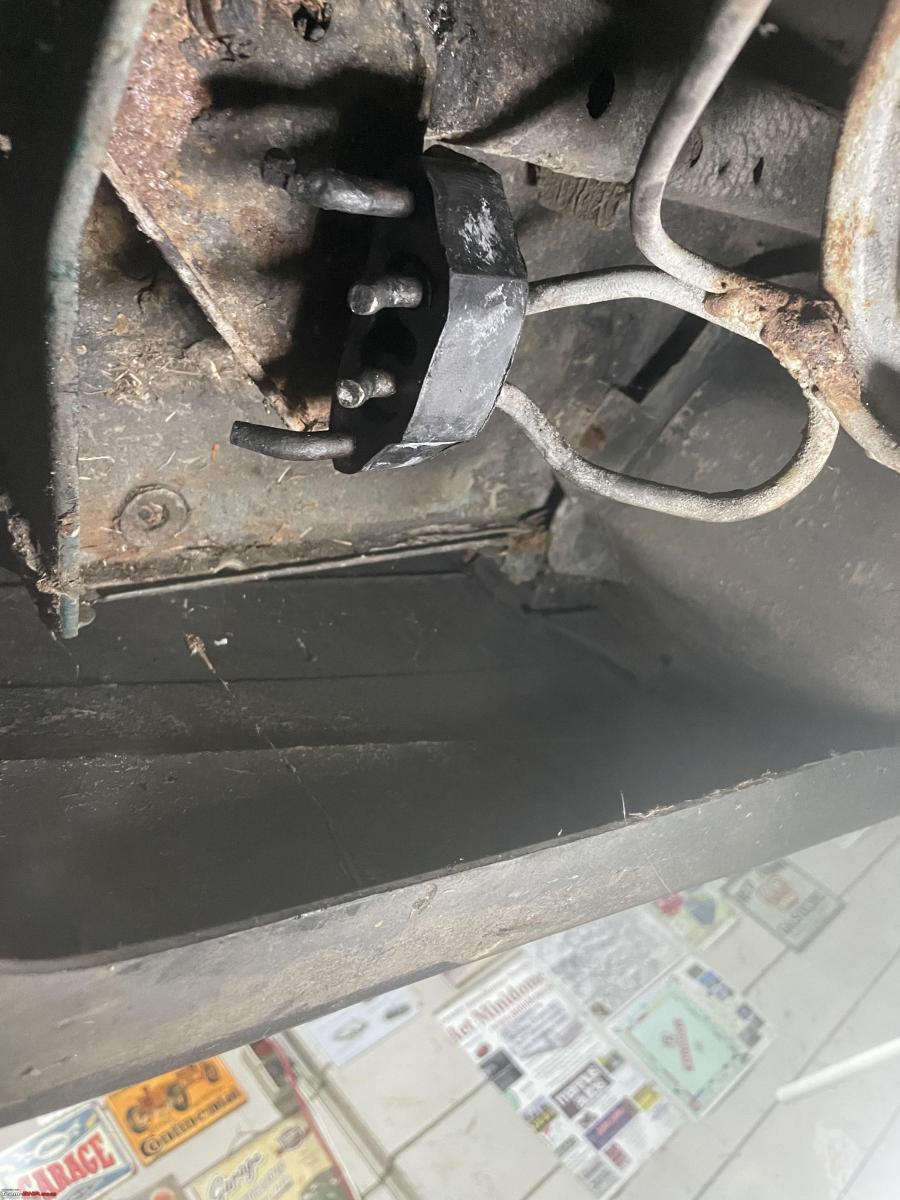
Here you see the rubber at the very end of the exhaust. A bit fiddly to get it off and worse to put it back on. I was very pleased with myself having fitted it back on. Only to realise I had put the old one on, instead of the new one. Practice makes perfect as they say.
Next back to the Mercedes W123. As I mentioned earlierafter much debate, discussion and head-scratching the only conclusion was that the distribution chain is one tooth off. So the camshaft is trailing 18 degrees behind the crank, at dead centre position.
So we made several different markings on the chain and the gear wheel.

Next, I grounded off, two of the protruding ends of one shackle.
Very carefully, we don’t want to damage anything

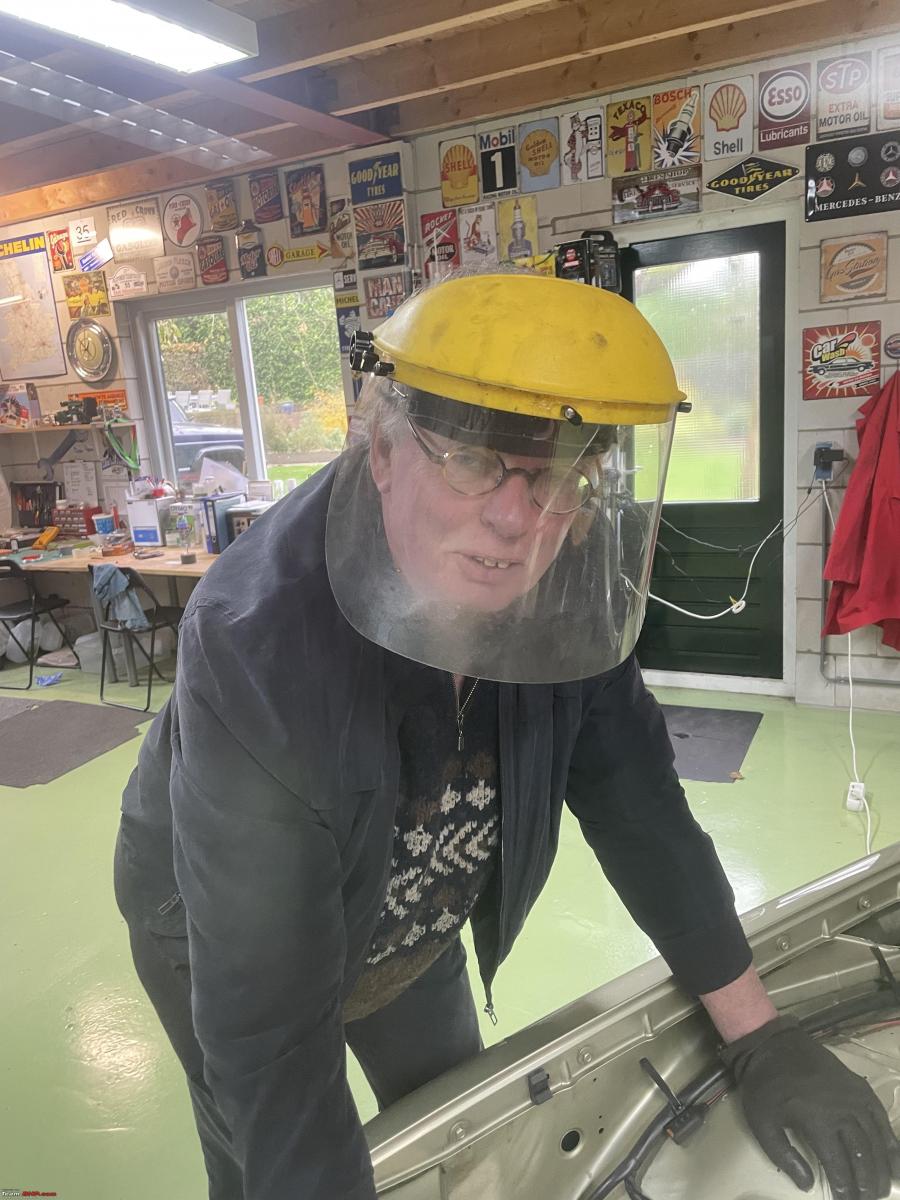
Peter is in full safety gear. Grinding is hard on the eyes and lungs!!
Notice how we had used metal wires to tie both ends of the chain to the top of the engine. You don’t want to chain dropping inside the engine. Lots of rages to prevent dirt, filings and tools from dropping into the inside of the engine.
More grinding is done.
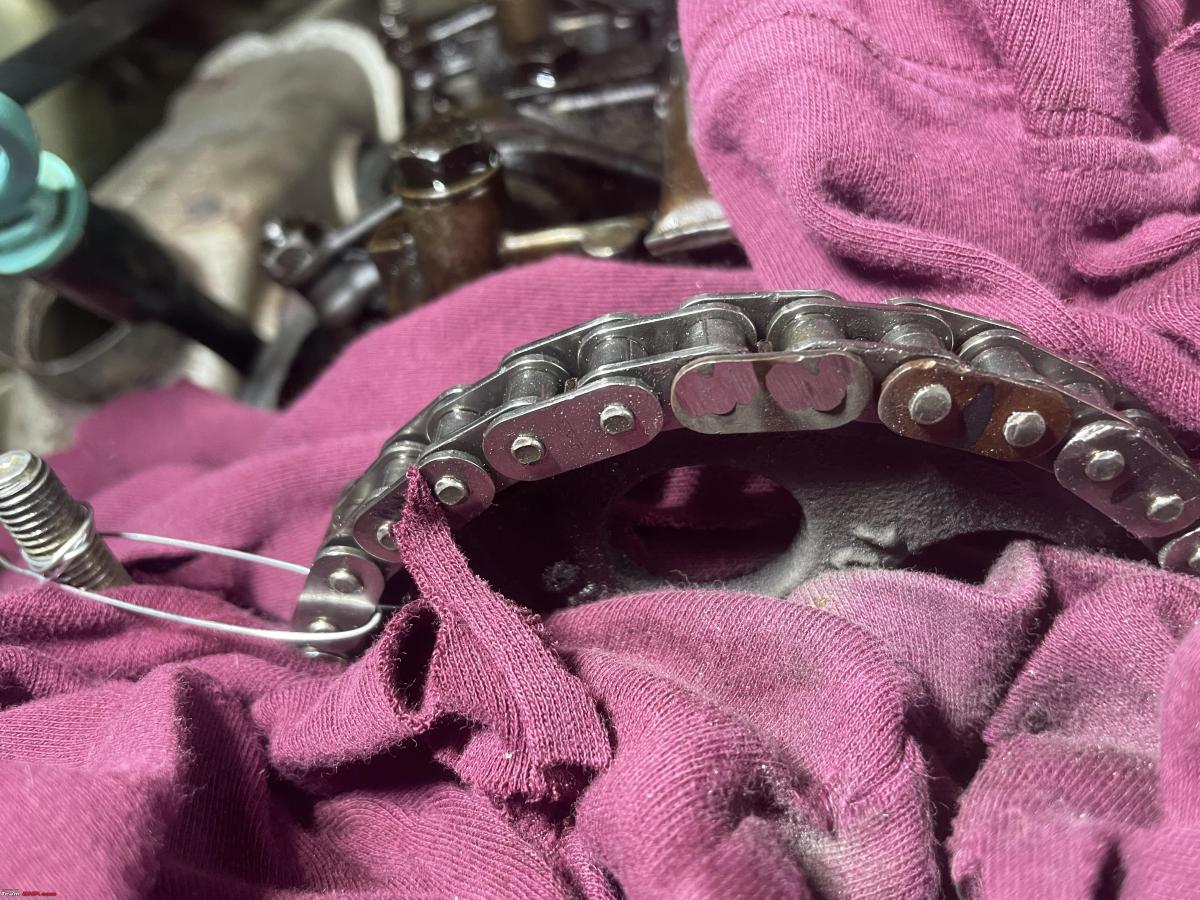
Done, I could pop the little connector plate of the shackle.
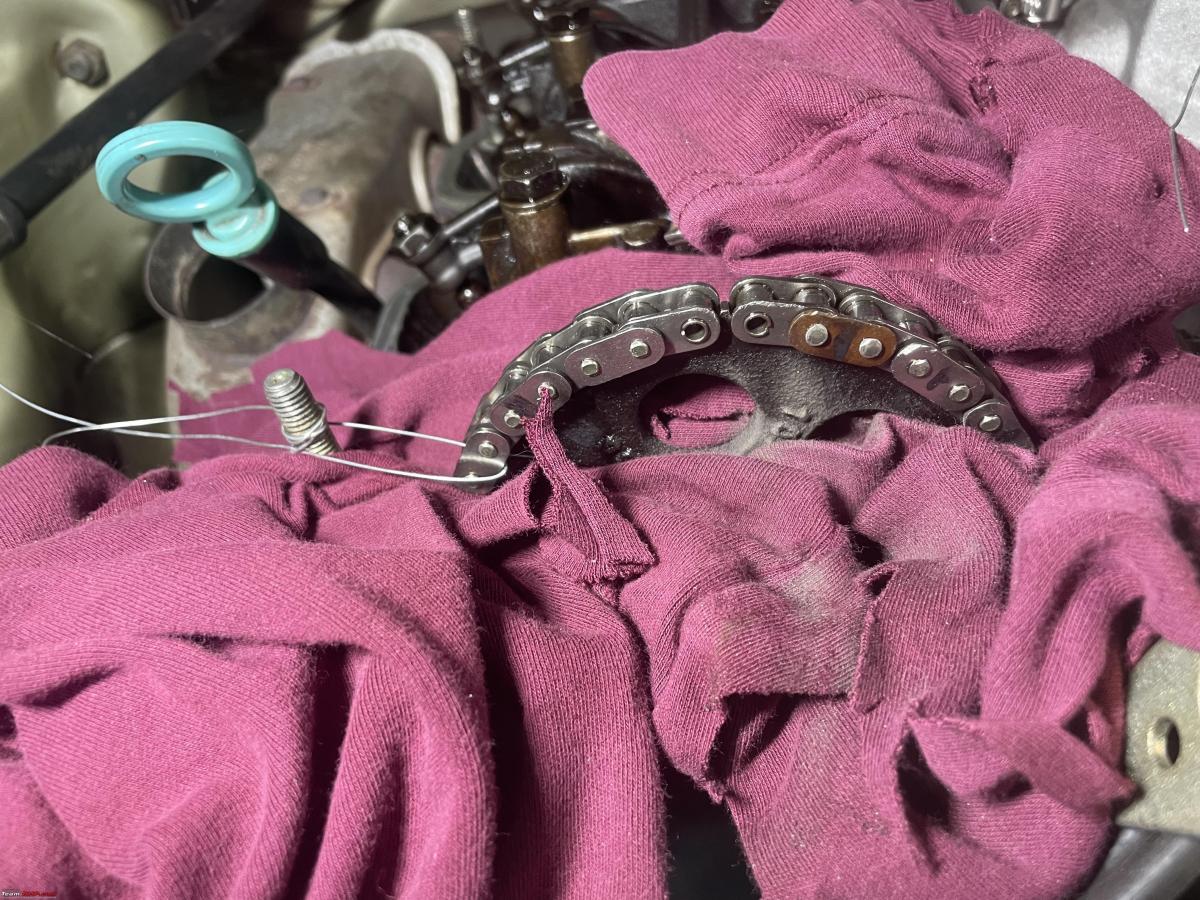
Both Peter and I lifted the respective ends of the chain out of the sprocket. We carefully rotated the camshaft one tooth and put the chain back onto the sprocket wheel. Pushed a new locking plate onto it. This was the biggest challenge, it must have taken us about an hour to get this damn little thing in place.

With it finally in place, I used my special chain punch to secure the new shackle.
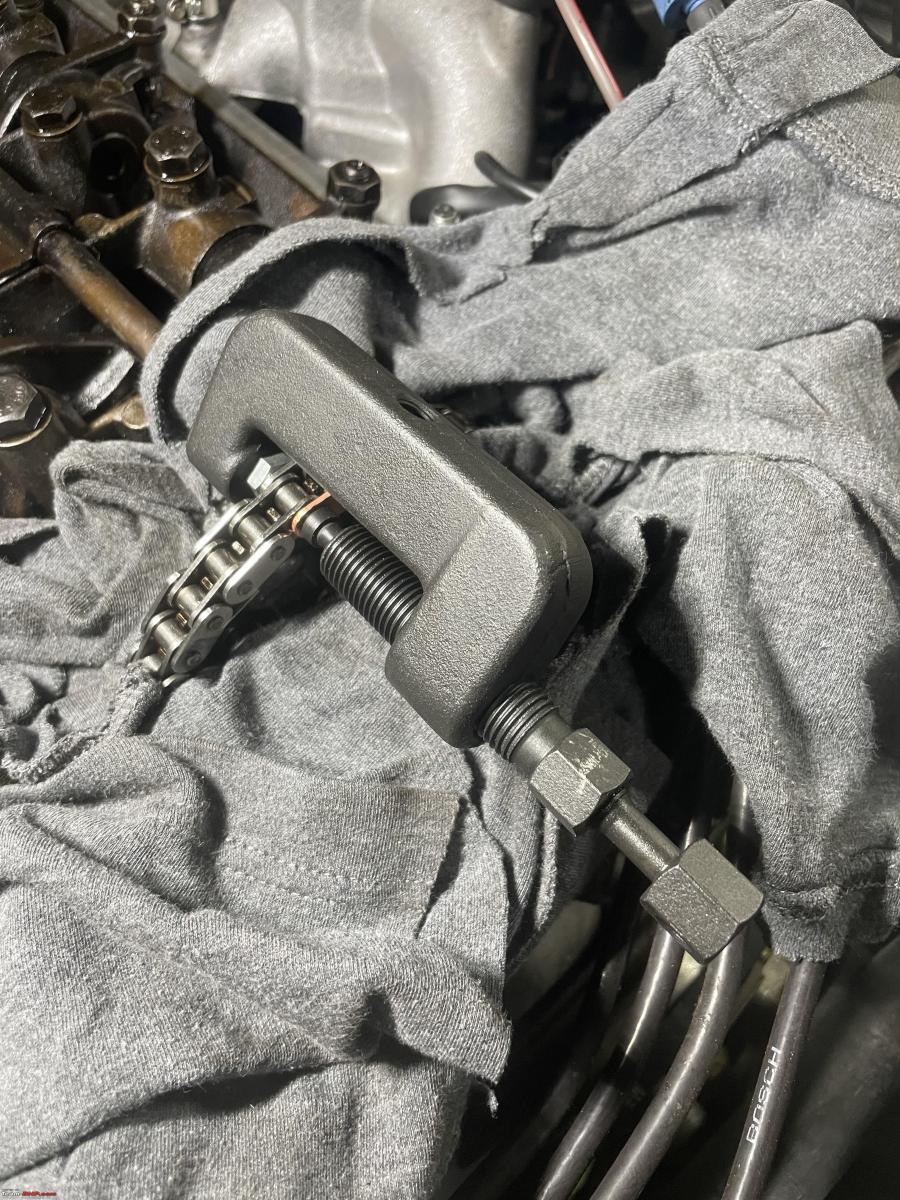
I finished by tapping the two tiny end bits with a punch and a hammer. Finally, I checked the diameter. Our improvised riveting technique had ensured that the little protruding pin, now flattened was about 0.2mm larger than the pin diameter itself. More than sufficient.
I gave a couple of full turns on the crank to ensure none of the valves was hitting a piston. Better safe than sorry.
Next, re-installed the chain tensioner, the dynamo, spark plugs, spark leads, air inlet filter and all the other bits and pieces.
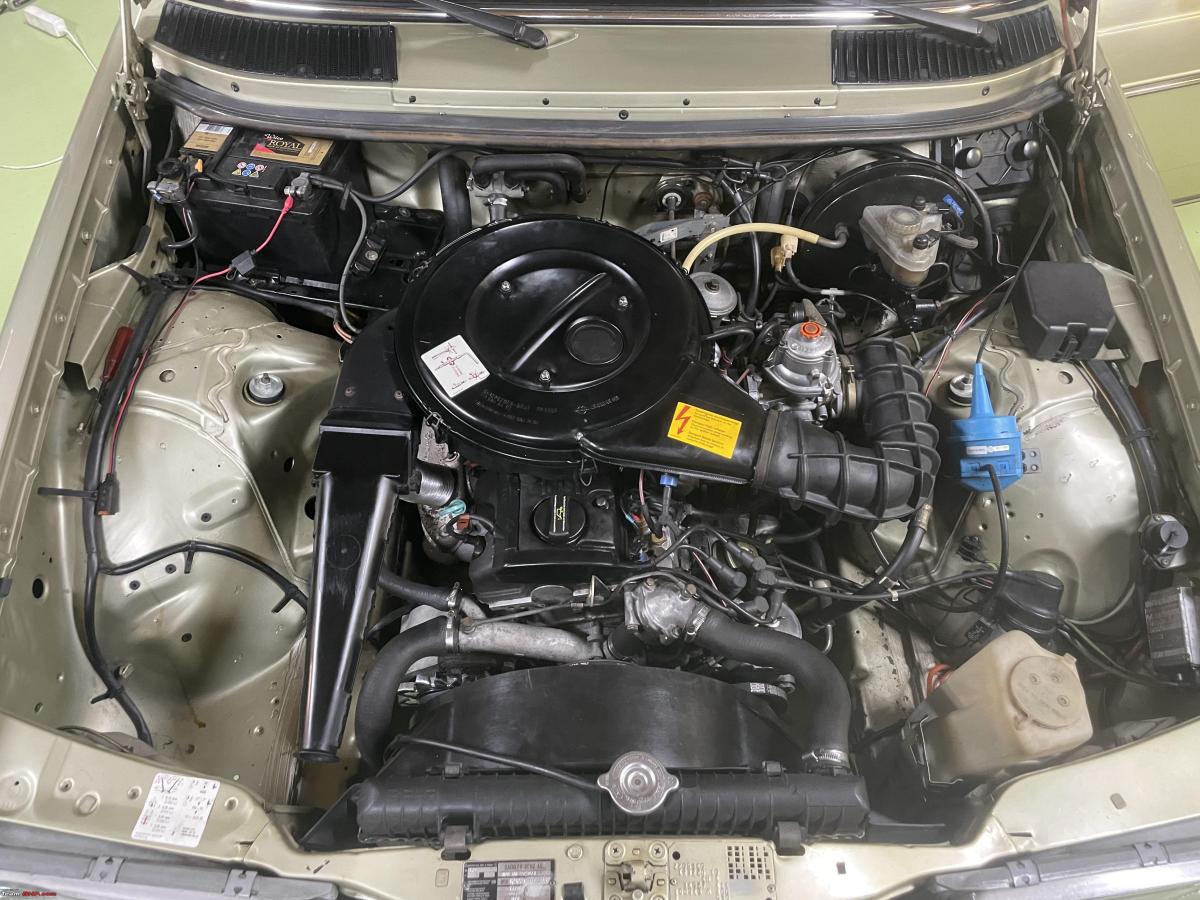
The Mercedes fired up right away and I took it for a test drive. I have not been on the motorway yet, but I am very happy to report the “stuttering” is finally gone. The engine runs very smoothly, with much better pick-up and acceleration too.
I used my scope to quickly check the ignition timing. I think it is a bit off. I will call Cor, my friendly W123 specialist and arrange to visit him. I can’t adjust the CO myself. I don’t have a CO analyser. Very expensive bit of kit. When you adjust the CO levels, you also adjust idle and pre-ignition all at the same time.
So very happy with all these jobs done successfully.
Check out BHPian comments for more insights and information.

