As it had been stuck to my wife’s Ford Fiesta for 8 years and almost 100K kilometres, the outside was pretty grimy and horrible.
BHPian Jeroen recently shared this with other enthusiasts.
I replaced the AC compressor on my wife’s 2015 Ford Fiesta this summer, with the help of my friend Jack. You can read all about it herejust scroll down a bit.
I subsequently took the AC compressor apart. Just for fun and for interest. Never done that before. I enjoyed doing that. See this thread.
Somewhere along the line, I decided I would turn the AC compressor into a “cut-away model”.
Which meant deciding how and where I would mill and cut bits away. I had never done anything like this before. So to some extent, it was a bit of a trial-and-error approach.
Here is the very first cut I made with my mini mill:

Here you see a part of the compressor bolted down to my mini mill. Most of the cut opening up the control valve housing is done.

The first part was done and I was quite pleased with it!
Without the control valve
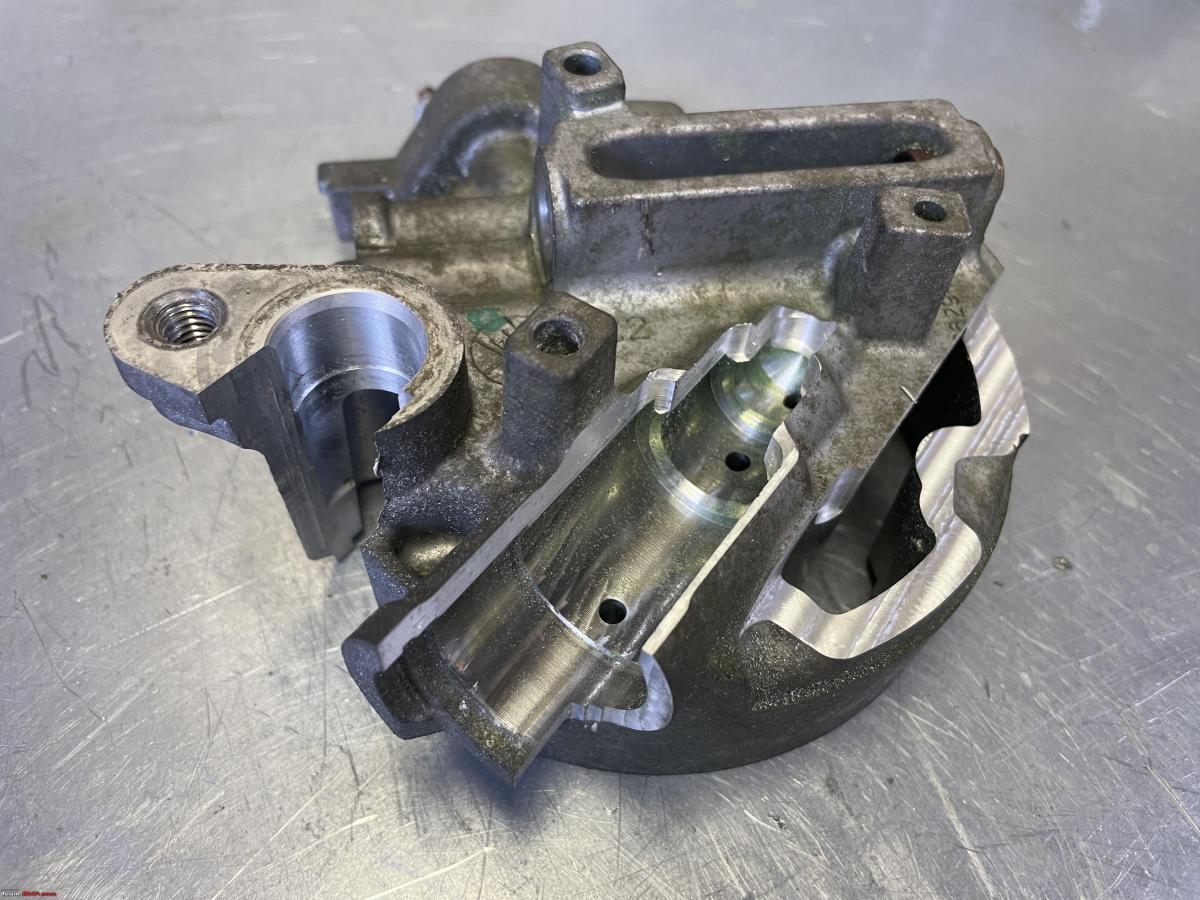
With the control valve fitted:

I did a lot more cutting with the mini mill and also just a plain grinder. This Compressor housing is made of a very soft type of alloy, very easy to cut through.
As this compressor had been stuck to the Fiesta for 8 years and almost 100K kilometres, the outside was pretty grimy and horrible. So I took it to a place where I could sandblast it myself. In this case, I used glass bead blasting as it is less aggressive than sandblasting and leaves quite a nice smooth-looking finish. You can rent this machine for Euro 15 and do it all yourself!
Have a look here for the full story.
The short version:
Here is the glass bead blasting machine:
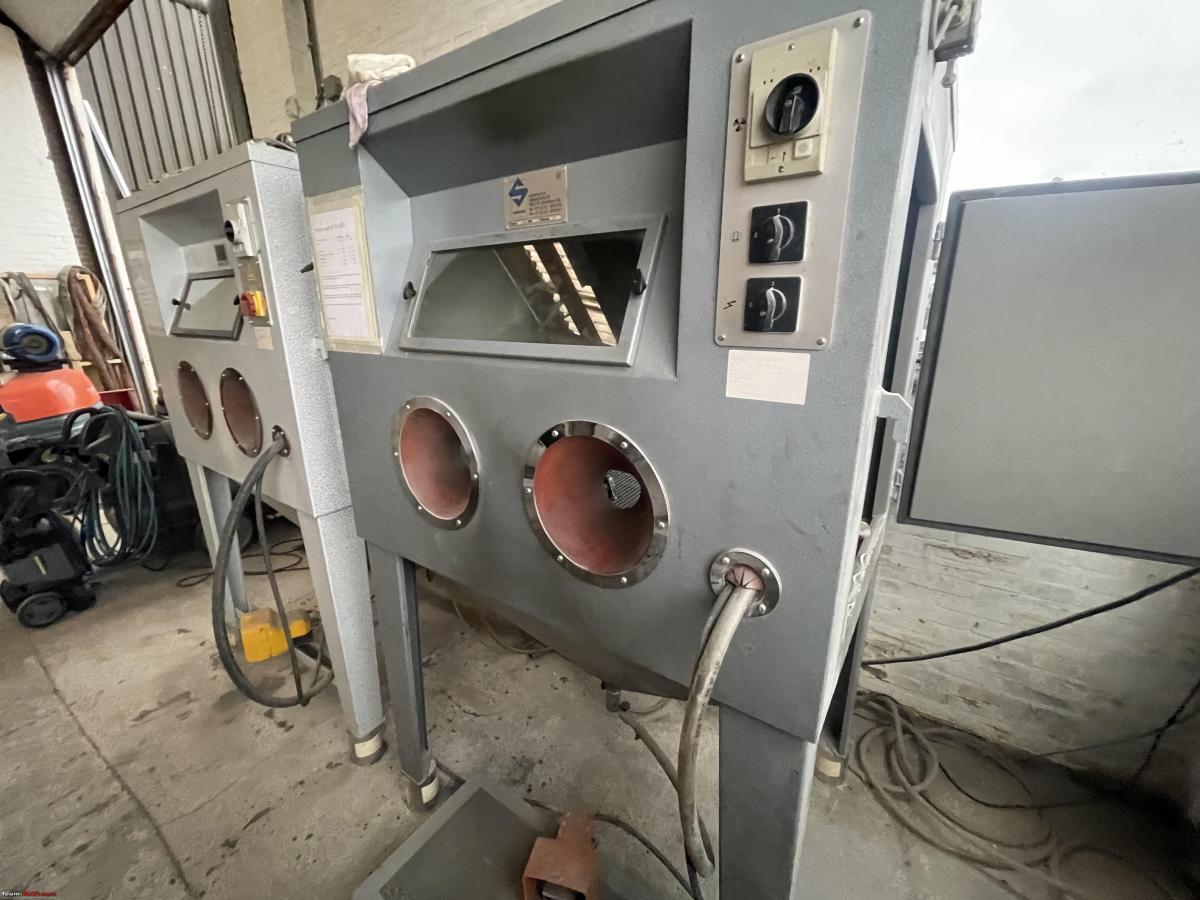
You stick in your part, in my case the assembled AC Compressor.

And you blast away with this nozzle! Bob’s your uncle!

It came out looking like new!!
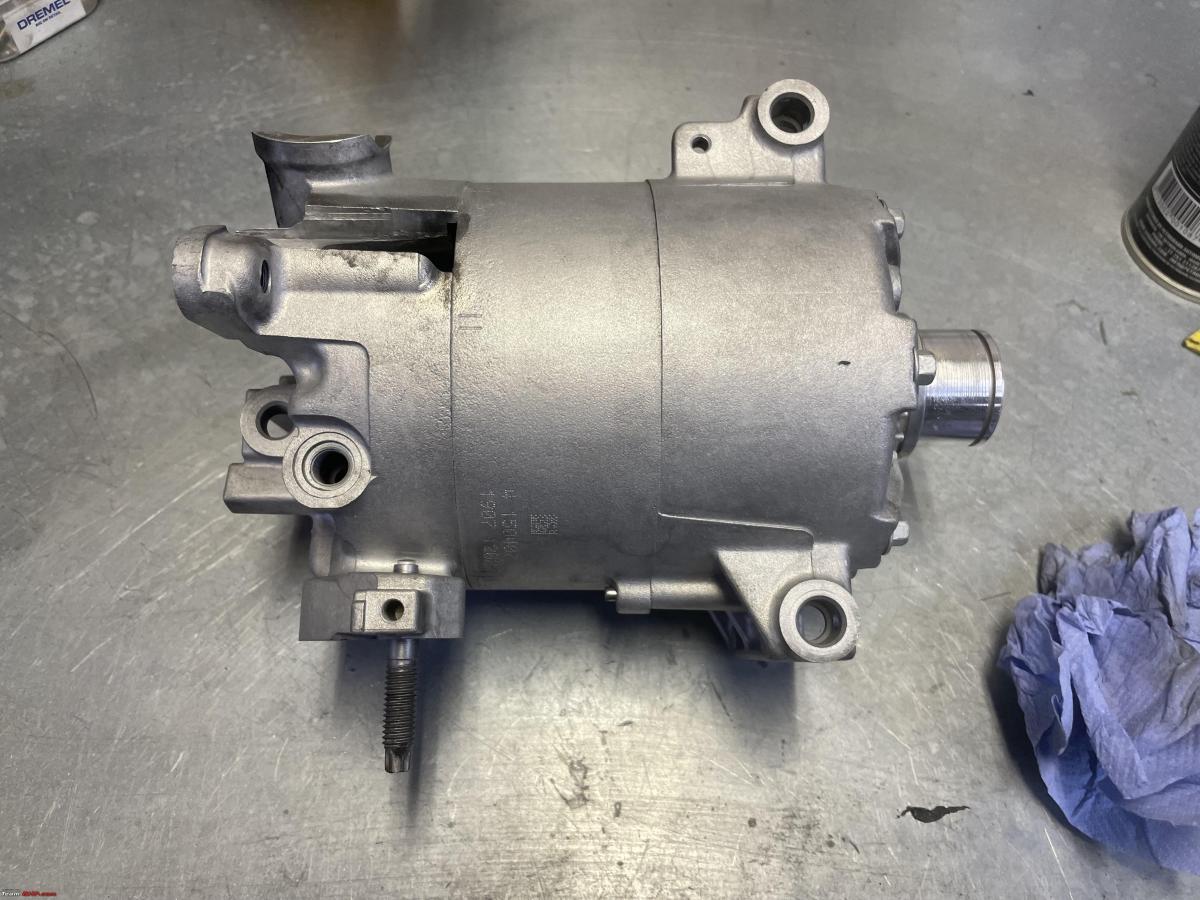
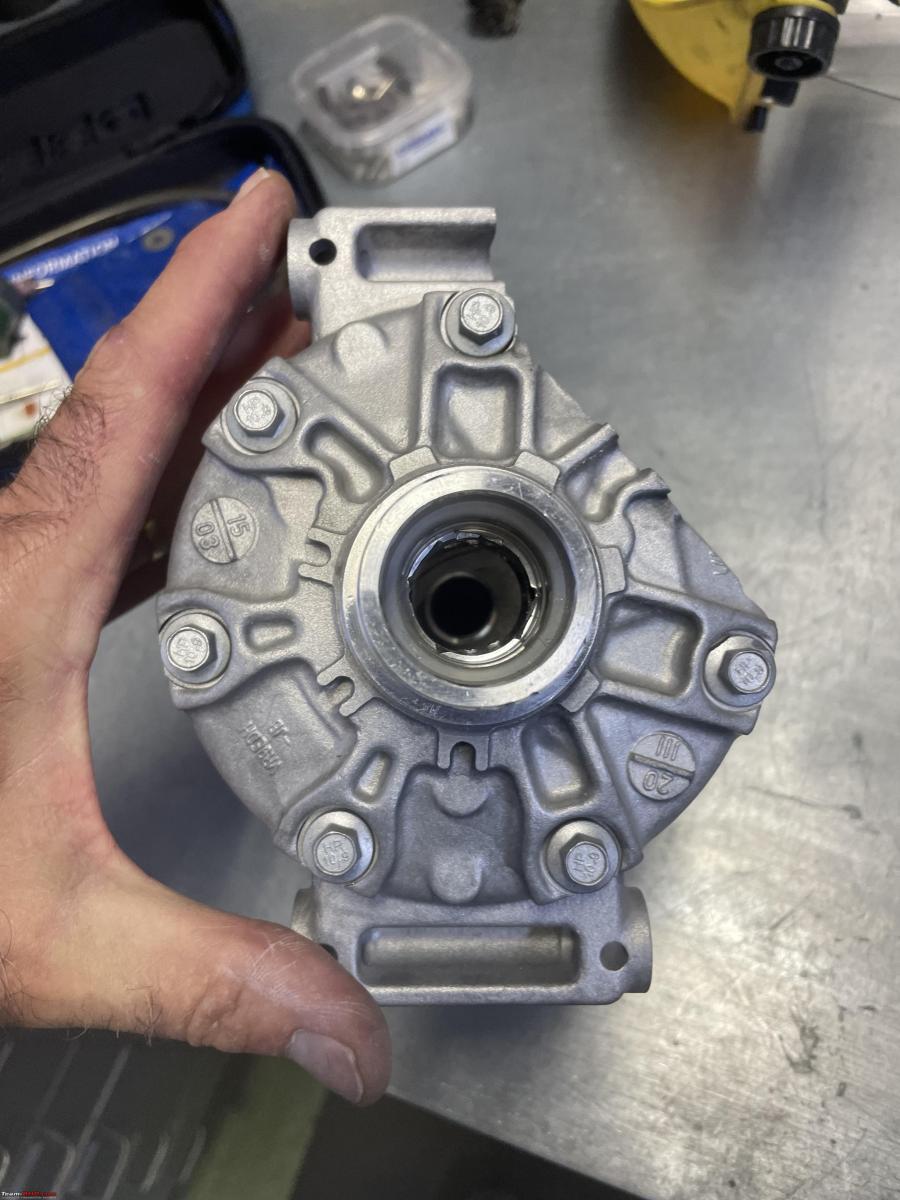

As is customary on these “cut-away” models I painted everything that was “cutaway” red.
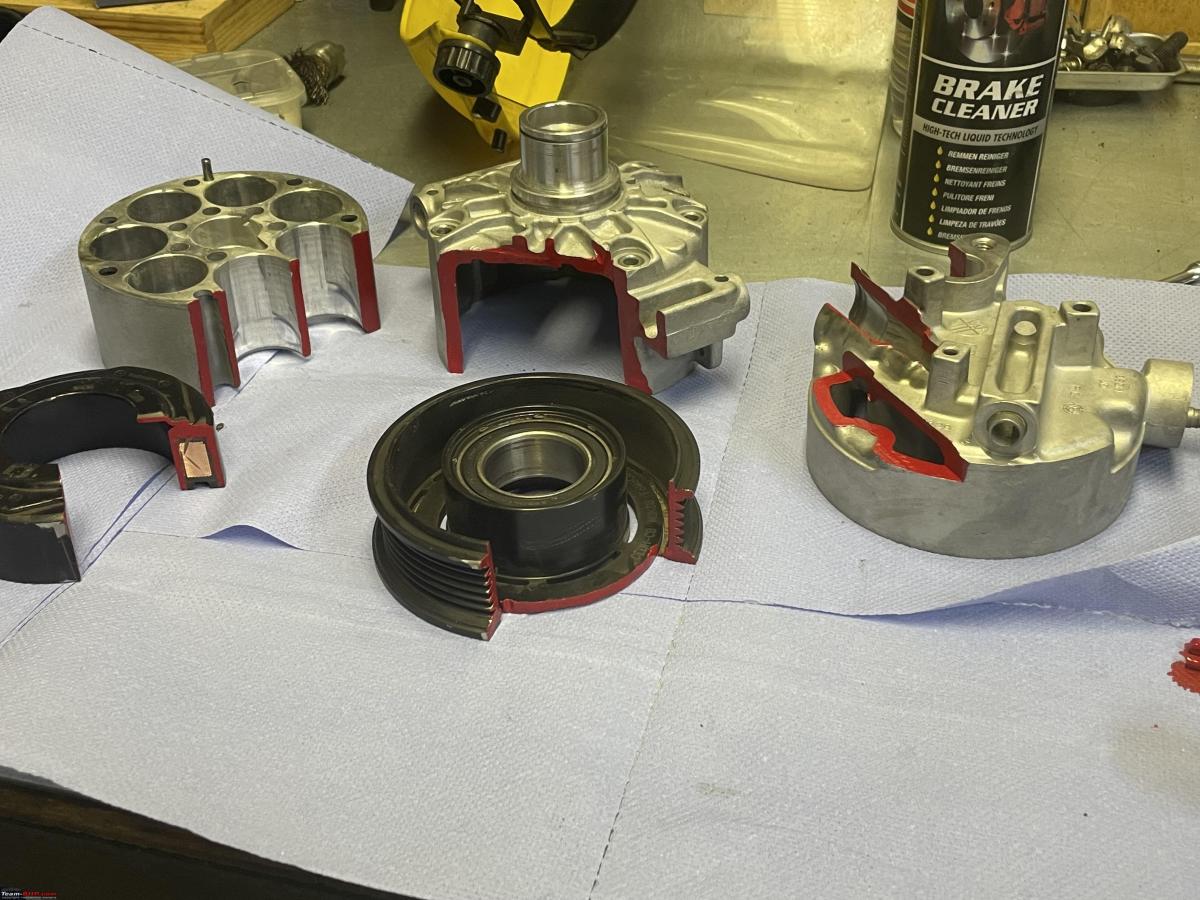
Time to do a final re-assembly.
Getting the pistons back in was difficult. I just could not get it to fit properly. No matter what I tried, cleaned, lubricated, and tried different pistons in different cylinders, it just wasn’t moving as smoothly as before.
I attached all the pistons to the swathe plate first. Then secured them all with some wire and pushed all the pistons into their respective cylinders.
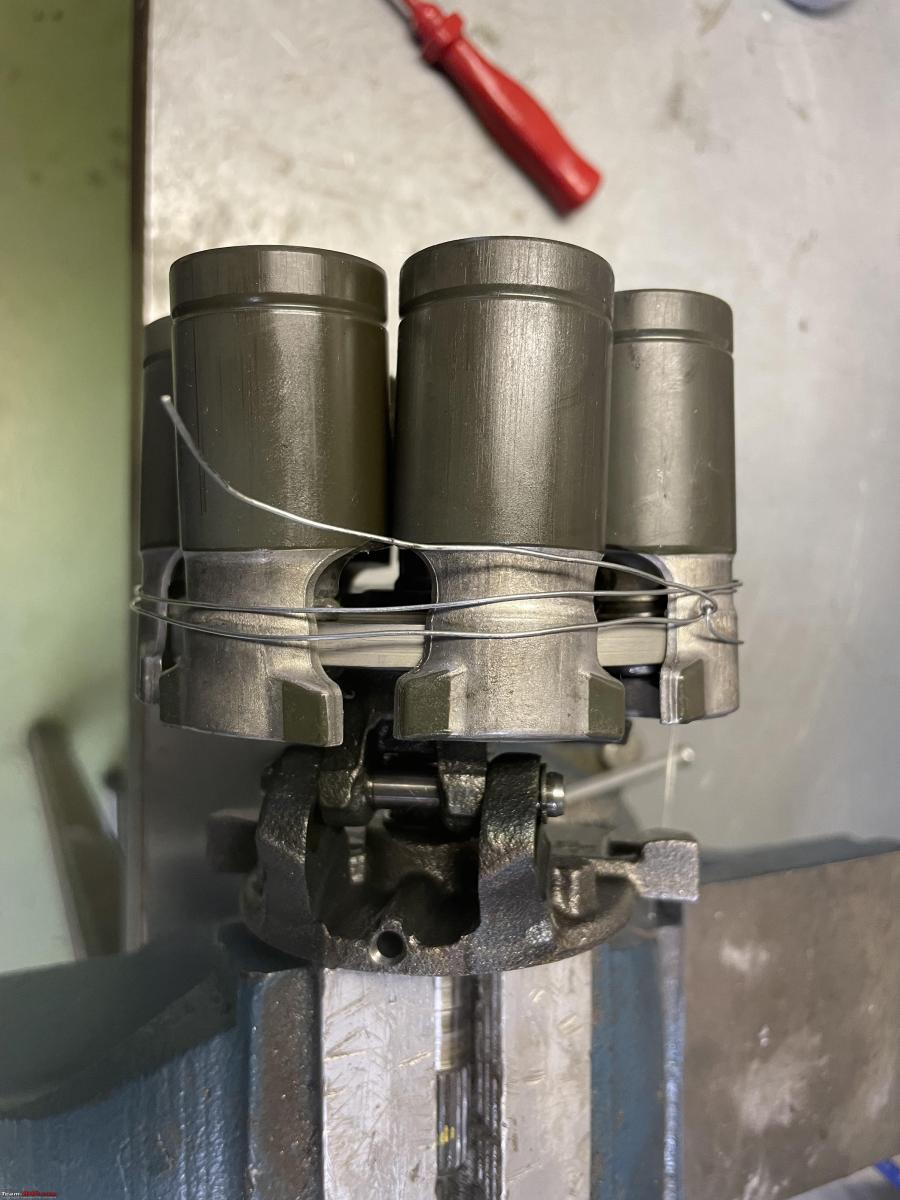
In the end, I did manage to get them all in and I can also rotate it, so you can observe the compressor working. The Swathe plate is stuck at an angle because it allows the pistons to move up and down.
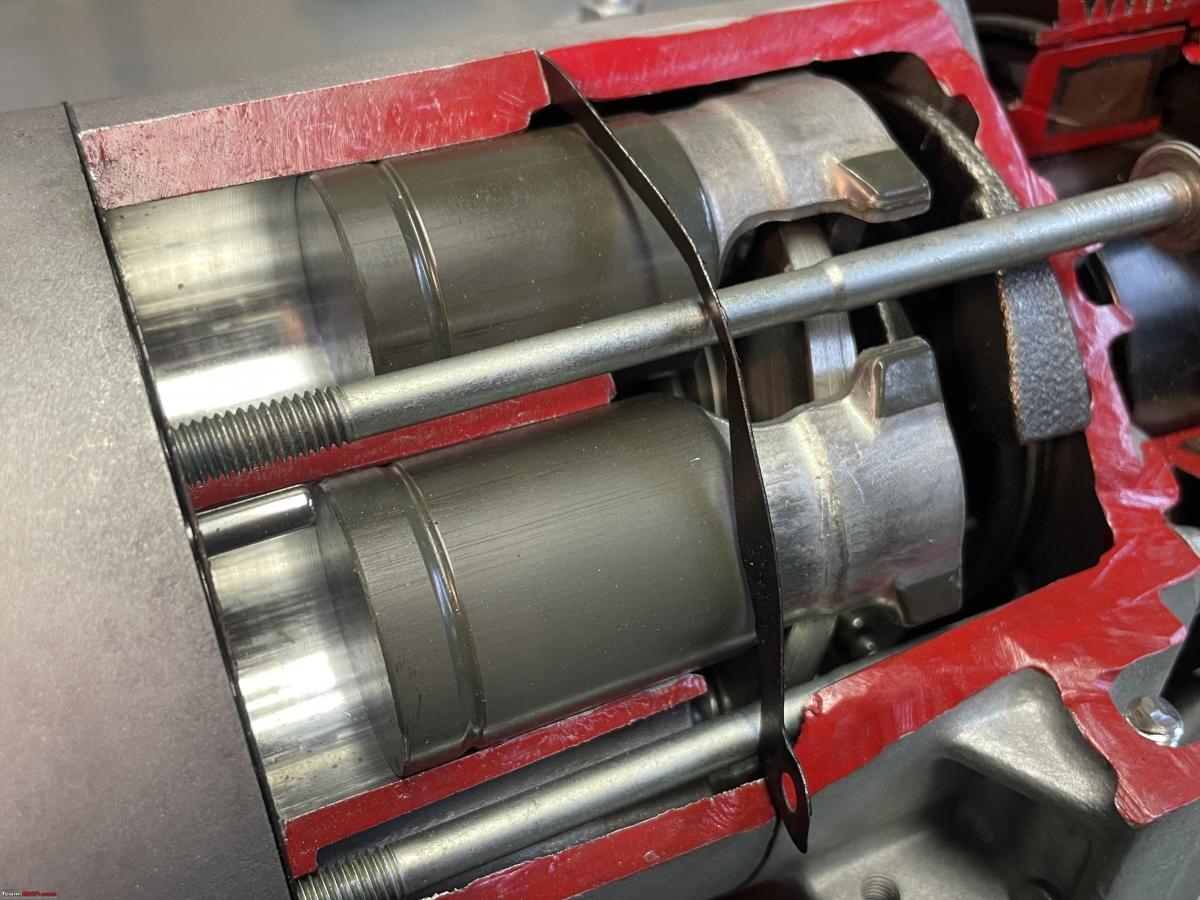
Notice the little valves mounted at the bottom of the cylinders

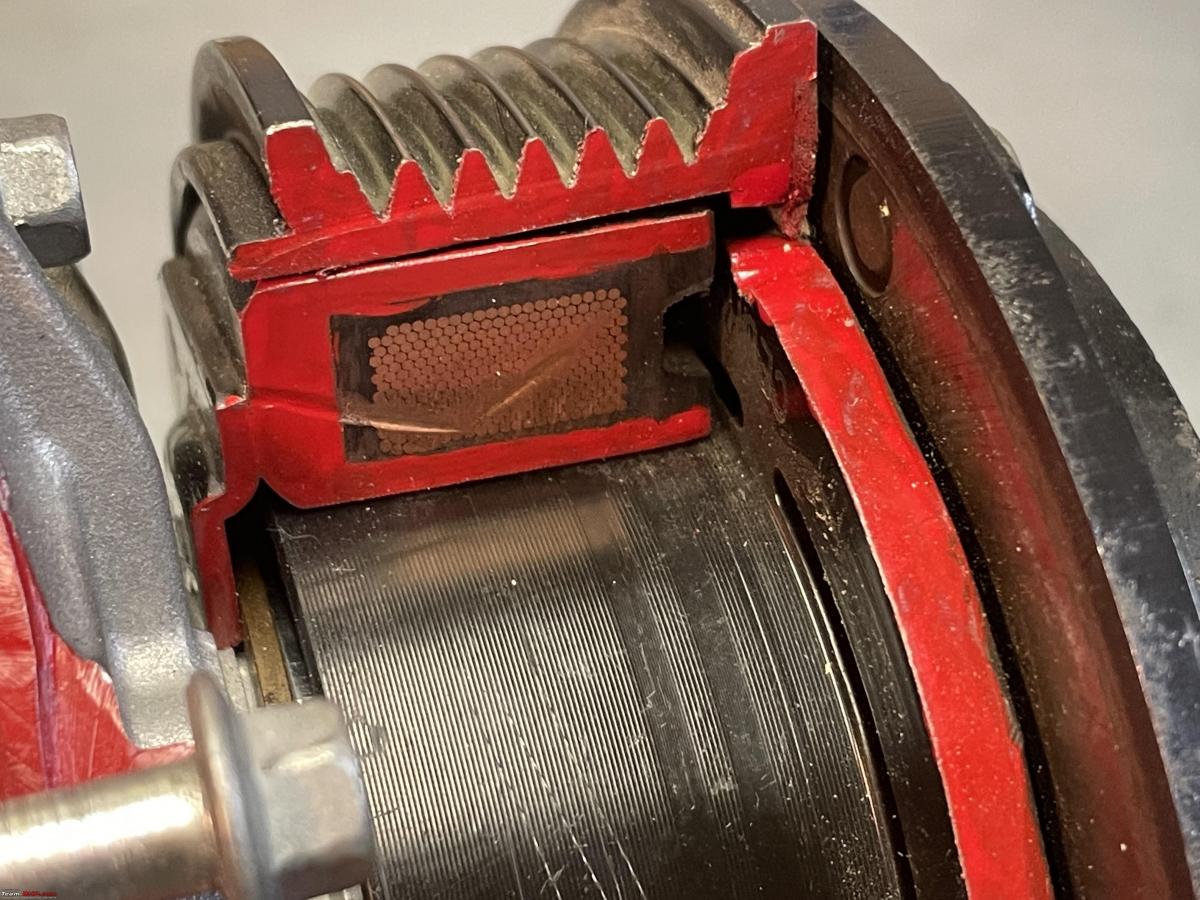
I am quite pleased with how the whole clutch assembly and pulley look. I managed to make a very clean cut through the coil. You can see the individual strands of copper mounted inside the insulating rubber.

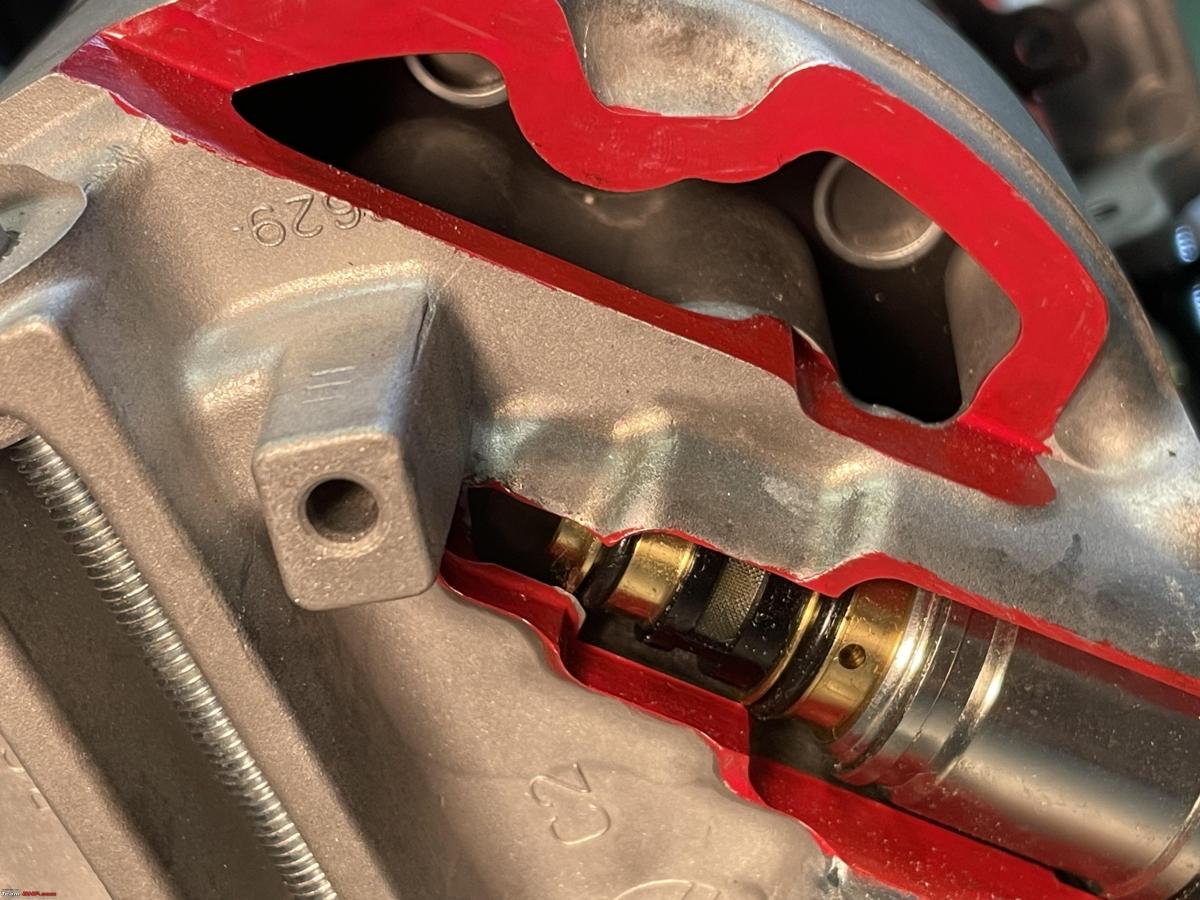
The control valves and some of the inside of the housing, including some valves can be well observed.

Complete compressor from the rear.

From the top:
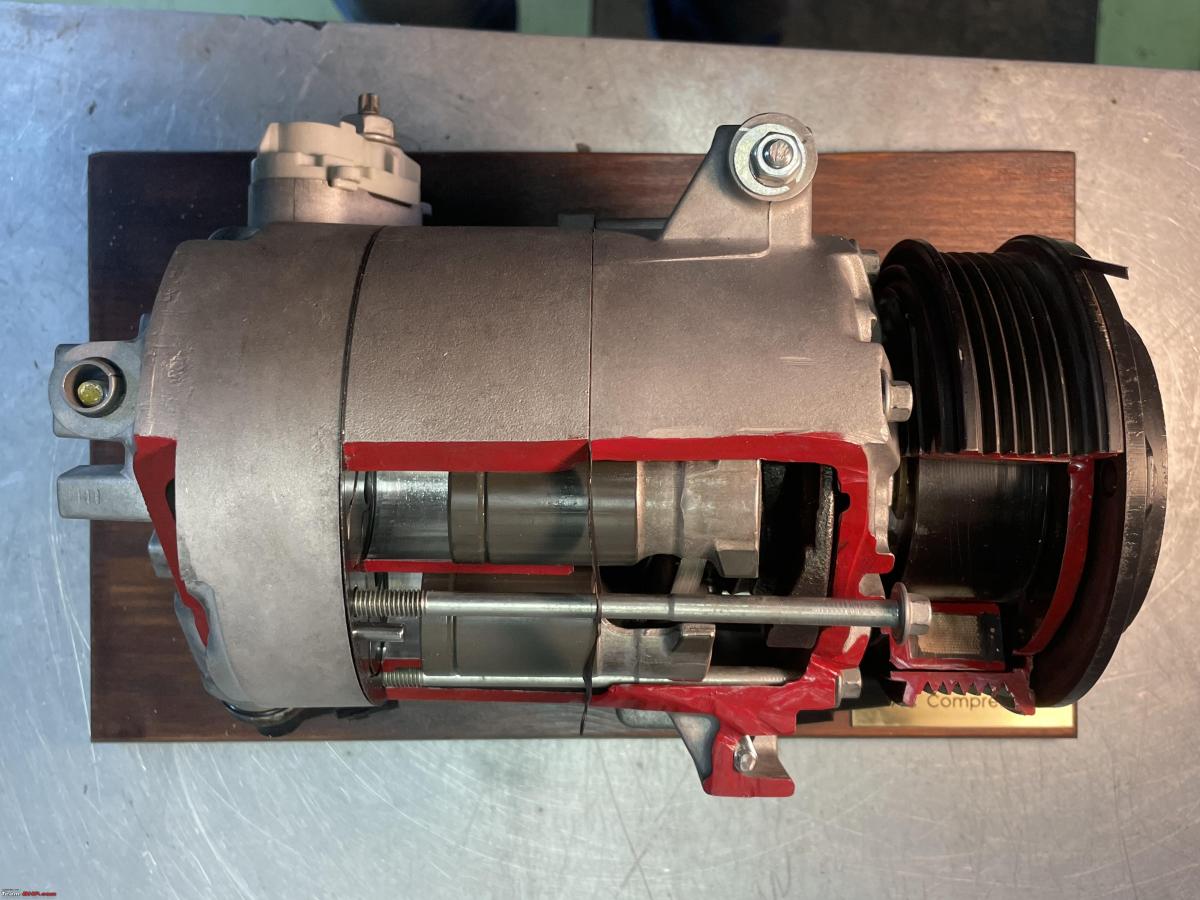
As you will have noticed, I mounted the complete AC compressor on a very simple solid wooden base. I stained it with some paint left over from another job. And of course the piece the “resistance”, a little copper nameplate!!

All in all, an enjoyable little project. This cut-away model will sit somewhere in my shop amongst all the other engine bits and model engines on display.
Check out BHPian comments for more insights and information.

