Small form-factor vertical PC cases have been a persistent niche for several years, as evidenced by NZXT’s H1 V2 and one of our favorite compact cases, the Phanteks Evolv Shift 2. The current consoles from Sony and Microsoft are also vertically oriented. So clearly, lots of gamers like a system that takes up a small amount of floor or desk space. It’s no surprise, then, that Cooler Master is pushing heavily into this space with its NCore 100 Max, which is finally making its way to retailers after I first saw it at Computex about seven months ago.
For those looking for a stylish, well-ventilated platform to build a powerful system around (up to and including an RTX 4090), it’s an attractive, versatile option that takes up very little desk space. But with its included PCIe 4.0 riser cable, thick 120mm AIO cooler, and tiny but mighty modular ATX 3.0 850W SFX PSU, the cost of entry for the NCore 100 Max is a steep $379. It’s also not a quiet case, especially if you’re partial to pump noise. The case’s design puts the AIO cooler (and the PSU fan) front and center, right behind the metal mesh.
Specifications for the Cooler Master NCore 100 Max
| Row 0 – Cell 0 | Row 0 – Cell 1 | Row 0 – Cell 2 |
| Row 1 – Cell 0 | Row 1 – Cell 1 | Row 1 – Cell 2 |
| Row 2 – Cell 0 | Row 2 – Cell 1 | Row 2 – Cell 2 |
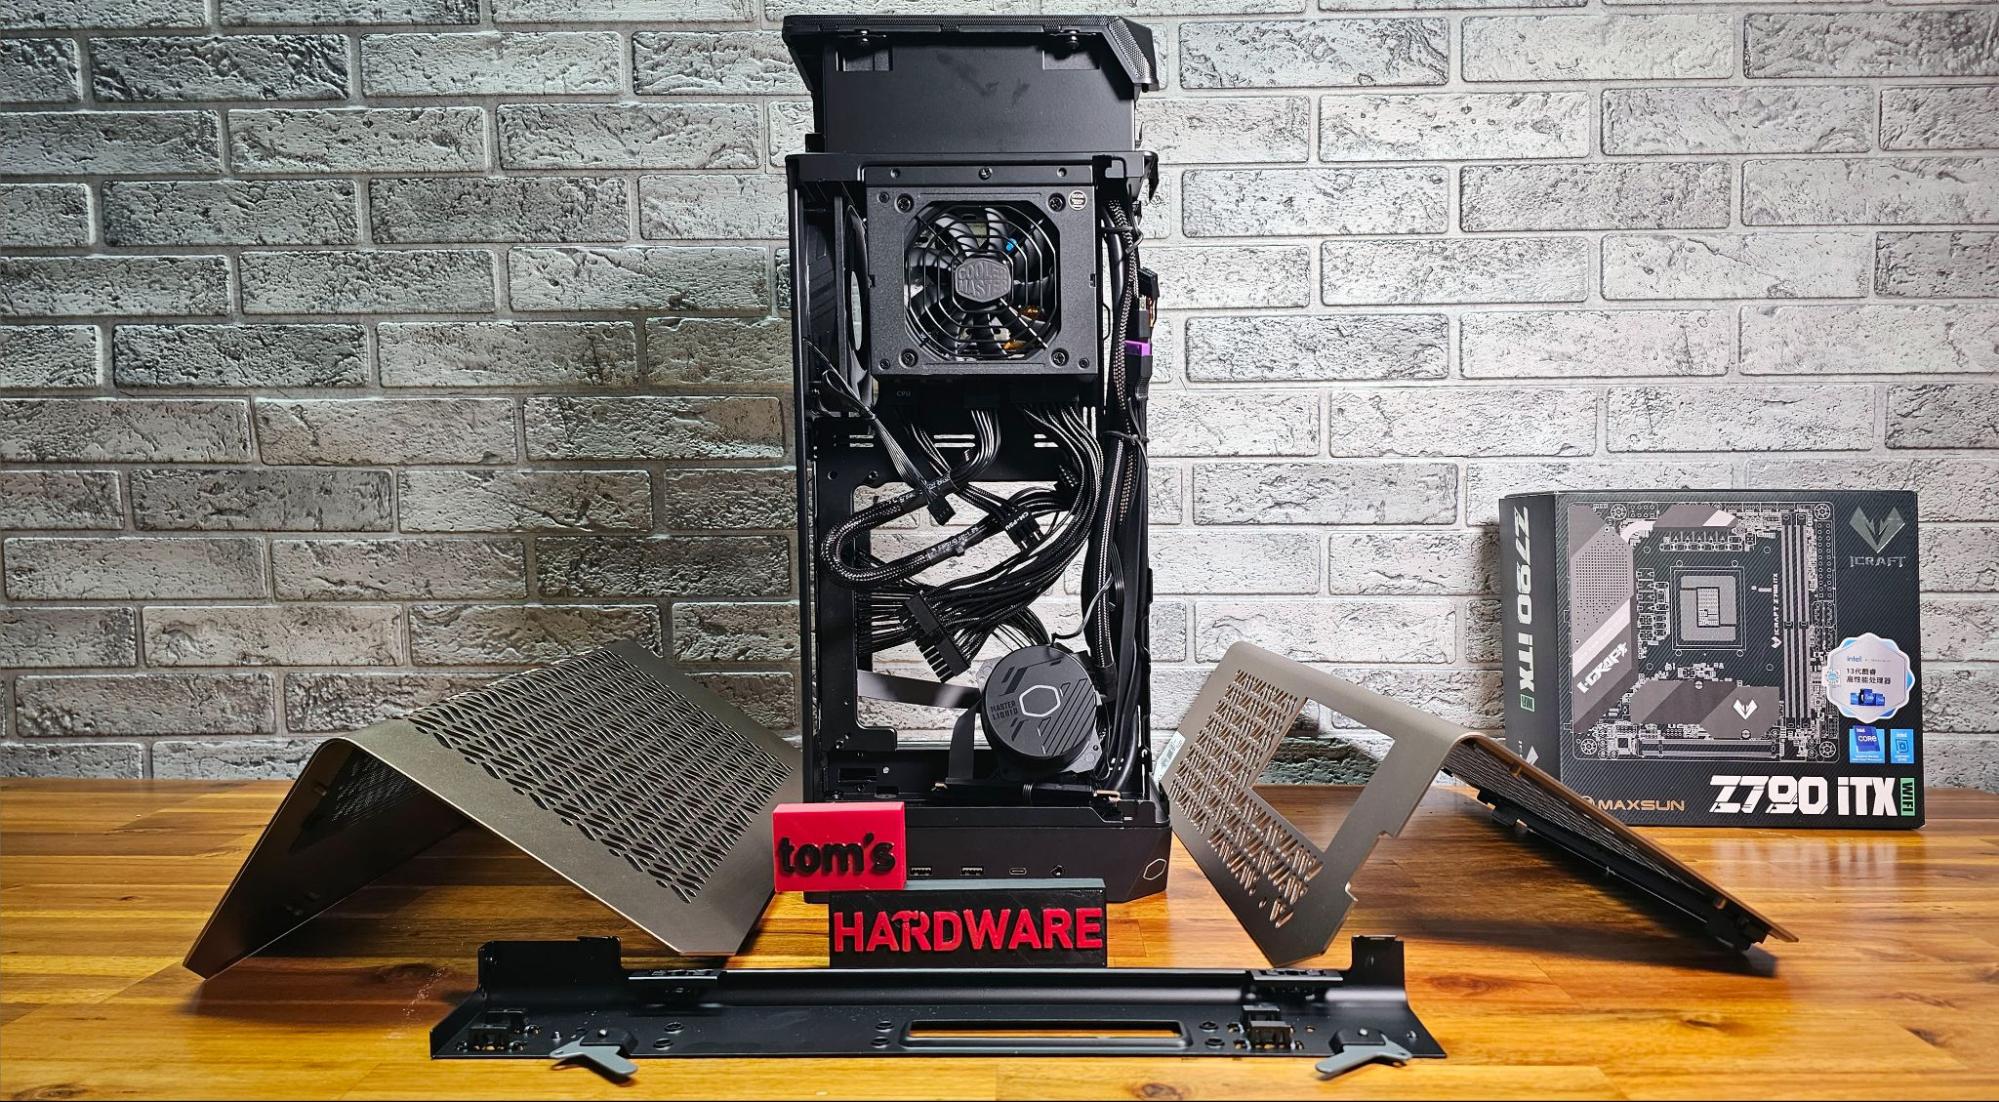
Building a system in the NCore 100 Max is definitely eased by the fact that the PSU and AIO cooler come pre-installed. But the tradeoff is that there is quite a bit more disassembling and unpacking to do, as the cooler’s pump/cold plate comes encased in foam inside the case, and most of the cables are meticulously held together with some stuff twist ties. This is good overall, but does result in some extra unpacking work.
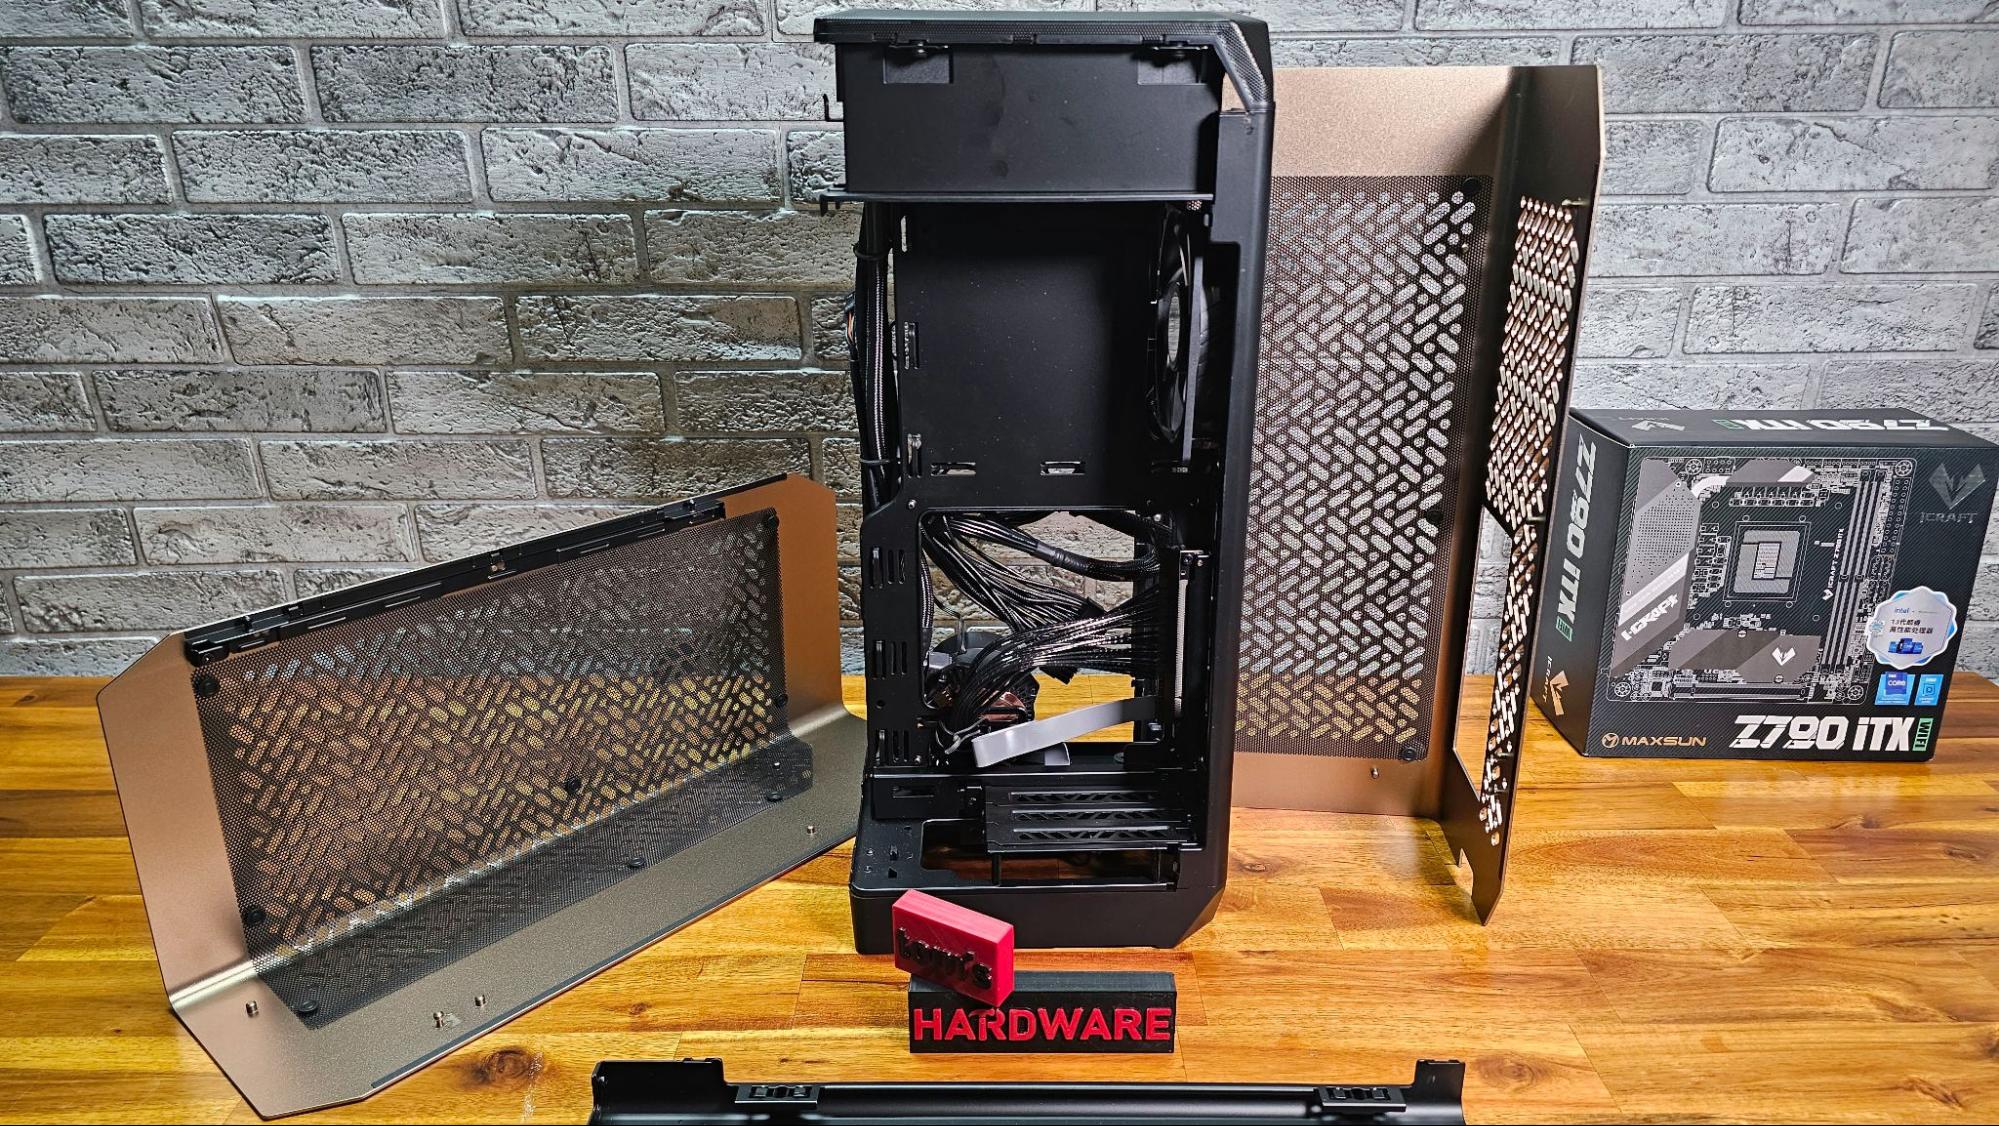
Getting the side panels off is at least quite easy, as they are held in place by several pins. Pull in the right direction, and they come right off. And you’ll want to remove the panels somewhat regularly, because they hold non-removable dust filters that (depending somewhat on your environment) should be regularly cleaned.
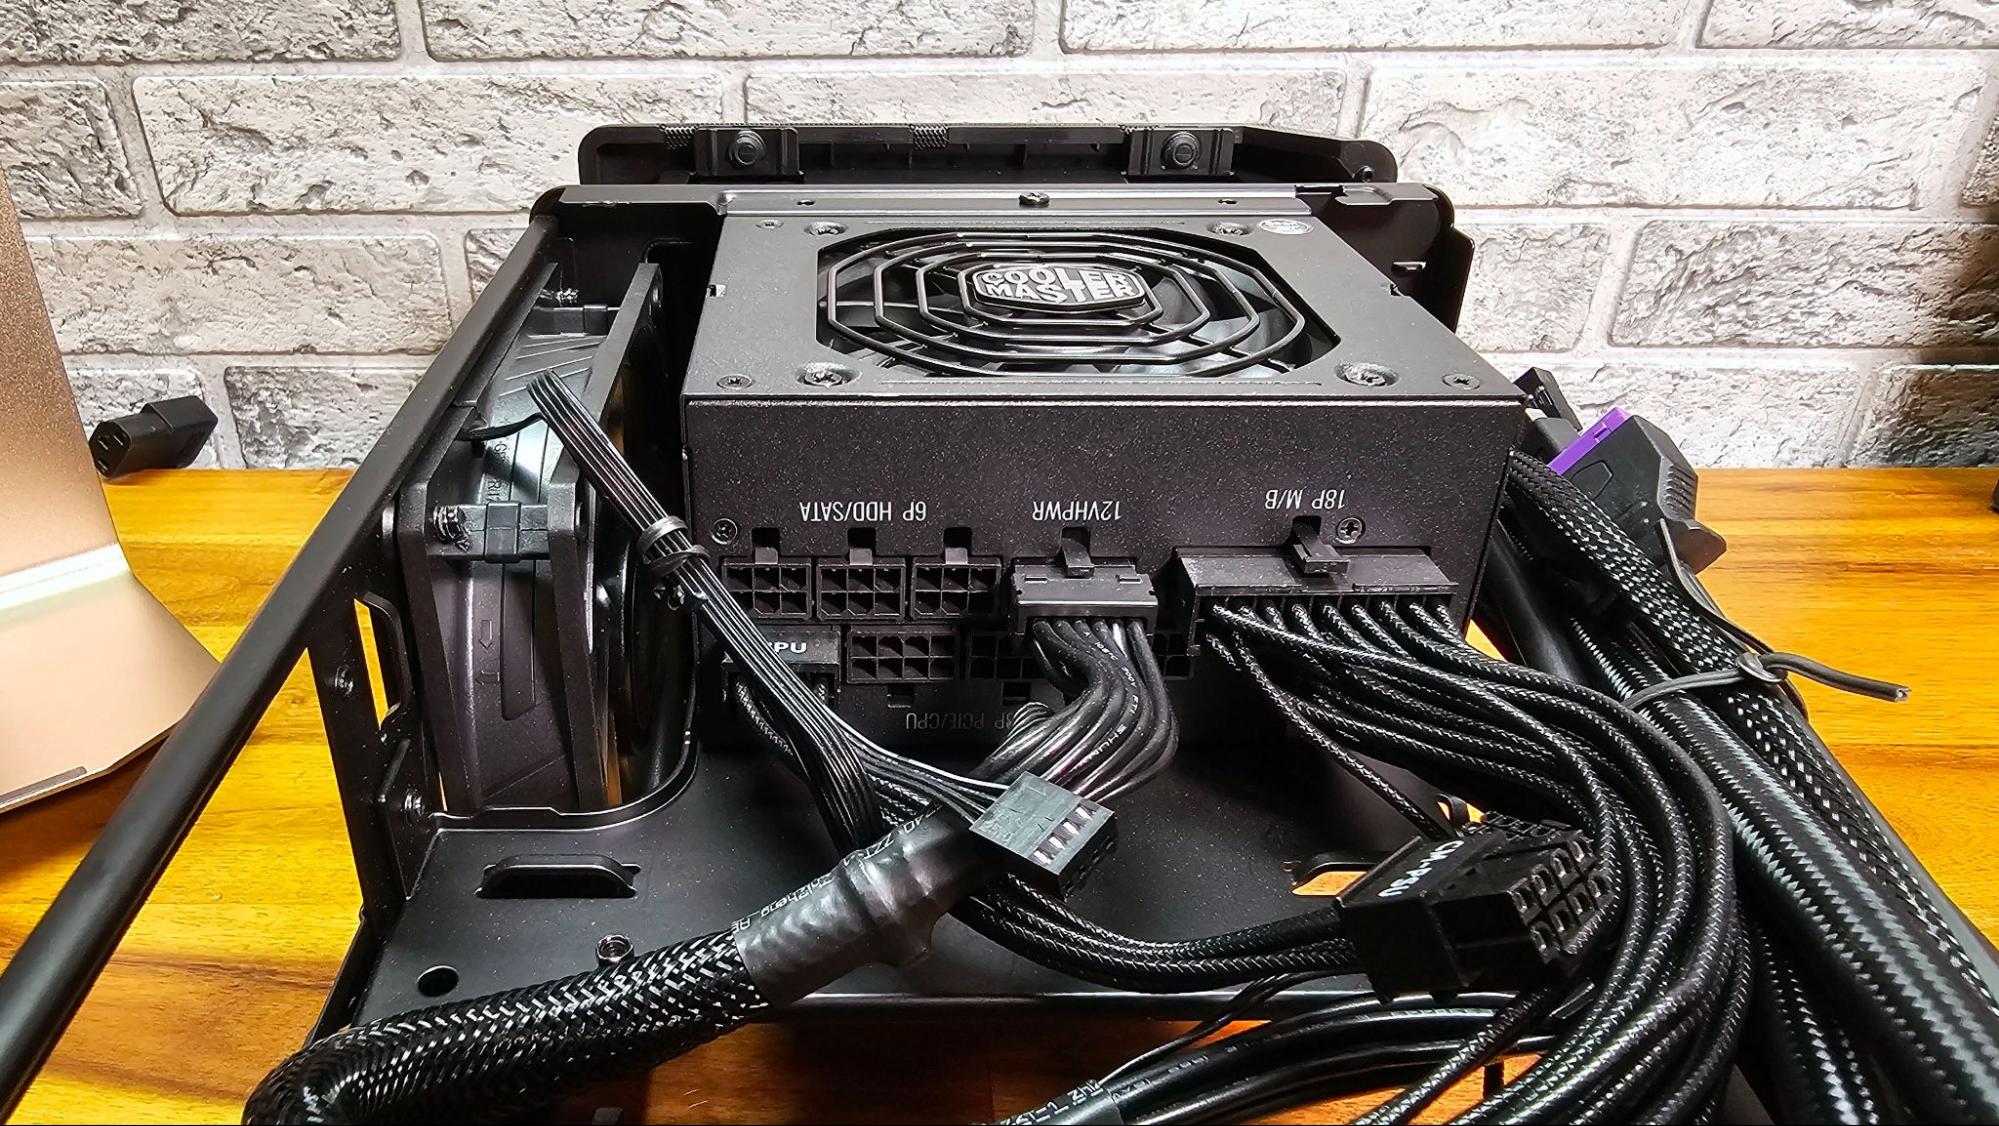
The pre-installed 850W SFX modular power supply should be sufficient for basically anything you could fit in this case, and it’s ATX 3.0 ready with the necessary cables pre-installed, which is a nice touch. But shipping with the 12VHPWR cable pre-attached might not be the smartest move, as the majority of graphics cards currently available don’t yet use this connector. I had to dig into the accessory box to find the traditional 8-pin power cables to install the AMD Radeon RX 7700 XT I’m primarily using for the purposes of this build. More on graphics cards shortly.
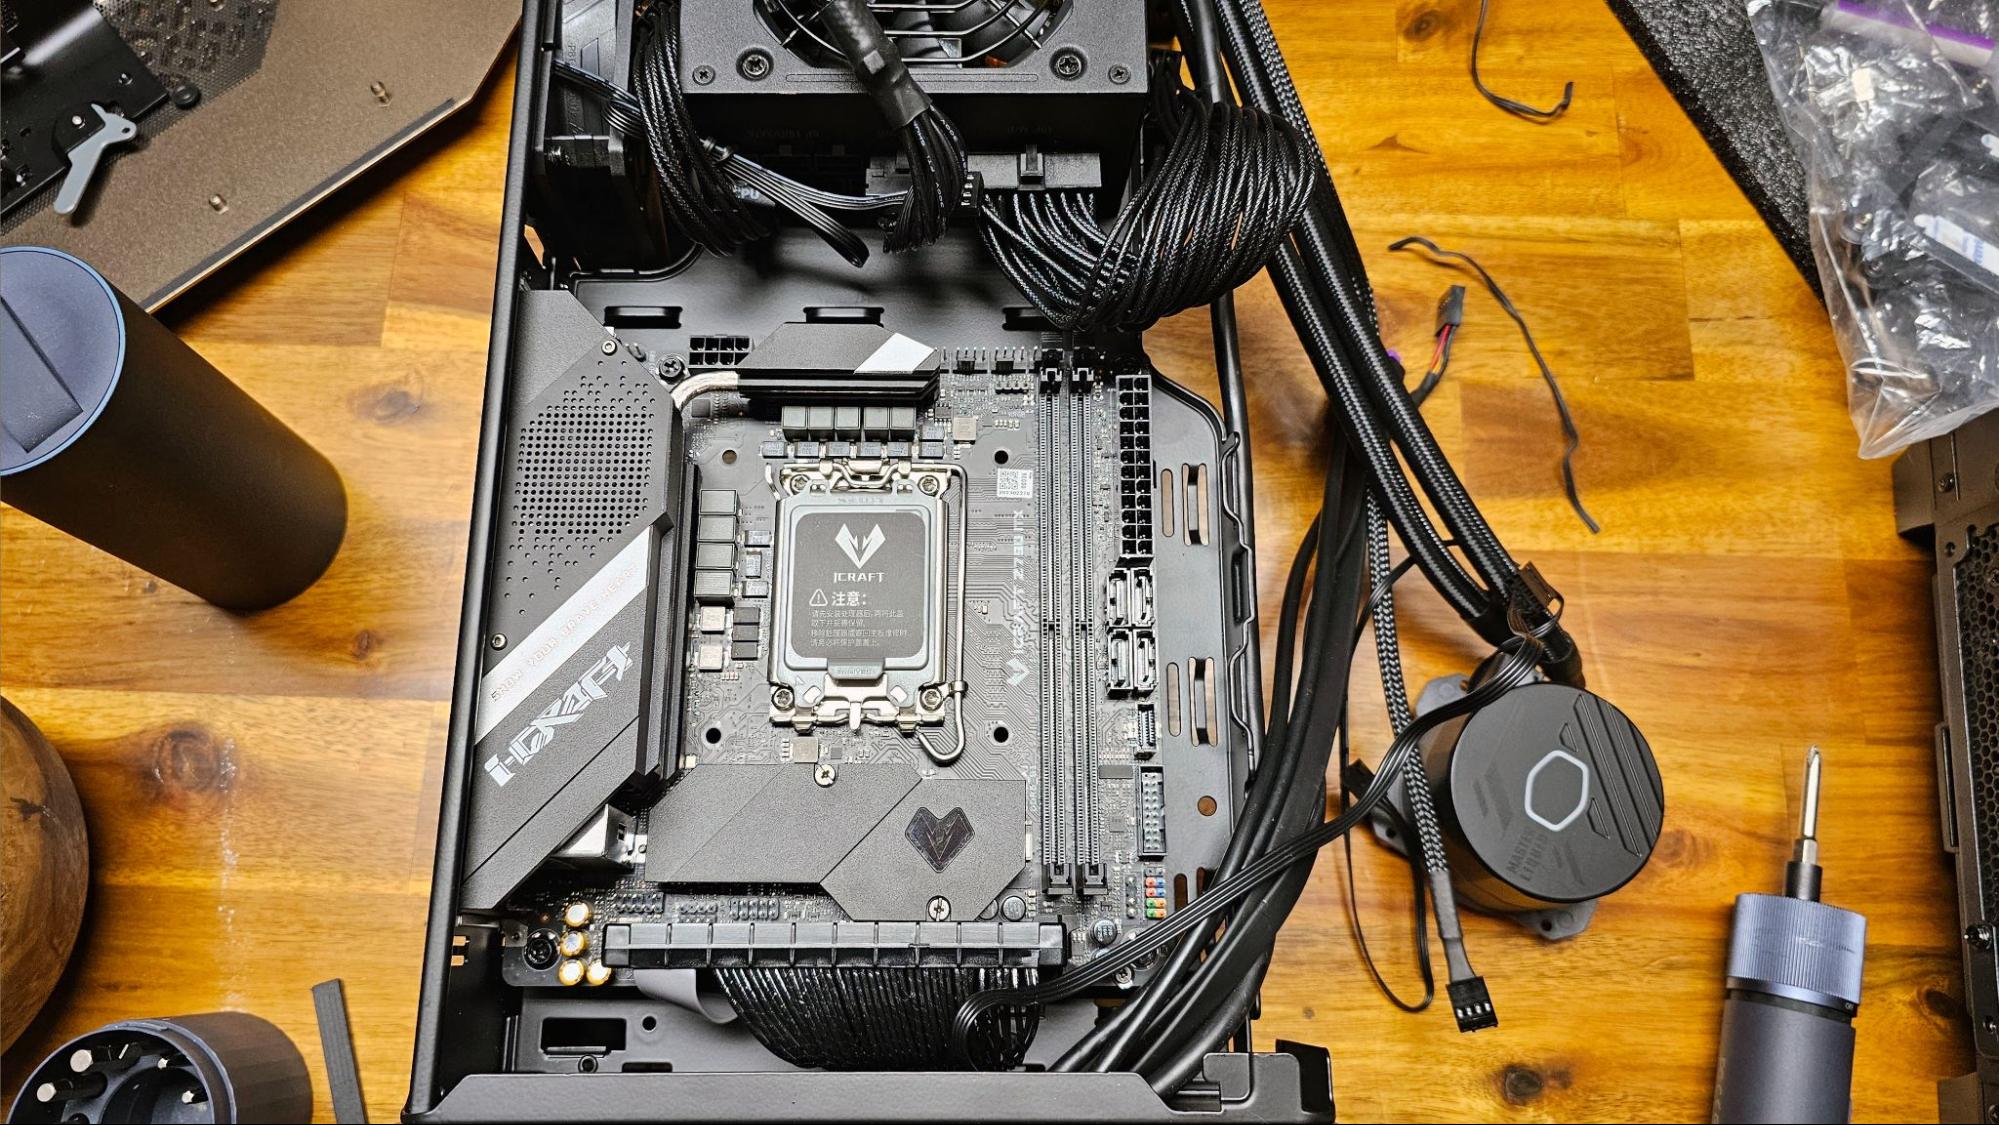
By far the most difficult part of motherboard installation here (I’m using the Maxsun iCraft Z790ITX) is getting (and keeping) all of the pre-installed cables out of the way enough that you can sit your Mini-ITX board on the pre-installed standoffs. Once the board is screwed in, it’s a good time to plug in the PCIe 4.0 riser cable, because you’ll need it inserted in the slot later on, as you deal with the slack from it and everything else in these very cramped quarters.
There is also technically a mounting spot for a single 2.5-inch SSD or hard drive just below the riser cable (see the image above). If you plan to put a drive there, I’d suggest mounting it before plugging in the riser cable. But either way, it’s going to be an extremely tight fit, as it feels like there’s barely room for the riser cable without a drive cutting the space down by several millimeters. You might want to stick with the M.2 slots on your motherboard if possible – or use external storage.
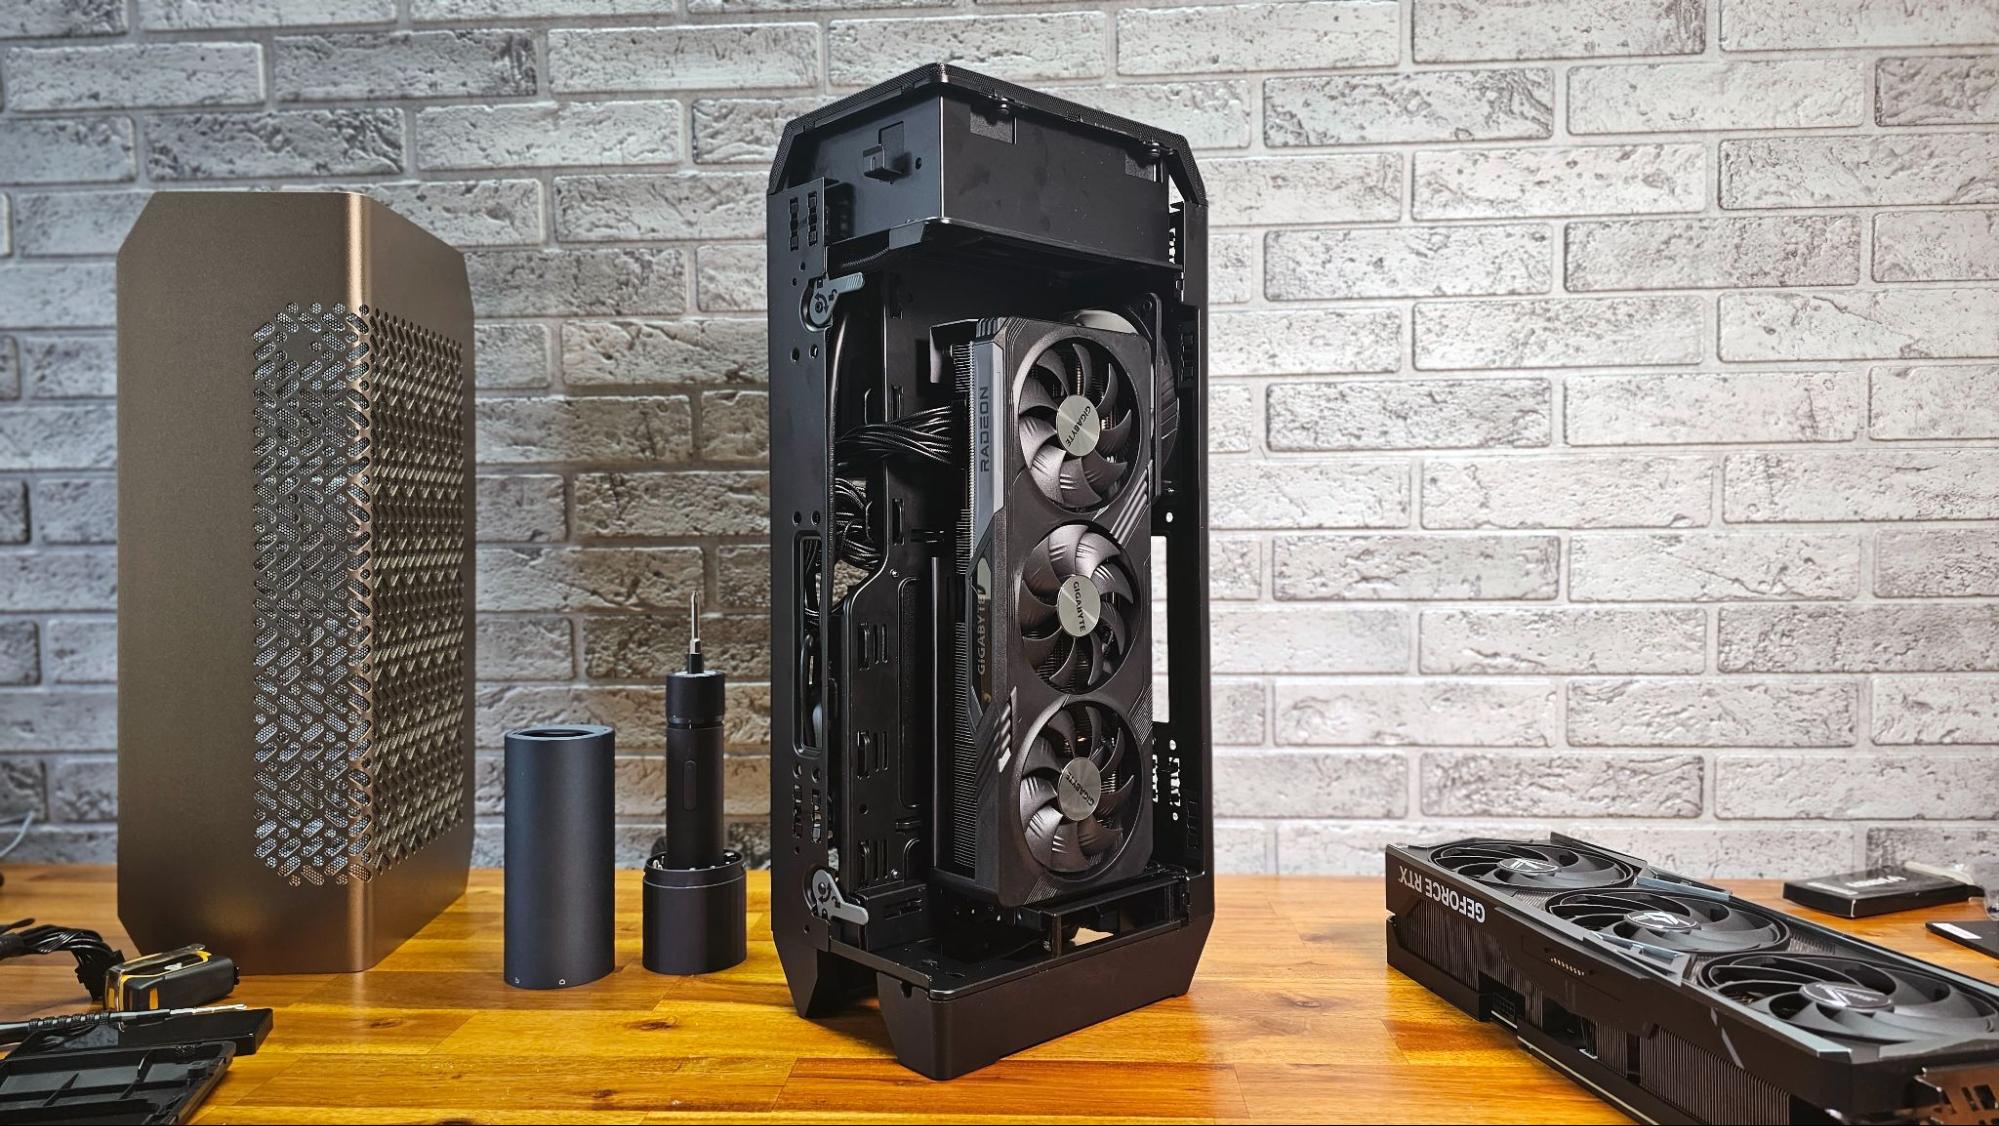
The graphics card installs on the other side of the motherboard tray, in a way that’s not dissimilar to the horizontally oriented Fractal Terra. Installing most GPUs here should be pretty simple. Our RX 7700 XT, which is about a foot long and 2.5 slots thick, went in with ease; it was as simple as inserting it into the slot, screwing down the PCIe bracket, and plugging in the pair of 8-pin power connectors. Again though, I had to get those cables from the case’s accessory box, as Cooler Maser ships this system with the single 12VHPWR cable pre-installed.
Fitting in my larger Colorful RTX 4090 Vulcan OC, on the other hand, was a lot more complicated. At about 13.32 inches long, it was just slightly too long to fit here – at least without some fussing. The case does technically allow you to remove the PCIe mounting bracket and attach it basically on the floor of the chassis, giving you up to 14.06 inches of graphics card length clearance. But that would also almost certainly require the use of an L-shaped video cable, as the GPU ports would sit about 1.5 inches from the surface of your desk. So I just stuck with my RX 7700 XT for this story. Only the truly largest graphics cards should give you this extra hassle.
Options for truly massive GPUs
For the record, Cooler Master says the NCore 100 Max can support graphics cards up to 13.27 inches long and 2.44 inches thick by default. If you’re looking to install something bigger, you’ll need to move the previously mentioned bottom PCIe bracket. Then, once your card is installed, you can mount the side panel in a separate set of holes that makes the case 0.76 inches wider. The company also supplies a second, wider mesh top cover for this scenario. This “expanded mode” as Cooler Master calls it, should allow for GPUs up to 14.06 inches long and 3.11 inches thick.
The expanded mode should accommodate nearly every air-cooled GPU, and it gets around the card limitations of Fractal’s Terra. But do note that, with the case in its expanded mode, the GPU side panel doesn’t attach as securely, and there’s an unsightly gap at the back of the case where the panel mounts just sit against the edge of the case, rather than inserting into the holes inside of it.
This gap is at the back of the case, where it won’t often be seen, and I am glad that Cooler Master made some accommodations for truly massive GPUs. But given that the case is just over 6 inches wide in default mode and 6.77 inches in expanded mode, I don’t get why Cooler Master didn’t just make the case 6.77 inches wide (or heck, go for an even 7) by default.
Fractal had similar limitations with its Terra case. Are there that many SFF enthusiasts demanding that these cases need to be just six inches wide or thick? Some extra internal space could also provide more room for cable routing and a couple extra (and less cramped) 2.5-inch drive mounts for those who aren’t installing the biggest graphics cards available.
A Smart Trick for Cramped Cable Routing
The NCore 100 Max is designed so that most of the cables get routed up one corner of the case – the one that sits on the right front with the case pointing its front ports toward you. There’s not a lot of room here, but the whole process works surprisingly well because the company includes a corner routing cover that locks in on both the top and bottom via some rotating metal tabs. The company even labels them so you know when they’re locked in place. This is a feature I’d like to see iterations of in other compact cases, as it lets you confine most of the cables in a very small space, without the need for ties that can add bulk.
The only issue I had with the cable routing panel was when installing a side panel in the expanded mode. The side panel refused to go on at first, until I noticed one of the holes was effectively plugged by the flat USB 3.0 header cable that was jammed up against the corner of the case. Once I pushed that out of the way (via the long rectangular hole you can see in the image above), the panel popped on without issue.
Ease of Installation
Overall, the rest of the installation process went surprisingly quickly, thanks to lots of the cables being pre-installed and the fact that the case is basically an open frame with all its panels removed. The front-panel headers are also fused into a single block, which saved at least a few minutes of fussing with the manual and a flashlight.
Setting up the AIO cooler for my Intel LGA 1700 socket (after my 13600K was installed) was a bit involved, as you have to screw the correct brackets to the pump/cooling plate area. But at least the case has a large cutout at the back so I could install the backplate after installing the motherboard.
Power Cable Problems
For the most part, installing all my components in the case was much easier than in many SFF cases this small. But once I got all the cables plugged in and the side panels back on, I plugged in my monitor and the power cable and pressed the power button, to the right of the front IO ports, on the right corner. And nothing happened.
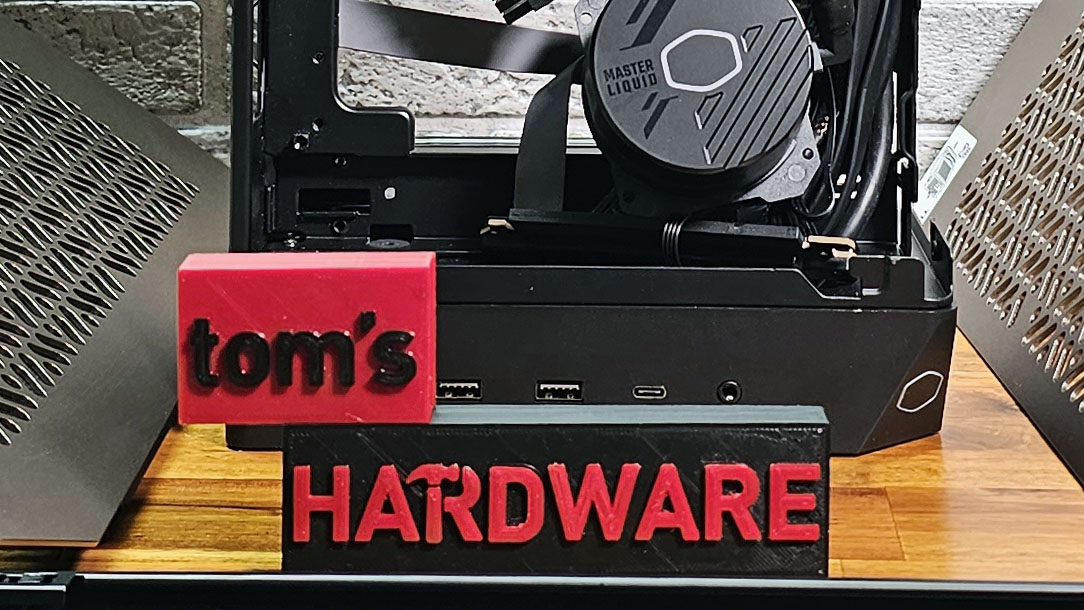
There were no power cycling sounds, no fan movement, and no lights. At first, I popped the panels off and checked that the primary PSU power cables were fully seated. Once that didn’t help, my PC-building instincts told me that either the SFX power supply was dead, its switch was off, or something was wrong with the socket extension cable that runs from the back of the power supply to the bottom of the case where you plug your standard PC power cable into the system.
Trouble is, the NCore 100 Max ships with metal parts covering the power supply. With the AIO cooler up there, surrounded by metal and a fan, it didn’t seem like getting at the power supply to check these issues was going to be very easy. After unplugging the power cable from the wall, I first removed a couple of screws up top, thinking I might have to pop the radiator out. But thankfully, I quickly realized that the easiest access to the PSU was via the front.
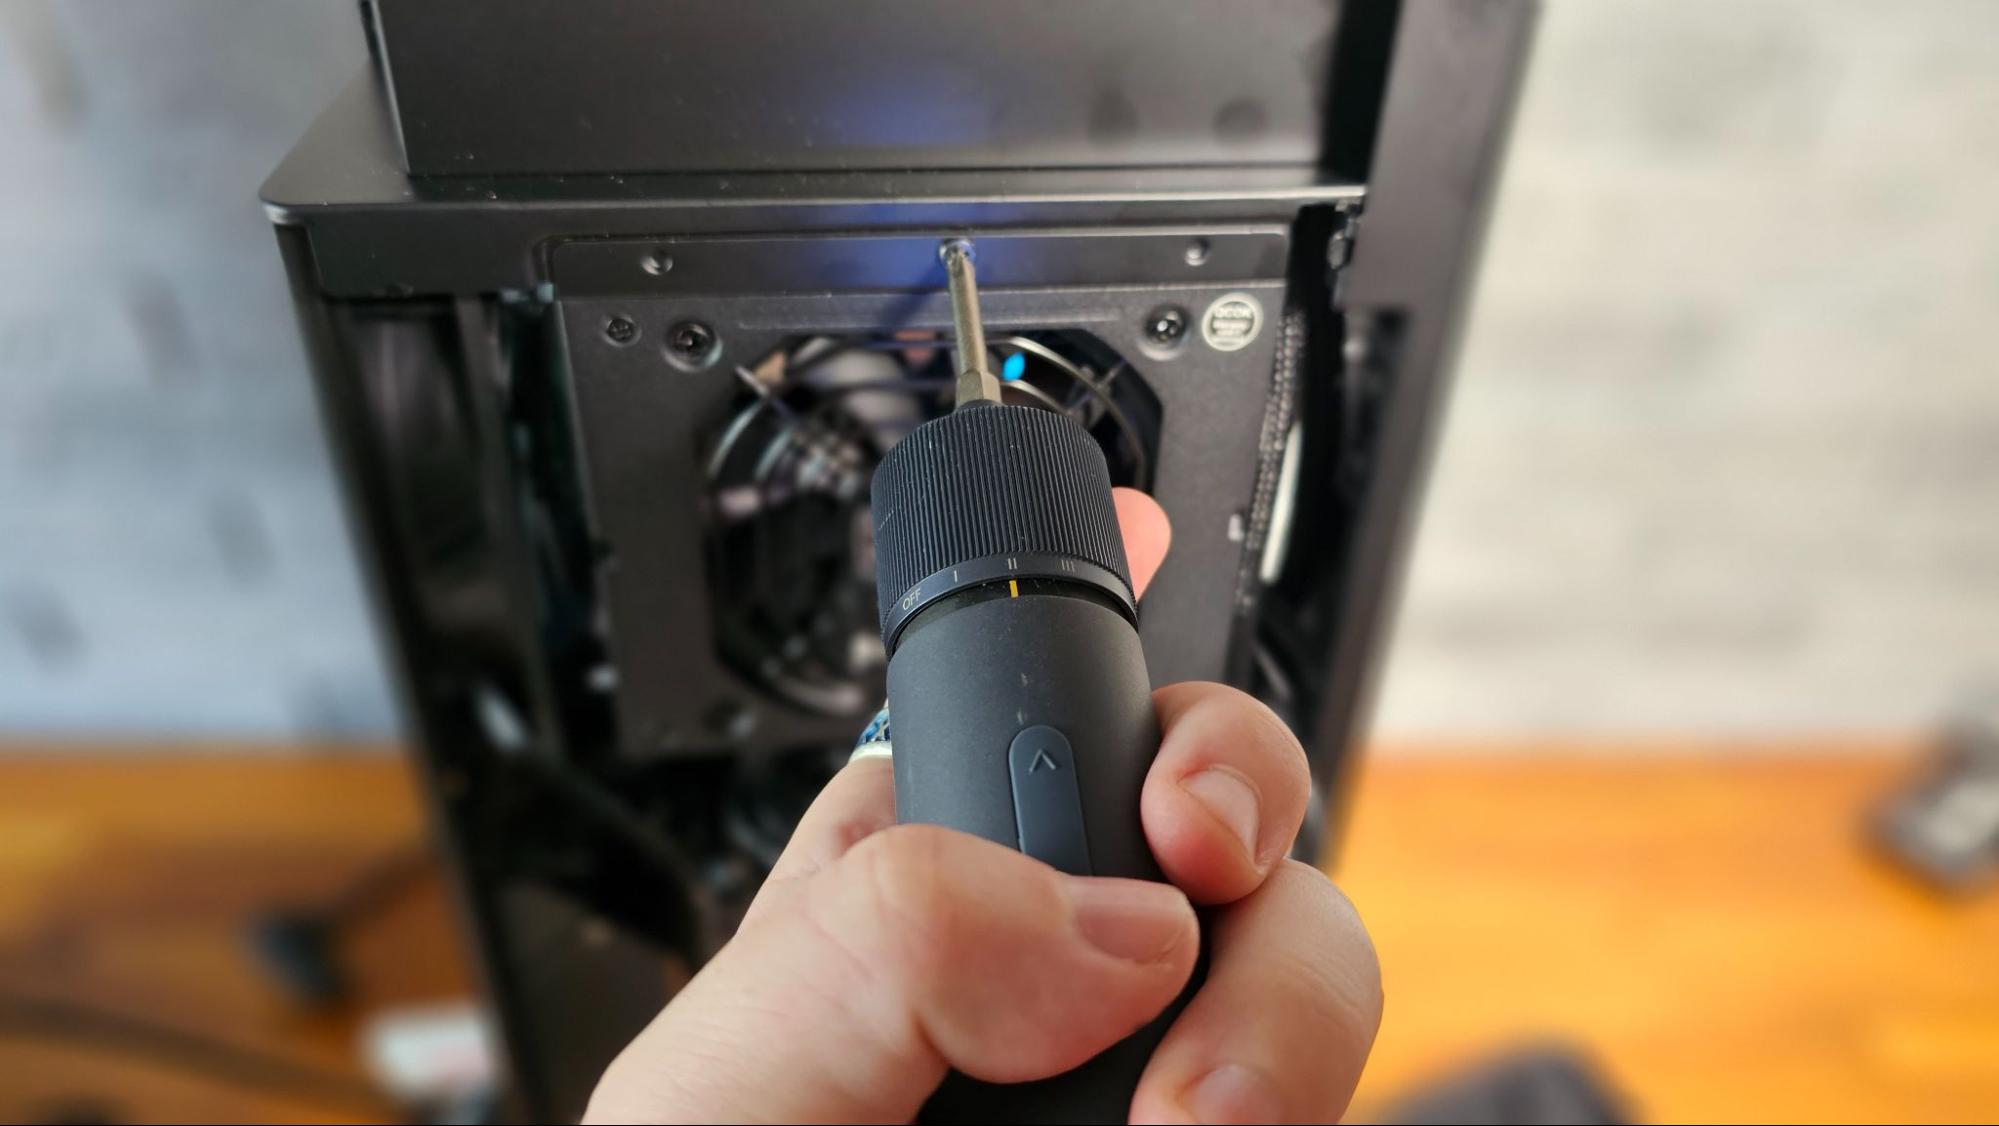
A single screw holds a bracket that the power supply is screwed into. With that removed, the power supply pulled out easily, and I could see that the SFX unit’s rocker switch was in the on position.
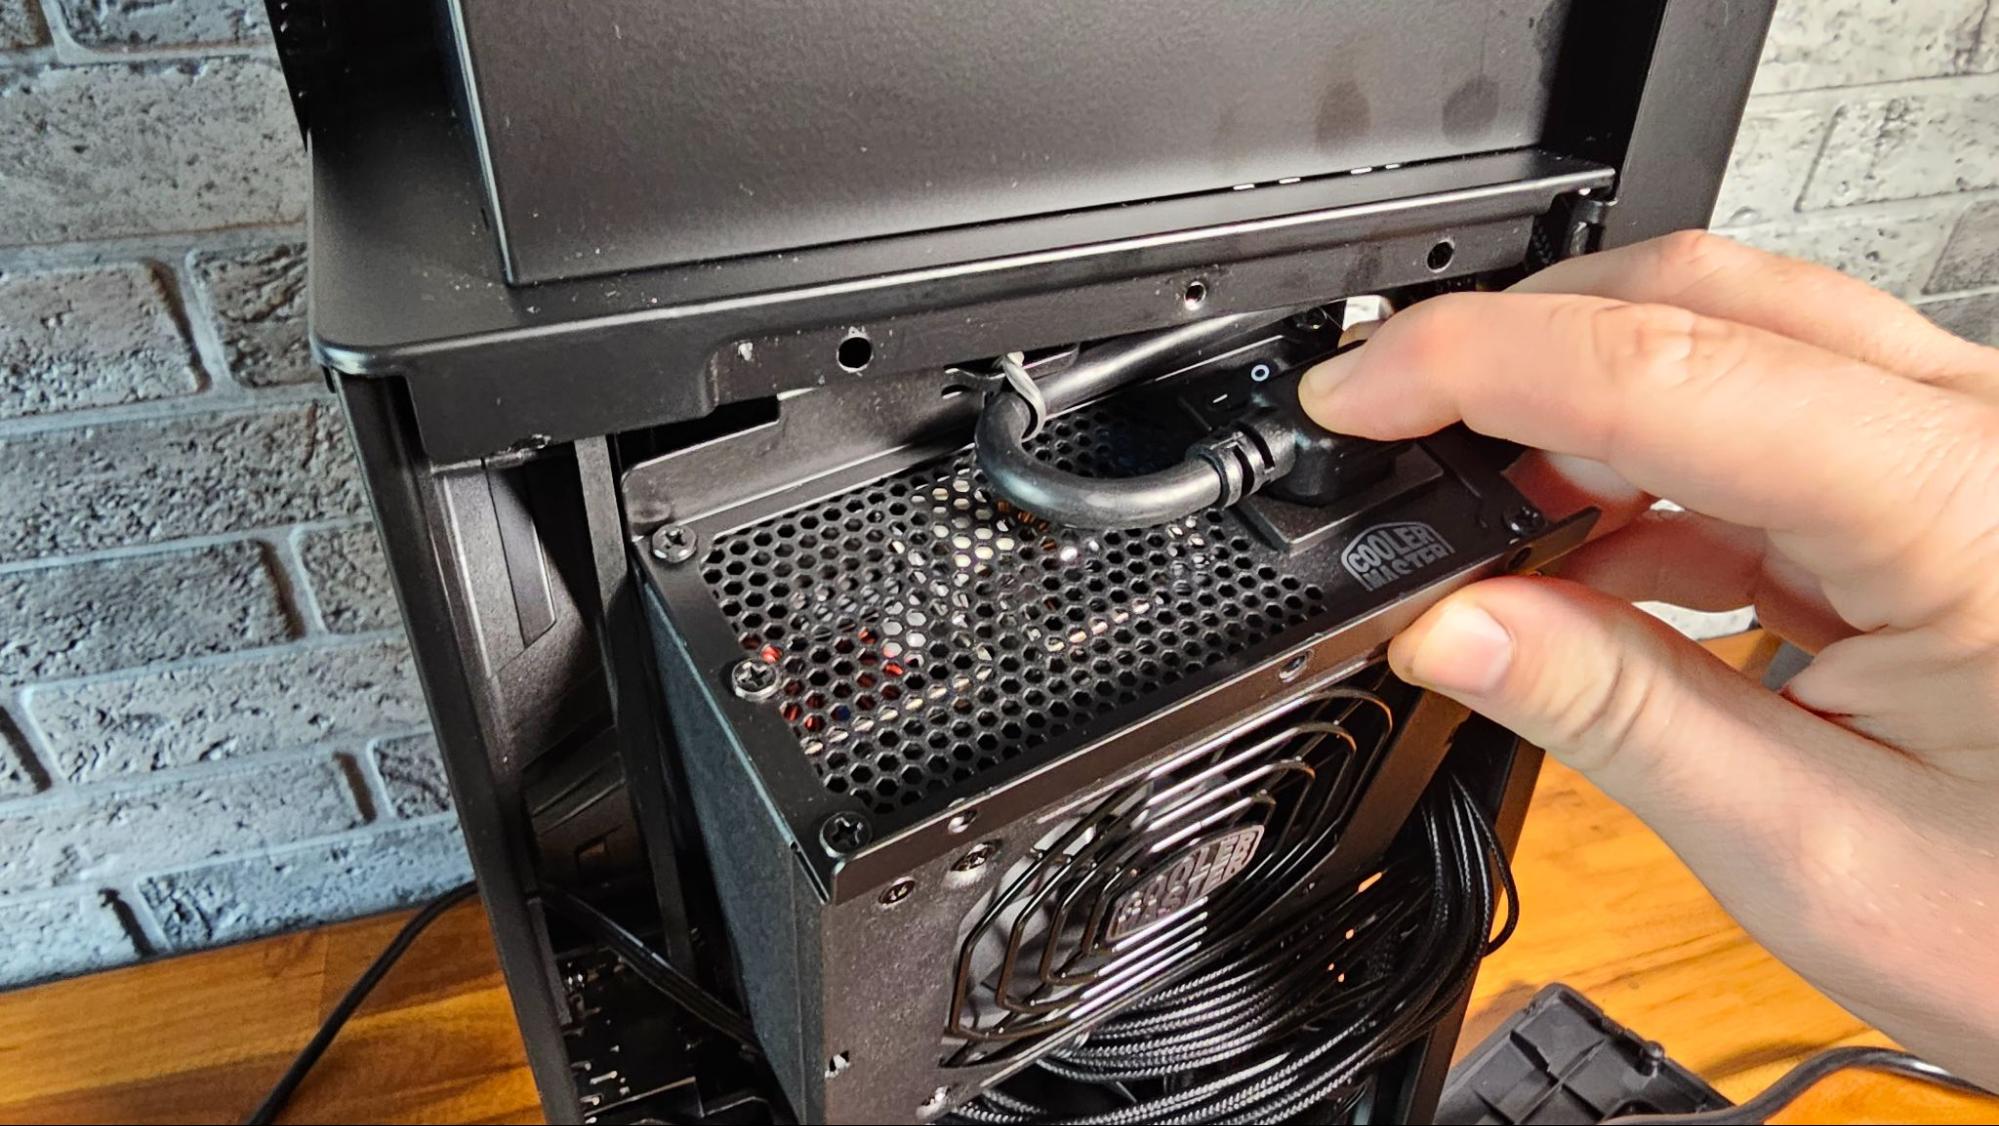
So I pressed down on the cable, which did appear to be seated in its socket, into its socket, just to be sure. Then I plugged my power cable back in, hit the power switch again, and everything instantly powered up and the system booted into the BIOS, awaiting my OS.
It’s hard to say for sure, but it seems possible to me that the single screw that holds the power supply in place (with the help of a couple extra holes and divots in the mounting bracket), lets the PSU rock back and forth very slightly during shipping, and that could have resulted in my cable becoming just loose enough that it wasn’t making contact in its socket. Note that the cable is twist-tied in place in a clear effort to keep it from shifting and applying extra pressure on the socket.
It’s also possible that the power cable in my unit just didn’t get pushed fully into its socket during the assembly process. I reached out to Cooler Master about this issue and a company representative told me they checked multiple units for the same issue I experienced, but did not’ find another unit with its power cable not fully seated into the PSU. Hopefully, for potential buyers and for Cooler Master, I experienced an isolated issue. Because most people who buy a case like this, particularly one where the power supply is pre-installed and partially walled off behind pieces of metal, are likely going to get frustrated if it doesn’t turn on and return the product before partially disassembling it and finding what was, for me at least, an easily-fixable issue.
Some Thoughts on Performance
As you might guess, given that the NCore 100 Max is vented on all four sides and designed to handle high-end parts, it’s not a quiet case. The single 120mm SickleFlow exhaust fan that vents out of the side of the case isn’t particularly noisy. But even if it were, it would likely get drowned out by the graphics card fans. And Cooler Master, perhaps smartly, put the GPU area at the back of the case. But that means that the AIO cooler’s pump hum and the small intake fan of the SFX power supply are front and center, just behind a bit of aluminum and mesh. Standing about a foot from the case with the front of it facing me, pump hum was quite audible and pretty much constant while I was installing Windows. This is less noticeable if you move the case a few feet away, but honestly you should have no expectations of quiet operations if you’re going to put a high-end GPU and CPU in a case this small.
My only real concern about performance pertains to CPU cooling. Now, the 120mm AIO here handled my Core i5 at stock settings without an issue. And the radiator is thicker than most (38mm, according to Cooler Master’s specs) with “more liquid” than most 120mm liquid coolers. But high-end CPUs are more thermally demanding than ever, and we know from our own cooler testing that not even all larger 240mm AIO coolers can struggle to keep recent-gen Core i7 and Core i9 processors from throttling under sustained loads.
If you’re primarily interested in gaming, the thick 120mm AIO in this case should serve you well enough – especially if you are planning on sticking to Core i7 or Ryzen 7 CPUs. But if you’re also looking for a rig that can do high-end media creation or other CPU-heavy tasks and you want to get the best performance possible from one of the best CPUs Intel or AMD have to offer, you should probably look for a larger case that has room for a bigger cooler.
Conclusion
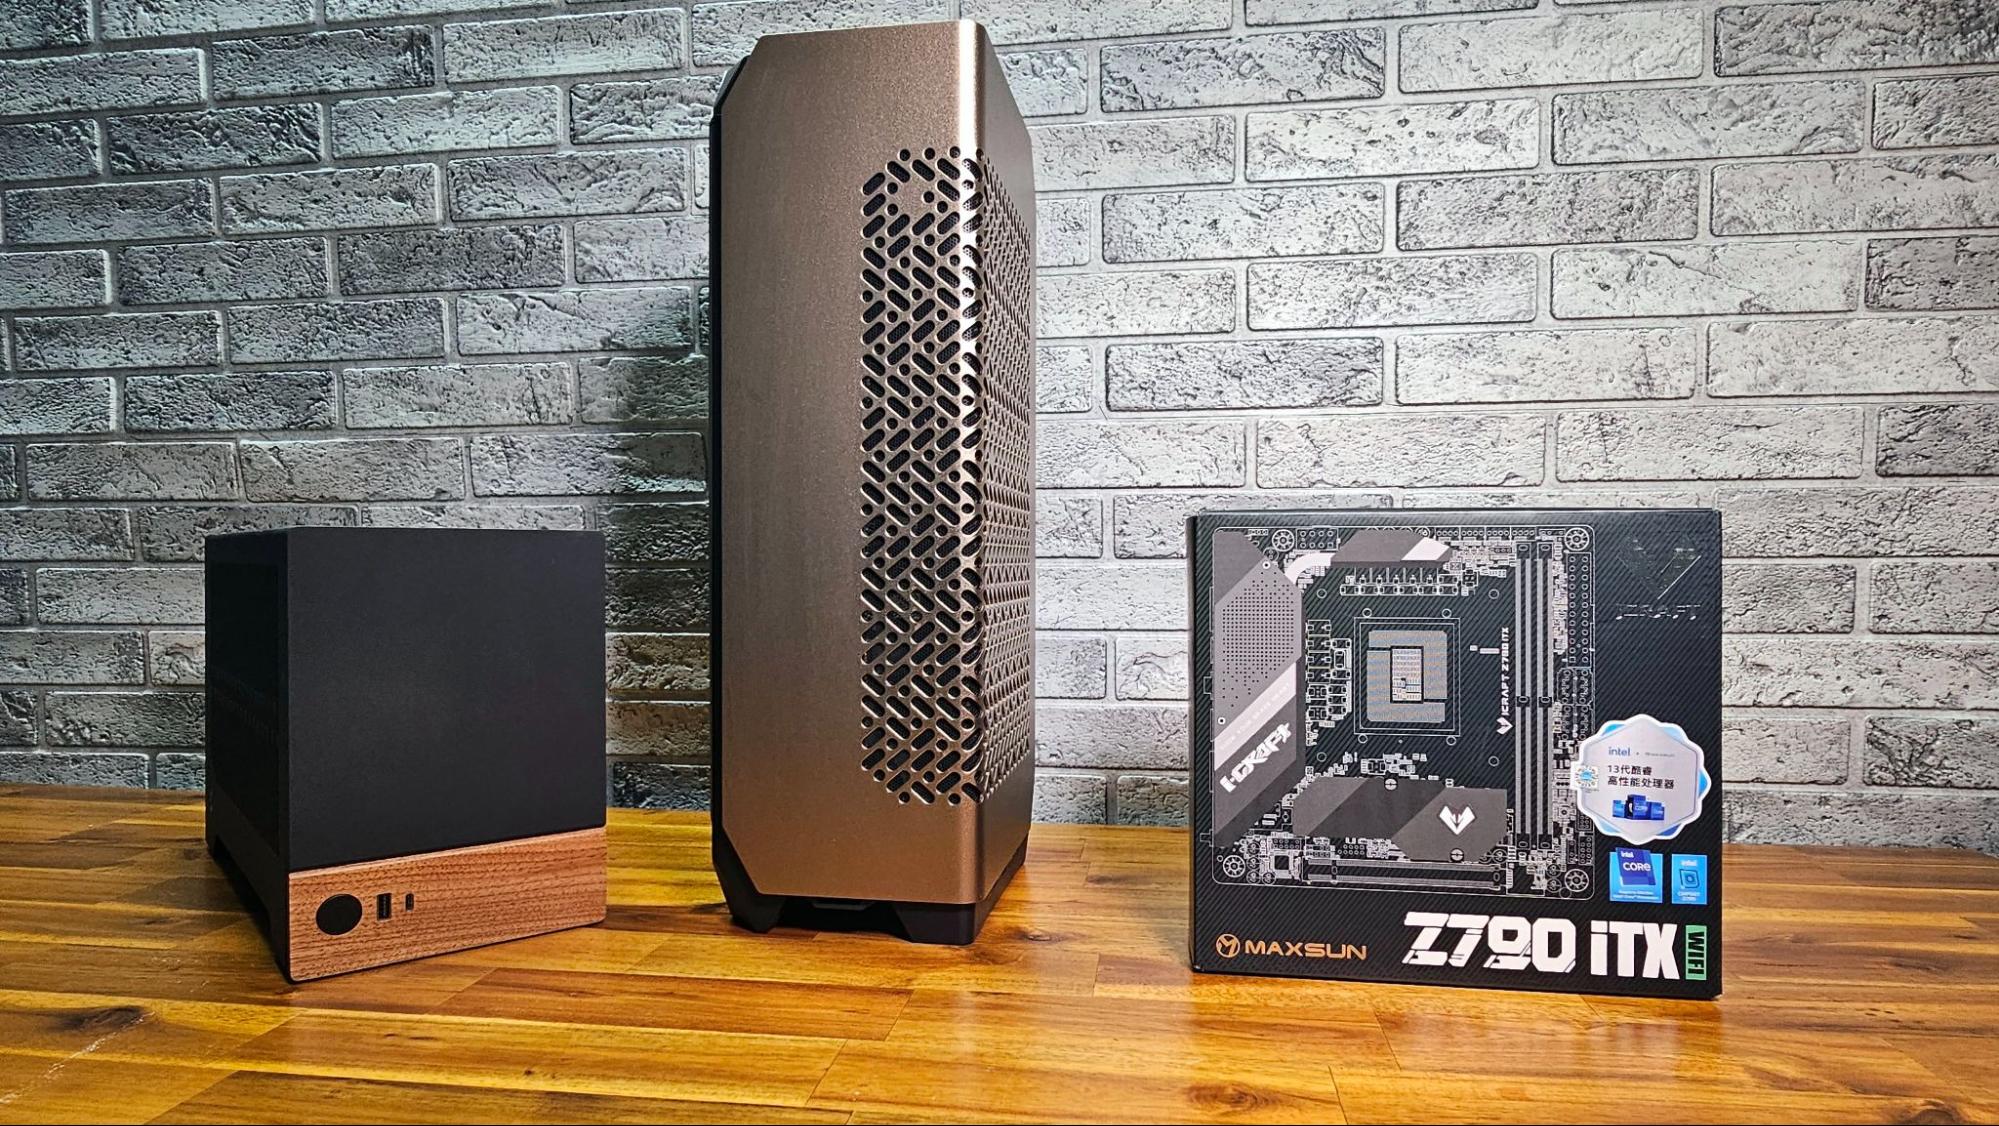
For those looking to build a high-end gaming PC that takes up minimal desk space, the NCore 100 Max is an attractive, versatile option that can accommodate the largest graphics cards. Just know that if you have a truly massive card that’s well more than 13 inches long and / or three inches thick, things get a bit more complicated and clunky.
I’d also plan on sticking to M.2 storage. While there is a 2.5-inch drive mount at the bottom of the case, there is so little space that adding a drive would put a disconcerting amount of stress on the PCIe 4.0 GPU riser cable. If you really need more storage space, I’d consider plugin in one of the best external SSDs here instead.
The real roadblock for a lot of potential buyers is going to come down to the NCore 100 Max’s cost. While the inclusion of an 850W SFX power supply and a custom 120mm AIO means there is less to buy and a lot less to assemble when building a system around The NCore 100 Max, and SFF system builds typically come at a price premium, $379 is a high asking price for what most people are going to see fundamentally as a PC case. That said, considering buying a similar case, PSU and cooler separately would cost roughly $300. If the NCore 100 Max goes on sale for around $350 or less, it may become more appealing.


