I think Royal Enfield has used a lot of Lithium grease which eventually heats up the relays and spreads over the entire sockets, blocking free conductivity between the relays and connectors.
BHPian raiuday recently shared this with other enthusiasts.
Inty’s gone through the first service in a week and done 560 kms overall. Time for a DIY.
Inty/GT’s relays tend to give up and the bike just stalls abruptly. Several forums online did mention the issues with earlier 5-pin relays but the same persisted with the newer 4-pin relays as well. RE gunks up the relay sockets with Lithium grease, like a lot, and that eventually heats up the relays and spreads over the entire sockets, blocking free conductivity between the relays and connectors.
Solution? Get the factory grease off with an electronic contact cleaner (WD-40 electronic contact cleaner is what I used). You may choose to replace the relays altogether with 4-pin 12V 20A or 30A SPST relays from good brands like Bosch, Panasonic, Denali etc., but I’ve not done it although I had spare relays, as my bike is just a week old. Might do it if I face any issues in the future.
Tools/materials used:
- Allen key to open the left side panel.
- WD-40 Contact cleaner.
- Permatex Dielectric tuneup grease.
- Ear cleaning bud to apply the grease.
- Soft cloth to wipe off the connectors.
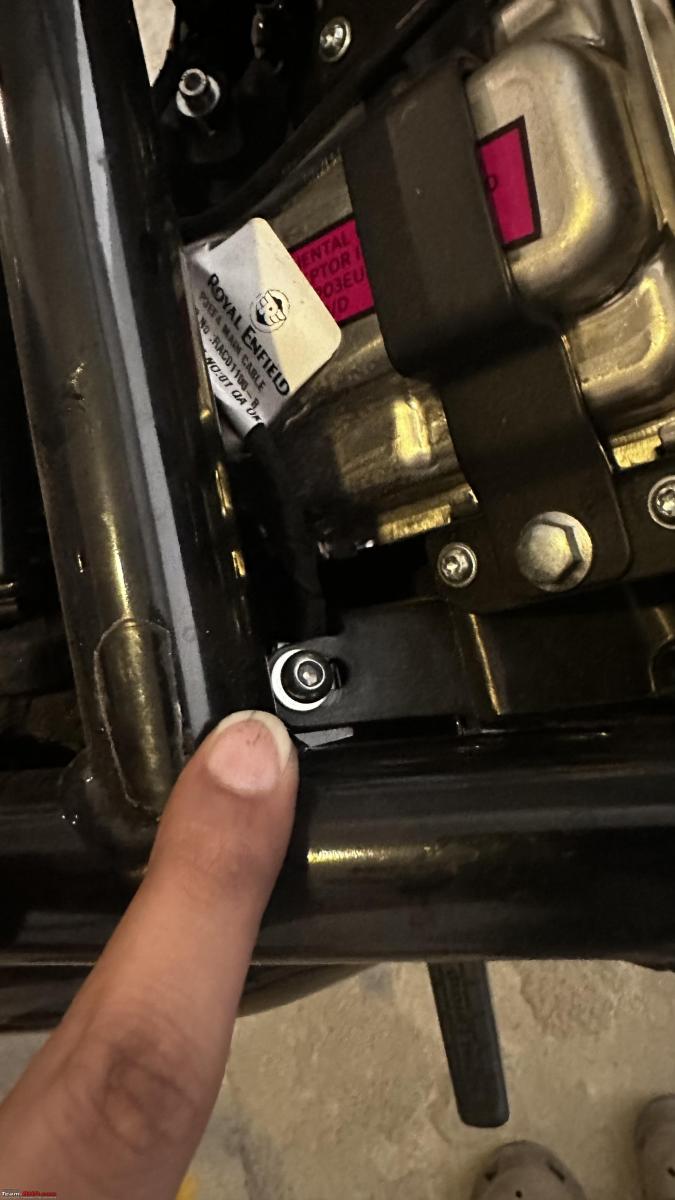
First step is to get the side panels and seat off the bike as the relays are accessible under the left-hand side panel. Be careful while pulling the left side panel as it involves getting the Allen bolt off on the frame under the seat and then by holding the left top corner, pull the panel towards yourself and it pops, then pull the panel upwards to get it off.

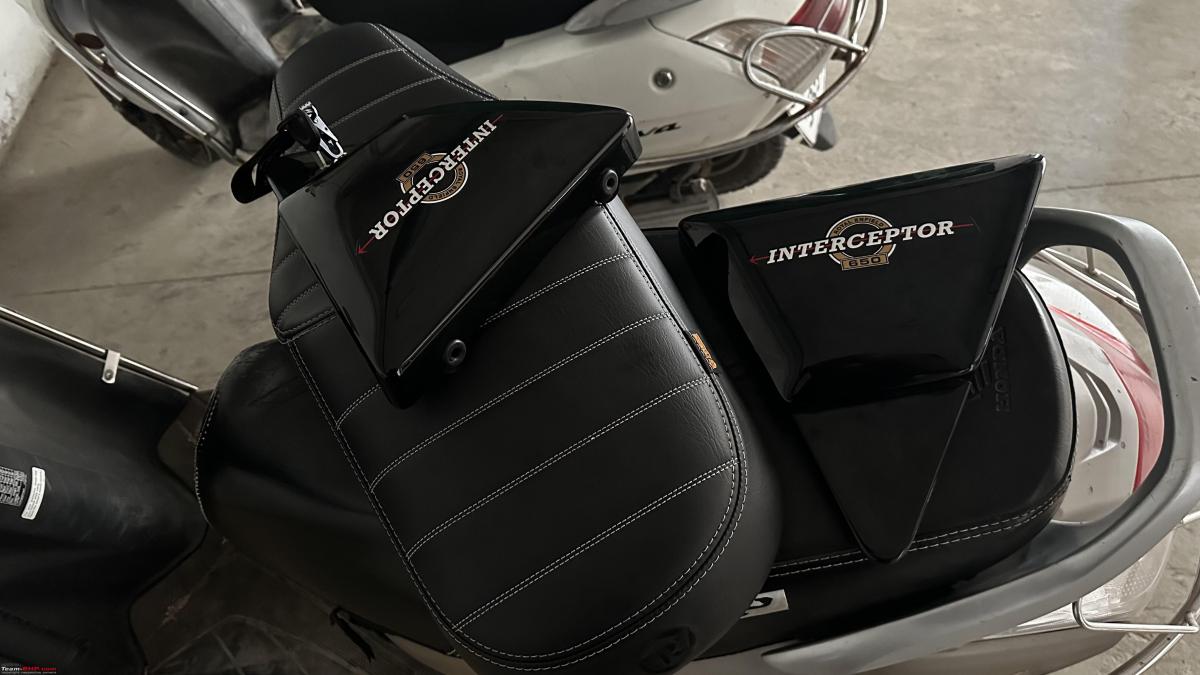
Once the left side panel is off, you’ll have access to the relays which are held in position by clips behind the sockets.

Pull the relay sockets upwards off the clip and then the relays out. You can see the relays fully covered by grease. If you’ve OCD, go ahead and mark the relays to get them in exact same positions.

The connectors and relays are goofed up with too much lithium grease which hampers the conduction of electricity, heating up the relays and ending up stalling due to the fuel pump not receiving the required wattage.

Now shake the contact cleaner, point the nozzle at the relay connectors and give a thorough spray to get the gunk off. I’ve used a lens cleaning cloth around the smallest Allen key (toothpick does the job too) to wipe any remaining grease and moisture off the connectors.

Let the sockets dry for 15 min while cleaning the relays.
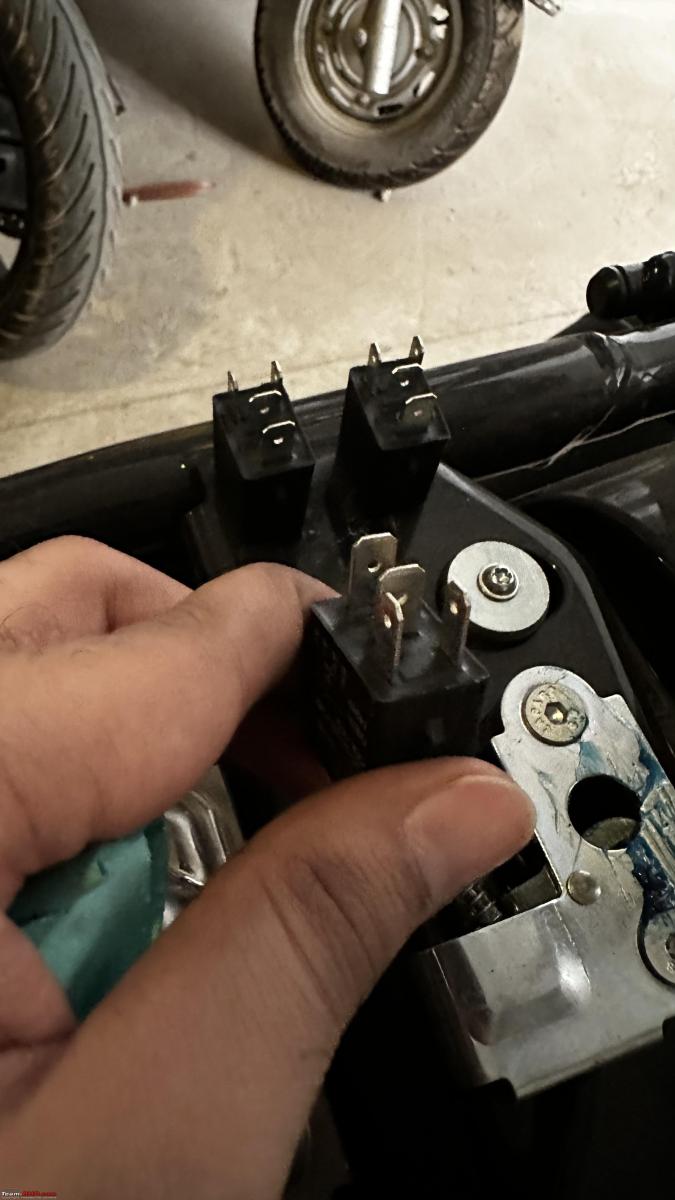
Apply a good dielectric grease very so slightly on the relay ends with the help of an ear cleaning bud as below. Note that when it comes to dielectric grease, a little does a lot and a lot goofs up the connections. Also, at this point, you may choose to replace the stock relays with those of any good brands as stated earlier.


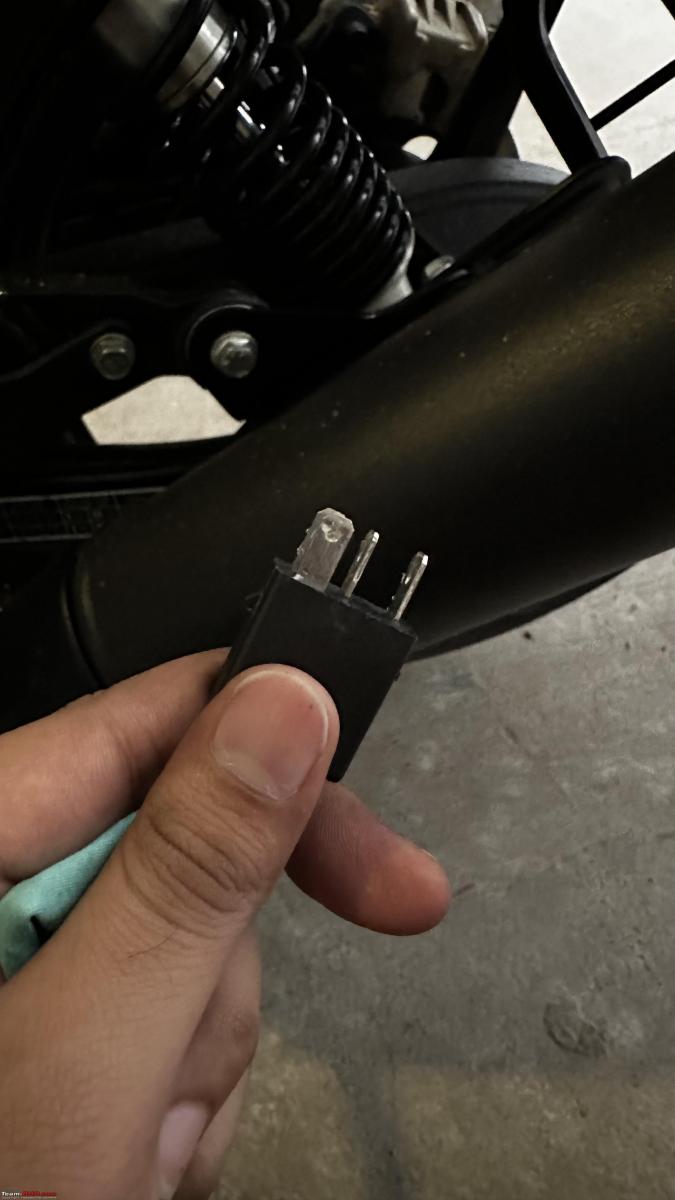
Once applied, access the below male-female plug connection, just above the relays and push the edges to access the connectors, wipe it off as well and apply the dielectric grease, then plug it back.

Plug the relays back into the connectors and you should hear a clicking sound. Wipe the area clean.
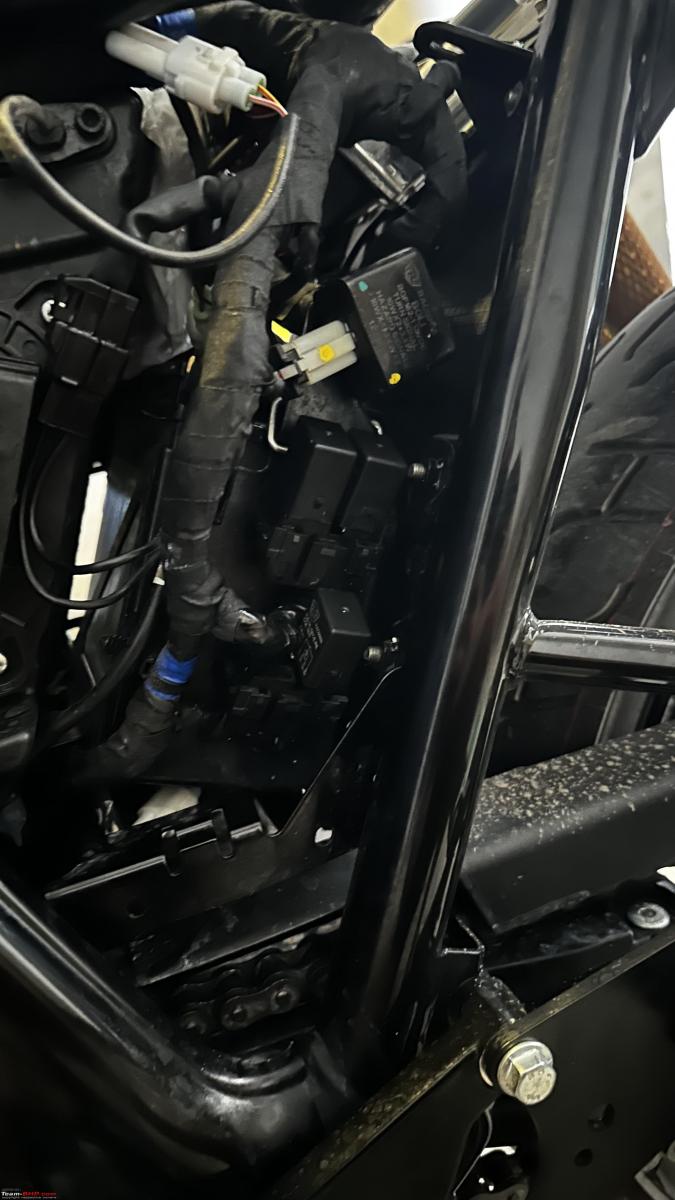
Once done, make sure to turn the bike on and check fuel pump priming up, horns, indicators, and lights working, and that no CEL is thrown when started. Run it for a couple of mins to see if the bike idles fine.
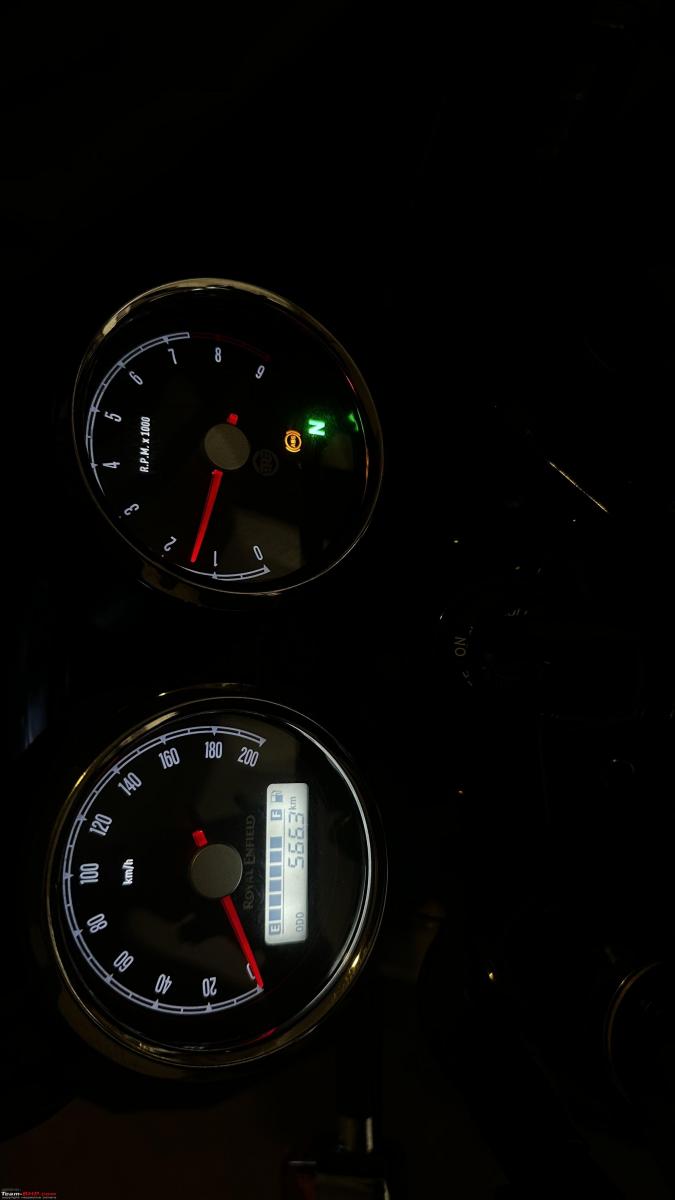
After everything is checked and good to go, fit the panels back in. Make sure to tighten the Allen bolt back in place, once the left panel is on. I missed it and had to undo the panels again, then lock it off.
Check out BHPian comments for more insights and information.


