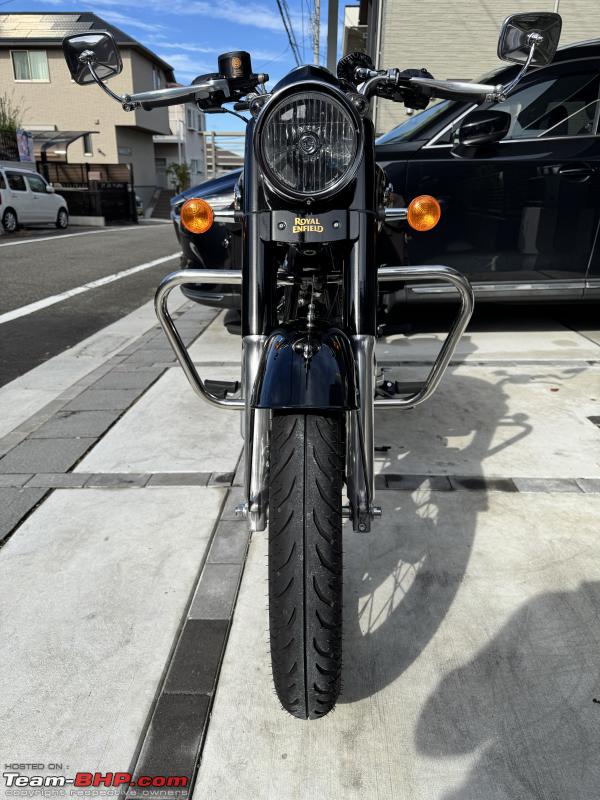
I also fitted M5 rubber grommets between the fixings and the top of the mudguard to avoid any unnecessary scratches during fitment (or future removal).
BHPian Viju recently shared this with other enthusiasts:
‘Pedestrian Slicer’ License Plate
Yes, that is what it is called, I’m not kidding. I don’t think I need to explain why either! These were fitted on vintage motorcycles and at some point in the 60’s or 70’s taken out of usage, and in fact are illegal almost everywhere.
In Japan, two wheelers do not require a front license plate which is good from an aesthetic view point. This also gave me an idea that I could fix a fake retro license plate on the Bullet. Yes, I can see all the actual vintage riders shaking your heads (and turning in your graves in some cases) when I am doing this to a 2024 Bullet 350, which in itself is considered ‘fake’ by most CI lovers, due to the fact that it does not come with a kick lever.
For the rest of us who couldn’t be bothered, Hitchcocks sells a good quality kit they make inhouse. The plate itself I suspect is made of mild steel, but powder coated to a high standard, and the fixings are machined out of stainless steel. This was important to me as I do not want the fixings rusting after a few washes or rains, and hence stayed away from most similar stuff available on Ebay.
They also sell a selection of authentically sized and shaped decals (letters as well as numbers) that you can pick and choose as you want.
I also ordered a tax token holder, which I remember seeing on my father’s Lamby 150 as a child. Again, the one from Hitchcocks is made out of stainless steel, which is always good.
Purchase links:
Difficulty level: Medium to Hard
Time required: 60 ~ 120 minutes (purely depending on skill and experience)
Caution: This is a DIY where there is a high probability of irreversibly damaging your front mudguard or tyre. Therefore, I would suggest going to a good mechanic if you don’t feel comfortable. TeamBHP or I shall not be held liable if your pride and joy is messed up!

License Plate

Tax Token Holder

Mock-up
Fixing the license plate
The key challenge was to align the license plate along the centre line of the front mudguard, while making sure the headlight will not hit it during hard braking.
There was no manual or guidebook. I just went with my gut and the tools that I had in stock. I hope the pictures are self explanatory. As always, happy to answer any questions!

I used some stickers to mark the position of the bolts

Used the centre line of the front tyre as reference

Marked the hole centres with a ball pen first

Measured the bolts and they were M5

Hammer and punch to mark the drilling points

Markings complete

Took out the drill and bits

Started with the 2mm drill bit

Finished with the 5mm drill bit

Kept my trusty wooden block below the mudguard to avoid damaging the tyre

Test fitted the license plate

Painted the inside of the holes to prevent corrosion

How the holes looked in the end

Temporarily fitted the license plate without the decals
PS: I had to unscrew the mudguard from its mountings and lift it up a bit to get a spanner in between the tyre and the mudguard to tighten the little nuts on the screws.
As the Bullet has a painted fork cover and a substantial metal mudguard, it was a bit hard holding it up with one hand and tightening the fasteners with the other. In case you are DIY-ing this, I strongly recommend having a helper.
All this trouble can be avoided if you just remove the front wheel.
Oh yes, I also fitted M5 rubber grommets between the fixings and the top of the mudguard to avoid any unnecessary scratches during fitment (or future removal).
License Plate Decals
Japanese license plates are written in, well, Japanese and only fitted at the back for two wheelers.
For the fake front license plate though, I chose some numbers and letters that made sense to me personally. If someone would like to know what they mean, leave a comment and I will explain.

Used some simple DIY tools to fix the decals one by one

They came out not too bad, but there is a mismatch between LHS & RHS
Tax Token Holder
Until I cook up a better solution (have something in mind), I decided to fix a very precious RE tank decal I had in my parts bin since years.

If you’re as old as I am, you will remember this is from the Lightning 535

As I did not want to spoil a 20 year old NOS part, I trimmed the backing paper and did not stick it

I just kept it snug inside the holder


How she looks now

Ready to slice!
Thank you for reading!
Cheers and ride safe until the next one!
Read BHPian comments for more insights and information.


