At first we thought just removing the slip-on and cat-con would give enough access to get the job done, but that would mean lifting the bike on a jack
BHPian krishnaprasadgg recently shared this with other enthusiasts:
So as promised let’s get started with the Ohlins rear shock install post. But due warning, this is not going to be a straightforward, old shock out new shock in situation.
A last look before the OE rear hock comes out
I will be getting into some detailed “while I’m in there” preventative maintenance stuff also getting done. So here is what will be covered over the next few posts

- Rear Swimgarm removal and swingarm bearings & Axle through cleaning and regreasing
- Suspension Linakge & Relay Arm(Triangle piece that’s part of the suspension linkage + swinarm piece) removal, through cleaning and regreasing
- New Rear Shock install & Ride height setting
- Front forks fluid drainage + cleaning and filling with brand new fork oil
- Steering head + Cone set servicing (Through cleaning out of old grease and repacking with fresh grease)
and a few other odd jobs.
So let’s start with the Swingarm removal. This step is not at all required for the rear shock replacement job, but this is something recommended in the service manual as part of routine maintenance at 40-50k mileage. I delayed it a bit because I wanted to make sure that the work was done along with the rear shock replacement because it saves a lot of time and effort of having to do this twice.
So let’s get started.
The first step was to make a mark at a point on the rear of the bike exactly above the position of the rear axle.
Point of reference marked

This position was marked with a whitener corrective stationary marker. The point of this is to measure the current ride height of the bike at the rear from marked point to the center of the rear axle and from the marked point to the ground.
Height from marked point to the rear axle
Height from the marked point to the ground
The reason we take this measurement is to be able to make sure the ride height post the installation of the Ohlins is also the same.
Now that the base measurement has been recorded we start the disassembly process.
Step 1 is to remove the right-side ride footpeg along with the rear brake caliper + master cylinder + Exhaust heat shielding + rear brake reservoir to gain access to the catalytic converter.
First pieces start to come off
The rear caliper ready to come off
The rear brake pressure switch connector is disconnected off the main loom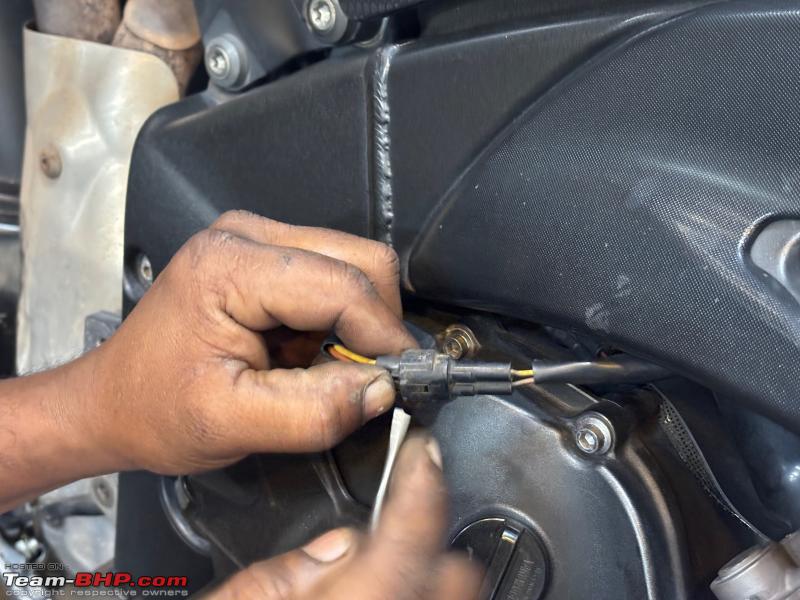
Now the whole rear brake system was removed as a single unit, this makes things so much easier and is a mess free way of dealing with the braking system especially when corrosive fluid like brake fluid is involved
Removed as a single unit
The cat con is now fully accessible
Looking at the heat shield for the cat con reminded me that I need to plan to replace this piece with a brand new one as this one has been melted a bit because the rear set used to foul on the heat shield which use to stay pushon on the catcon metal shield and melted itself overtime.

Right side rearset all removed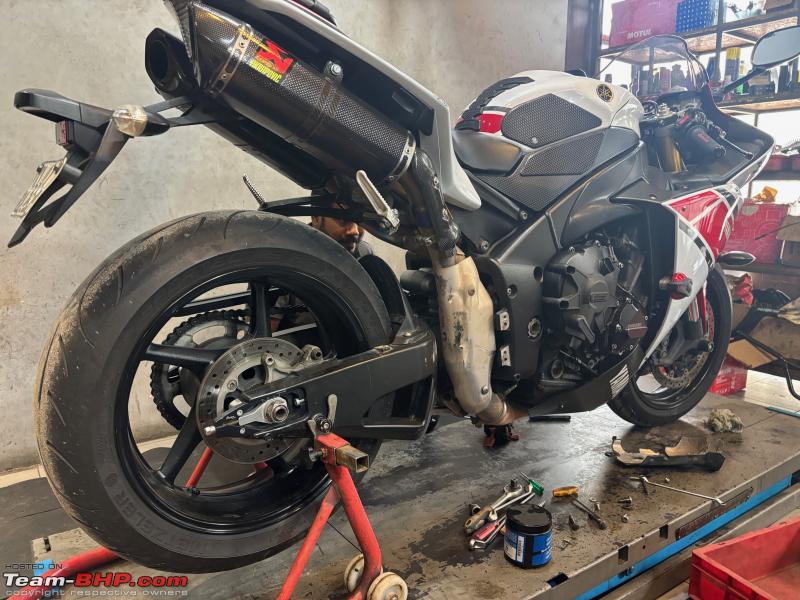
Now let’s move onto the left side.
Rear set being removed
The rear set has been removed
Off comes the rear set
Next to go is the chain slider
Chain slider comes off
Next, the shift lever and linkage rod are removed

Next, the front sprocket cover is being removed. This is being done so that the front sprocket can also be removed which will allow the removal of the chain from the engine side with ample clearance

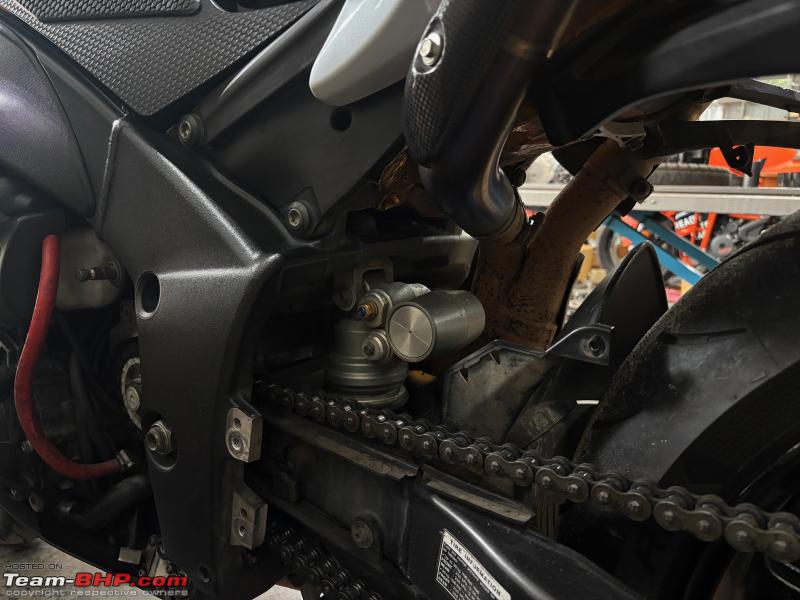
Another part that is added to the list to be renewed/replaced, is the sound deadening/heat shielding on the lower fairing part has disintegrated partially over the course of 11 years and multiple heat cycles as you can see in the pic below
Time for a refresh?

Now that both side rearsets and associated pieces surrounding the swingarm has been removed, next to come off was the side fairings on both sides.


Now if you are wondering why this much has to come off, well at first we thought just removing the slip-on and cat-con would give enough access to get the job done, but that would mean lifting the bike on a jack stand underneath the link pipe but later it was decided it might not be a wise choice. So the executive decision was made that the full exhaust system right from the header pipes would be removed, hence the detailed strip-down of the bike.
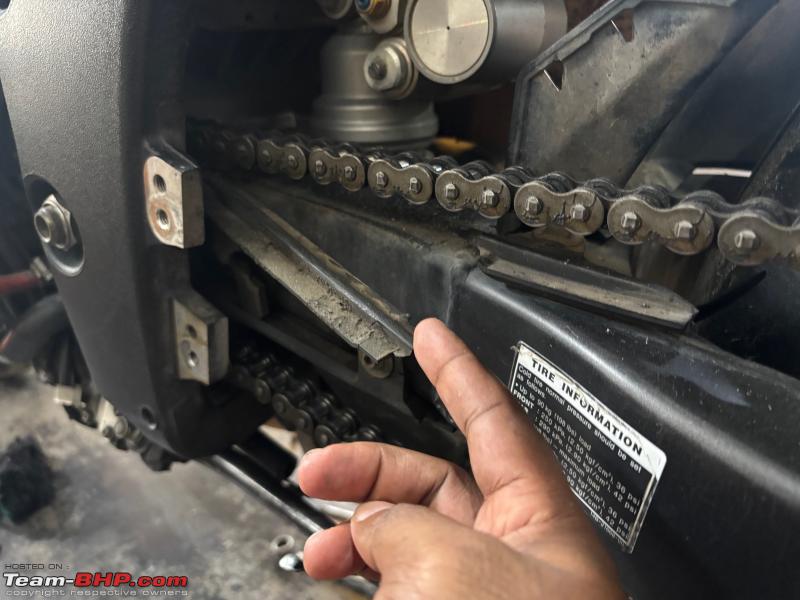
That is when another thing came to my attention, yup, yet another part on the bike that will need to be replaced, the chain slider upon reaching this stage of disassembly has been fully cracked and started to turn into powder at some places.
The toasted chain slider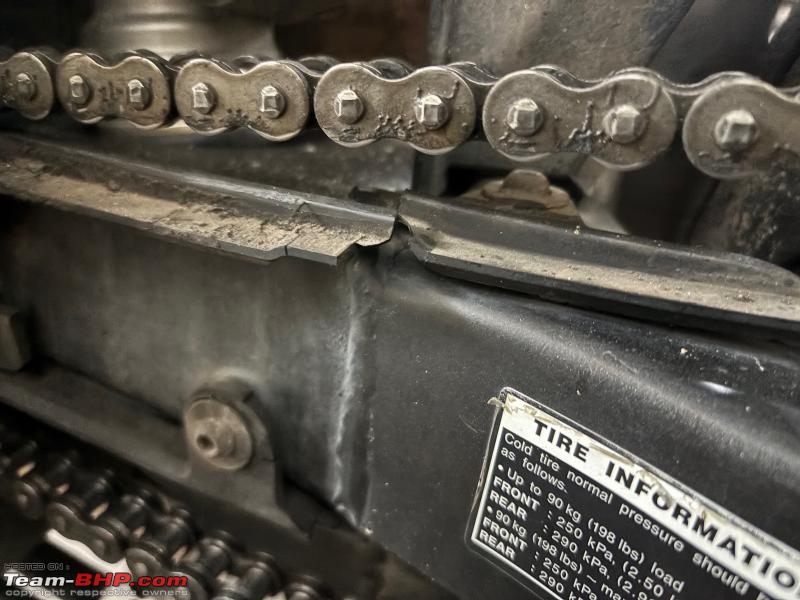
This again is a rubber part that has just become hard and brittle over 11 years of worth of heat cycles and abuse
Now we reach blocker No. 1
Blocker No.1
The bolt on the Catcon metal shield. No matter how much we tried the bolt just would not budge, no amount of rust-off or penetrating oil helped. Each time we attempted the botl head was starting to slip and getting out of shape.
One of the many attempts to get the bolt to budge
Finally after 15-20 minutes of negotiation and forced persuasion later it finally comes out and look at the state of it.
Crusty!
Do keep in mind at this point in the disassembly we have reached to places where the bike has never been touched with a tool since the day the bike was put together at the factory in Japan.
So that meant we still had a few stubborn and rusted/seized bolts to deal with coming up soon.
Next the singarm axle nut is the one to come out and for this job the big boy impact gun has been called to duty.

Luckily this fellow came off without much drama


Cheers
Krishna
Continue reading on BhPian krishnaprasadgg’s Yamaha R1 shocks installation for BHPian comments, insights and more information.


