
We wanted to get the bike started asap to ensure all the critical parts are taken care off and we can then focus our attention to the other cosmetic work that is pending.
BHPian SnS_12 recently shared this with other enthusiasts:
Ignition after decades of Hibernation.
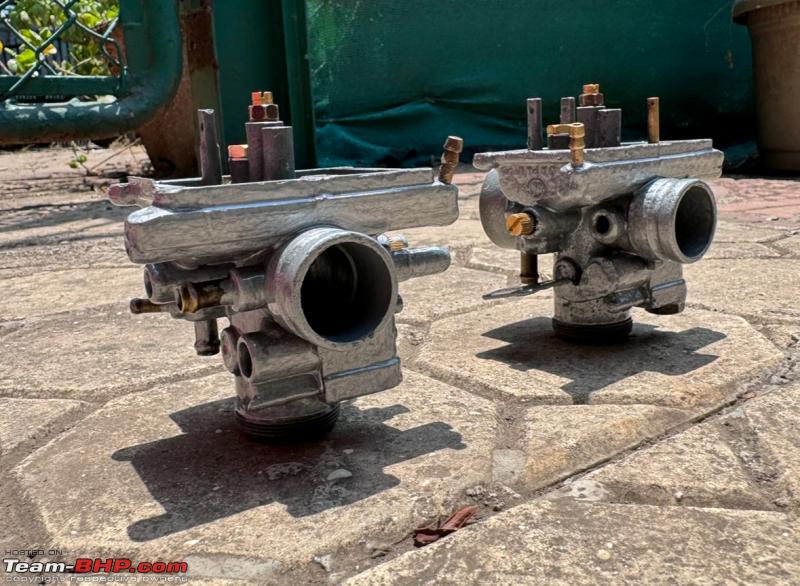
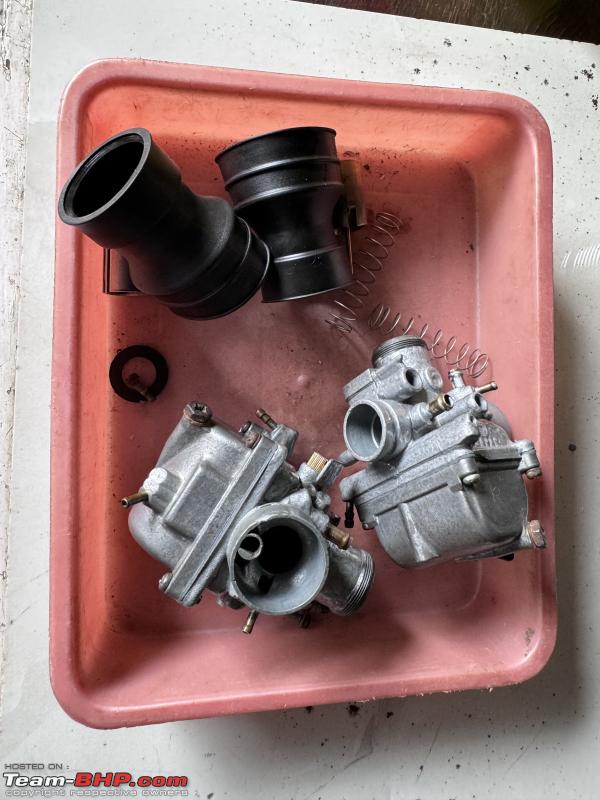
The wiring harness is done and all the lights have been fitted on the RD 125 minus the battery. A lot of correction and metal work was done on the carbs especially where the bowl fits and we were praying that it will hold well without any leaks and we would be able to start the bike. These parts are really old and ideally a new set of carbs would be required but getting one is a task of its own so we did our best to salvage the carbs.
We wanted to get the bike started asap to ensure all the critical parts are taken care off and we can then focus our attention to the other cosmetic work that is pending. The carbs were fitted on the bike and filled with petrol to ensue no leaks and then the 2t oil tank was filled up and the pump was bled. Then the moment finally came when all systems were go to kick start the bike. A few initial kicks didn’t create and magic so we thought maybe the back pressure is not enough and inserted the baffles in both the mufflers. Post that the bike was still not firing up and the timing gun was taken out and we decided to advance the timing and that change is what made all the difference and the engine finally woke up from its very longgg slumber..For a screamer of a heart she has the sound track was very muted even compared to the RD 200 but no complaints and we will only hear and feel her real character when we put her in motion. Have waited for this day for 19 long years and the bike itself would have given up hope in believing that she would fire up once again.. But she was neglected for years at end even under my ownership but was never forgotten. My second bike and my first barn find was alive and kicking once again
Now, though the engine has fired up the timing still needs to be advanced further but the coil plate is already at its most extreme position so that needs to come off to be machined out further. Also, a bracket has to be fabricated to mount the front mudguard and the meter bracket and also the seat base plate has to be fabricated from the original seat which has disintegrated over the years.
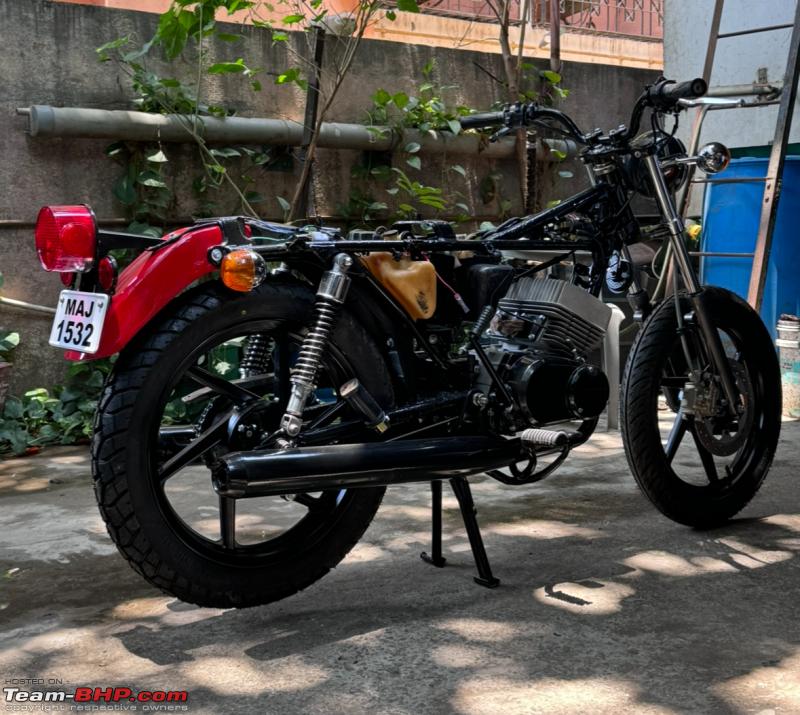
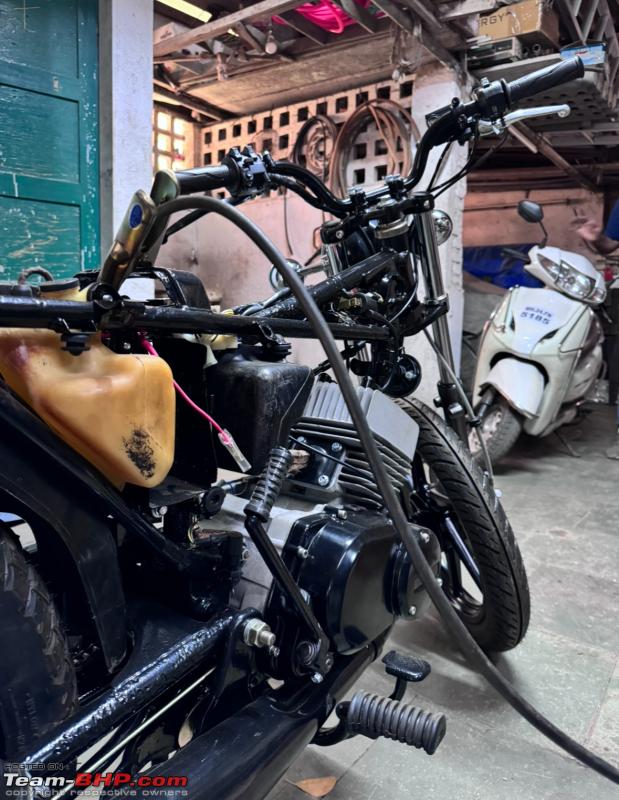
So, the bike visually looks complete more than ever before but still a lot of small stuff needs to be done before the build is 100% complete and I can taken my maiden spin on the RD 125…
Some pictures…
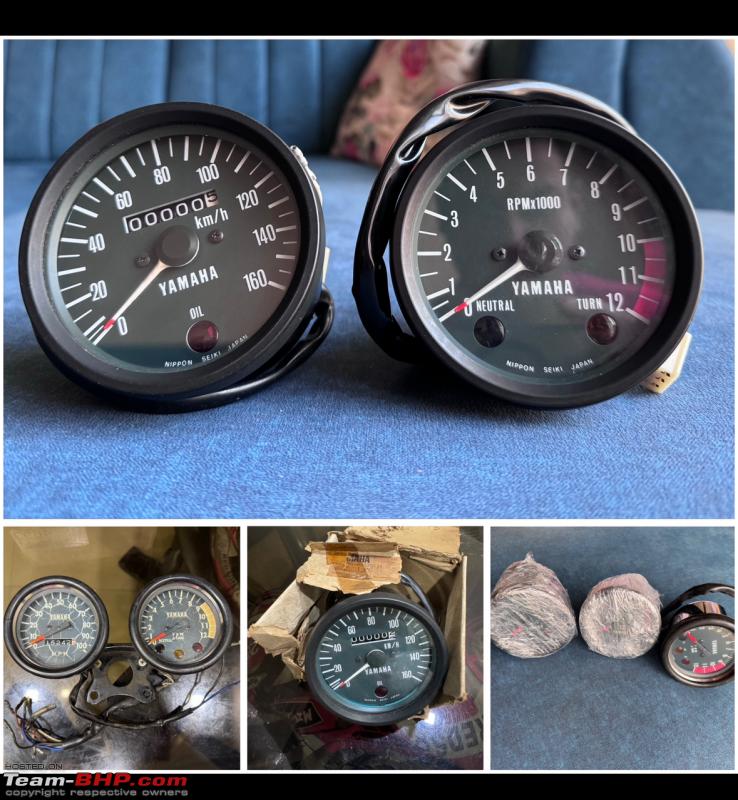
An investment made 15 years ago finally gets the opportunity to go on the bike and not just remain an expensive trophy lying in my part collection. Costed me 20k each landed cost though back in the day.
How many meters is too many meters? Have a extra speedometer only with chrome body for the RD 125 and a full set with an additional tacho for the RD 200. All are old new unused stock.
You guys maybe we wondering what is the RZ tank doing with the RD tank?
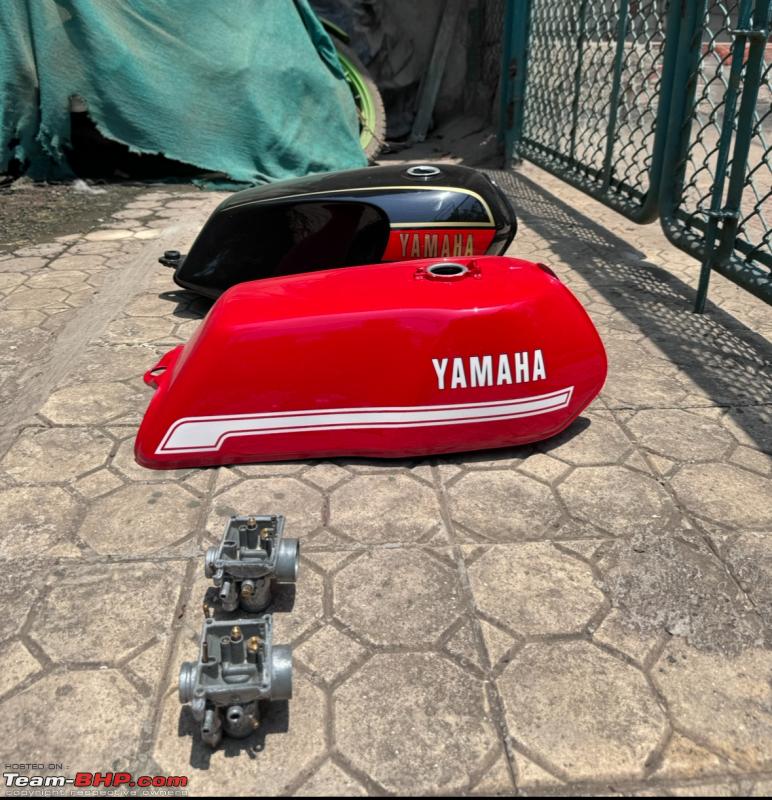
Well, for some reason the epoxy internal coating on the RZ failed and had to redo it.
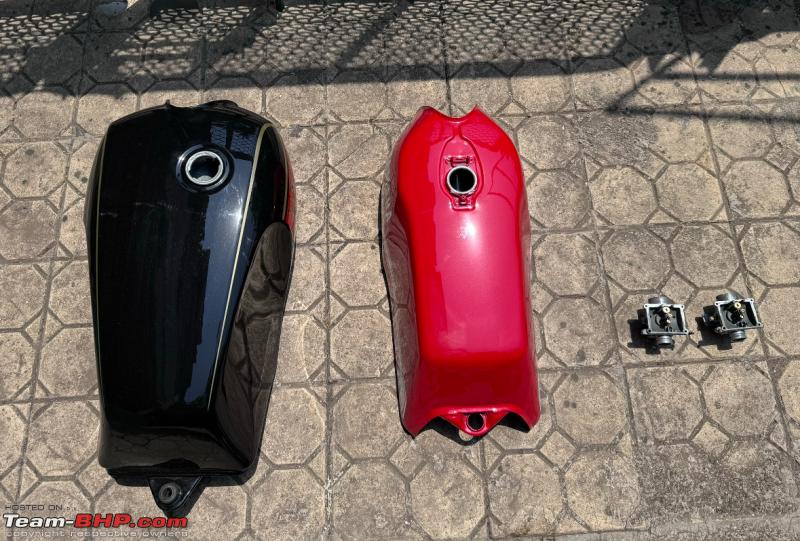
But instead of redoing epoxy coating we applied something else this time around

This product was suggested by Sumant’s painter who had used it earlier on a tank that belonged to a Parsi gentleman and had asked the painter to apply it on the interior. Its made in the US and is quite expensive 6k for 236 ml which is good for a single tank. Luckily I got a good deal for a 946 ml can on Amazon.

This is how it looks and we have still lot of quantity left after applying on the RZ and the RD 125 tank. Will be applying on my other RD’s too.

Applied a layer on the outer portion of the carbs as well to seal all the small cracks and pores
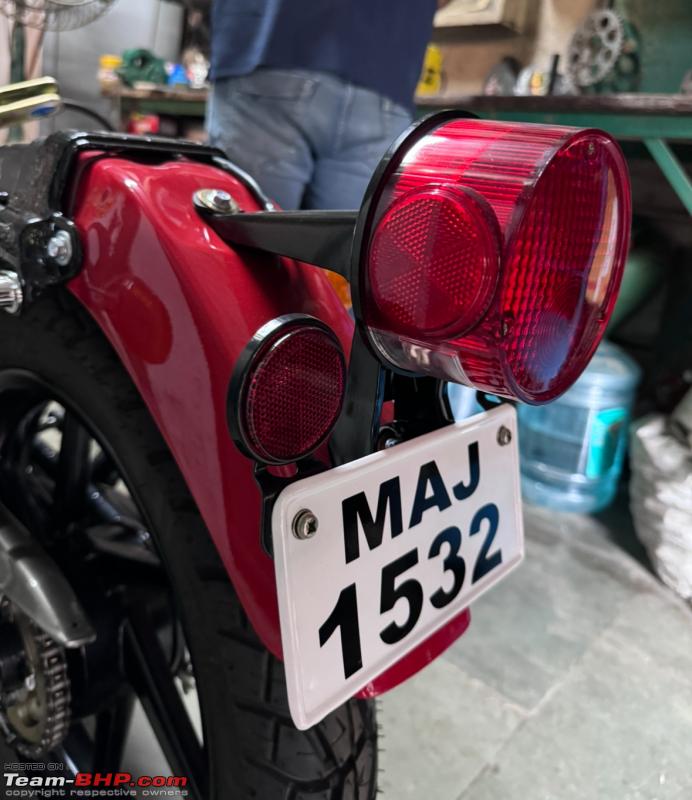
Taillight bracket with the reflectors and taillight
Top view with the rear indicators

Taking shape
Trying on the tank to check the T movement to avoid it from touching the tank

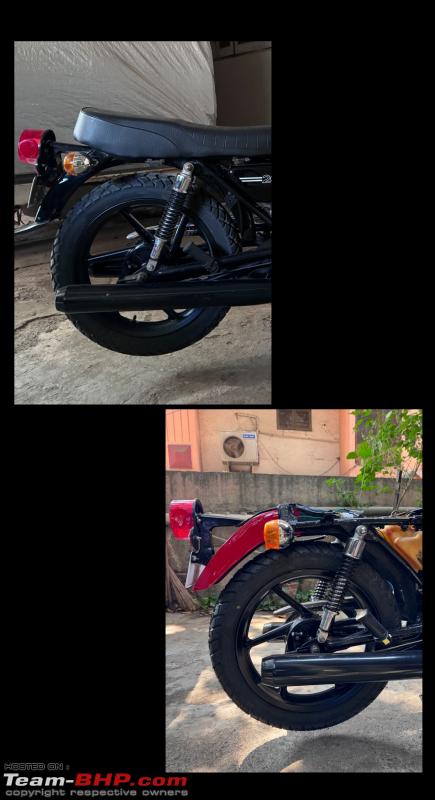
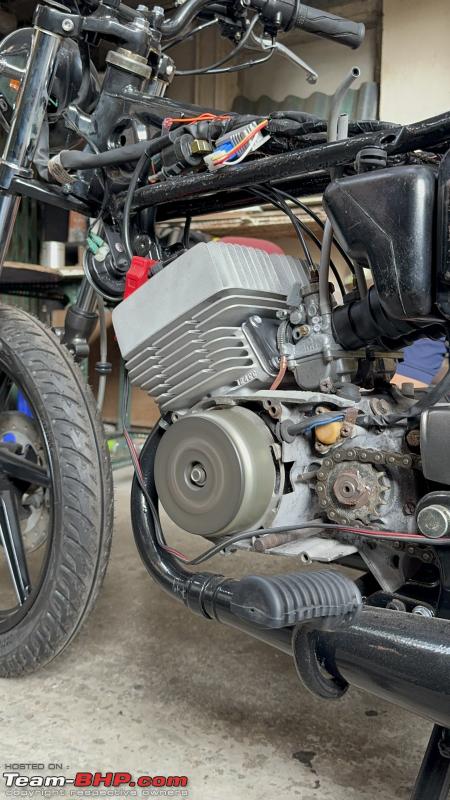
While looking at the rear end I noticed a big difference compared to the RD 200

The length of the silencer unit. The RD 125 ones are very short in comparison
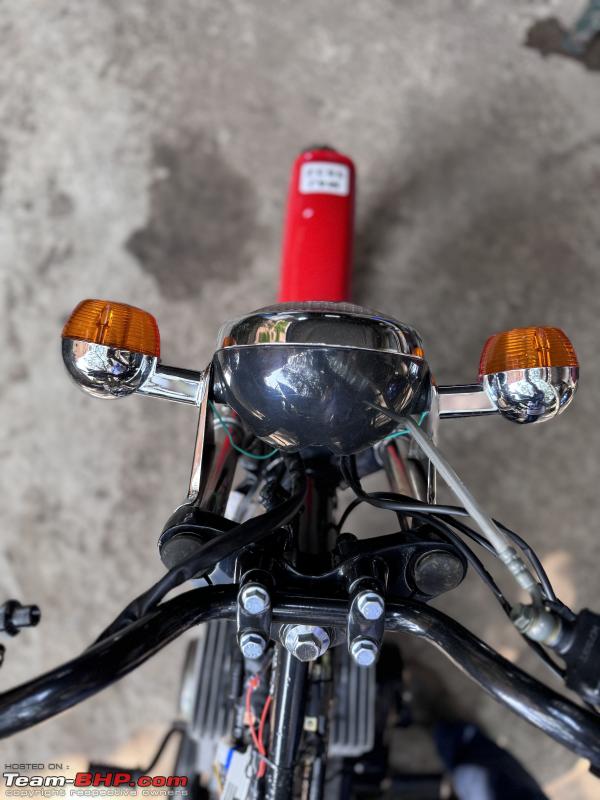
Top view of the front end. Meter bracket is yet to go on and needs some fabrication work
The front mudguard too needs some fabrication before it can go on the bike

Time to do some spot welding
The T plate turning radius needs to be tightened up a bit to avoid hitting the tank

So spot weld on both sides
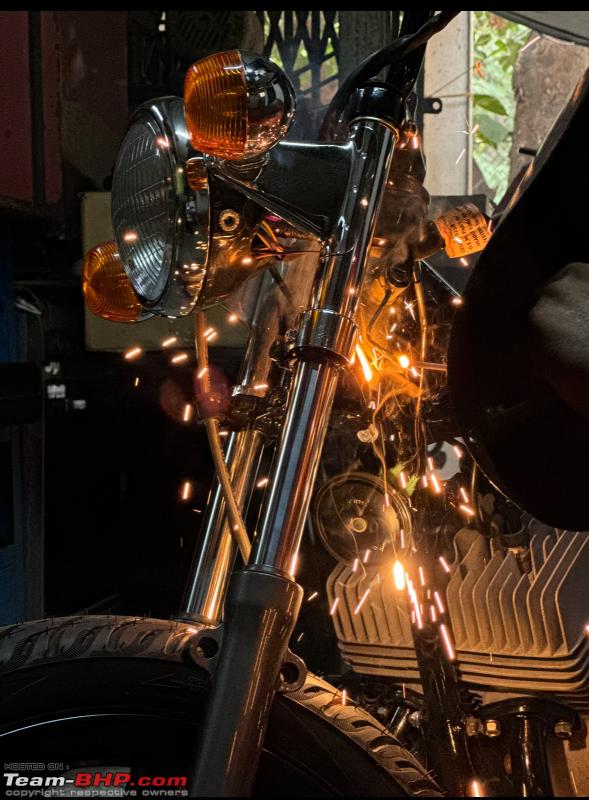
This is the final result

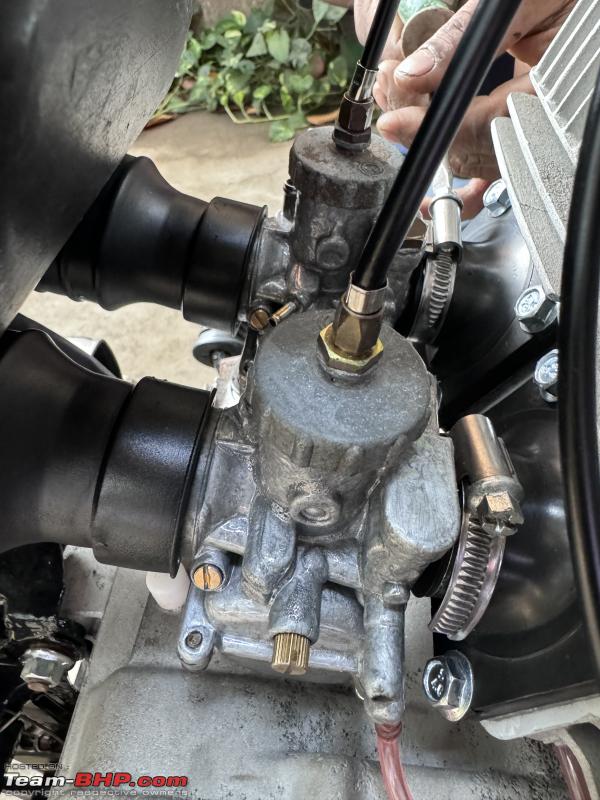
Time to fit in the carbs

One man’s trash is other man’s treasure. The OE seat being transported to Tony’s

Original keys which are just to be kept as souvenirs now

The refurbished tiny carburettors
Finally go on the bike
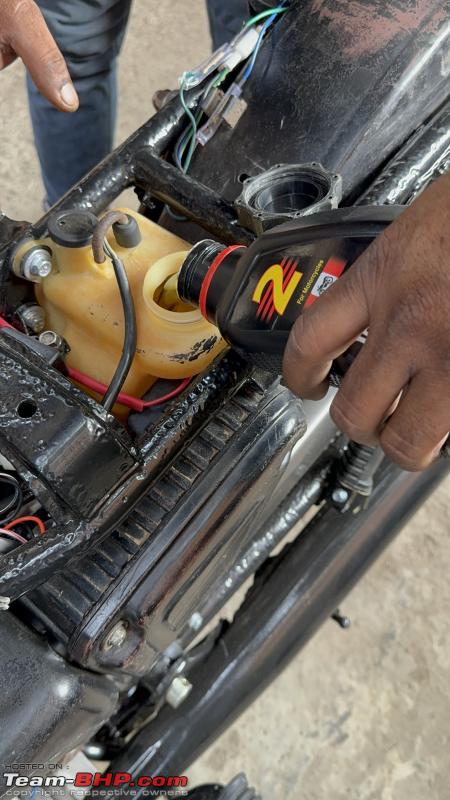
Time to fill up the 2T oil tank
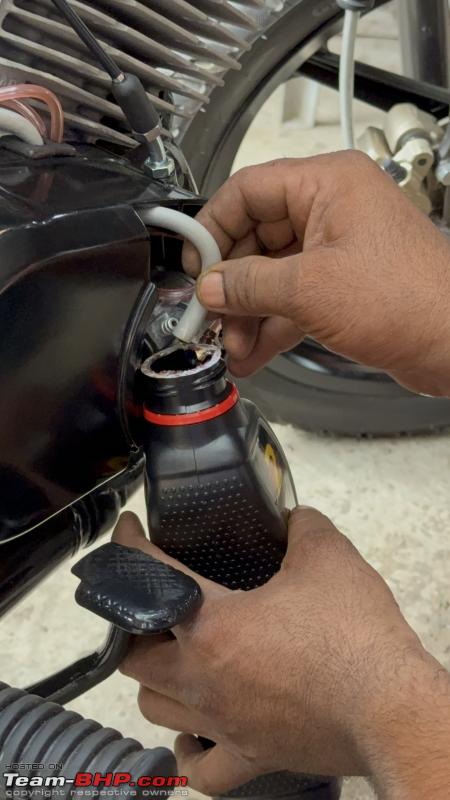
And bleed the oil pump
Silencers to go in the muffler unit

What a sight. Never gave up hope on this special one and its has indeed turned out to be a very special rebuild.

The timing has to be set and the coil plate has to be taken out. Still a weeks work left on it before I can swing my leg over it for the first time ever since 2006..
Check out BHPian comments for more insights and information.


