
You’ve taken a look at the best soldering irons and soldering stations, and you are ready to put some fresh solder into a project. But what are the “hot soldering tips” that you need before you get started? We’ve got them right here for you!
Safety First
Before you start soldering, you need to be safe. So let’s make sure that you are! I know that this will read as a downer, you want to get soldering! But it is best to follow these safety steps first, rather than risk injury or accidents.
1. Don’t hold the hot end! We’ve all seen the meme. Heck, I parody it in the lead image. Seriously, soldering irons get hot. Don’t touch the hot end, even if you drop the soldering iron, don’t try and catch it. I have a scar between my fingers that proves soldering irons are hot!
2. A clear workspace is a must. Move everything that you don’t need. Clutter can be distracting, especially when you are trying to work around it. Give yourself space to work.
3. Put your equipment within easy reach. Think about it. You’ve got a 350 °C soldering iron in your hand, and you need to grab something. Put the tools within easy reach and make sure that your dominant/soldering hand is near the soldering iron holster and that the wire is not across your body/lap/desk. Any tools should be out of the soldering area, but easily reachable. Use a silicone soldering mat to denote the soldering area, and protect your bench.
4. Solder fumes are bad! Soldering with lead or lead free solder means there are fumes. These fumes are typically made from the flux, used to flow the solder. The flux cleans and prepares the surface to receive solder and burns off as we apply heat. Get some good extraction, or at least open a window and solder near it!
5. Eye safety, because new eyeballs are expensive! Don’t do “the safety squint” (yes, I used to do that.) Get some safety glasses to protect your eyes! A splash of hot solder to your hand hurts, to your eyes it will be agony and require a trip to the ER.
As spoken by Chief Engineer Montgomery “Scotty” Scott, you need the right tools for the job at hand. Just like 3D printing needs tools, so does soldering. With the right tools you’ll have a pleasant experience building a project. The wrong kit will make it difficult and miserable, yes I have done that and learnt the hard way!
1. Pick a soldering iron that is up to the task. That 8W USB soldering iron is not going to solder any heavy duty cable, and a soldering gun is not a precision instrument. Personally, I favor a soldering station with a hot air wand, like the Yihua 938BD+. It covers 90% of the tasks that I need, but it isn’t portable, so what I am soldering has to be on the bench. If you need portability, iFixit’s portable soldering station is a capable piece of kit, but you’ll pay for it!
Smart soldering irons such as the Frnirsi HS-01 and HS-02 are a great balance of power and portability. I prefer the HS-01 as it feels much better in the hand, but both are viable. Pinecil v2 is a great soldering iron too, as is the Miniware TS101 which has both USB Type C and DC power inputs.
2. Pick the right soldering tip. If you want to lay down the heat, then you’ll need the power to do so, and the right tip. The go-to conical tip is great for most jobs, hence it comes as standard, but if you need precision then a sharp pointed tip is a must. The problem though is that there is very little surface area and that means it’ll take longer to heat up. Chisel tips are a good compromise. I use a 34 degree chisel tip that gives me surface area to lay down the heat, but the angle means I have a level of precision. The best thing you can do is buy a selection of soldering tips for your soldering iron.
3. Good flush cutters are a must. You’ve just soldered something beautiful, but it has ugly component legs that need to be cropped. Do you just buy a cheap pair of flush cutters? You can, and they will work, but a good pair of cutters will make your hard work look better. I use a set of Engineer NS-04 Micro Nippers and they produce clean cuts every time!
4. Components get hot, keep your hands safe. The human body is fragile and we don’t react to heat very well. You need some tweezers to hold components in place, because your fingers will get burnt. This is especially important when soldering surface mount components.
5. Keep your tip clean. Your soldering iron tip should be clean and free of debris. Any crud on the tip will ruin your soldering. Most soldering stations come with a sponge, add a little water and use that to keep the tip clean. I prefer a brass tip cleaner as it keeps the tip clean and removes any water from my bench. You should also periodically clean the tip, preparing it for the next soldering session. I use a Tip Thinner to remove crud and oxidation from the tip.
6. Choose the right solder. Solder comes in many different combinations, but it boils down to leaded or lead-free. Lead-free is perfectly useful, it melts and joins components together. It is a little trickier to work with, but you will adjust your soldering temperature and timings accordingly. The benefit of lead-free solder is that you can sell products that use it, unlike lead solder. Yes, lead solder does contain lead, and that is classed as a hazardous material, but if used safely and correctly, you will be fine. Ventilation is key, mainly for the flux fumes. In the UK you cannot sell products that use lead solder.
7. Get some isopropyl alcohol. Isopropyl alcohol is a wondrous thing. I use it to clean boards after a soldering session, it removes flux residue and makes the board shine. Pour a little into a cup and use a fresh toothbrush to scrub it onto the PCB. It also works really well on sticky residue and for general cleaning. Get a high strength bottle, it will last ages!
8. Buy lots of soldering kits. Nobody is instantly great at soldering. You need to learn, so go on Aliexpress / Temu / eBay and buy lots of cheap soldering kits. Sometimes known as “suites” these kits are a cheap way to learn soldering without risking the expensive stuff. Buy a load of through hole kits, and some surface mount (SMD) practice kits and have fun. The LED dice kit is a great way to learn soldering and have a useful tool at the end.
Soldering Time!
You’ve followed all the rules and now you are ready for soldering! So let’s get you started and talk you through the key points on soldering components to a board.
1. Set your temperature. The working temperature of your soldering iron is a personal choice. I work at 350C as it gives me plenty of heat, and time to apply it. For larger joints I will boost up to 400C, but 99% of the time I am at 350C. However you set the temperature for your soldering iron, do it and let the tip stabilize before you put it to work.
2. Tin the tip. Bring a little solder to the soldering iron tip and let it melt. This will “tin” the iron and ready it for soldering. Wipe the excess from the tip.
3. Bring the soldering iron tip to where you want the heat. It should be touching the points of contact. For example the leg of an LED and the pad on the PCB.
4. Heat it for a second or so, then bring the solder to the points of contact. It will melt into place and flow around making a nice joint. Move the soldering iron and solder away from the joint and have a good look.
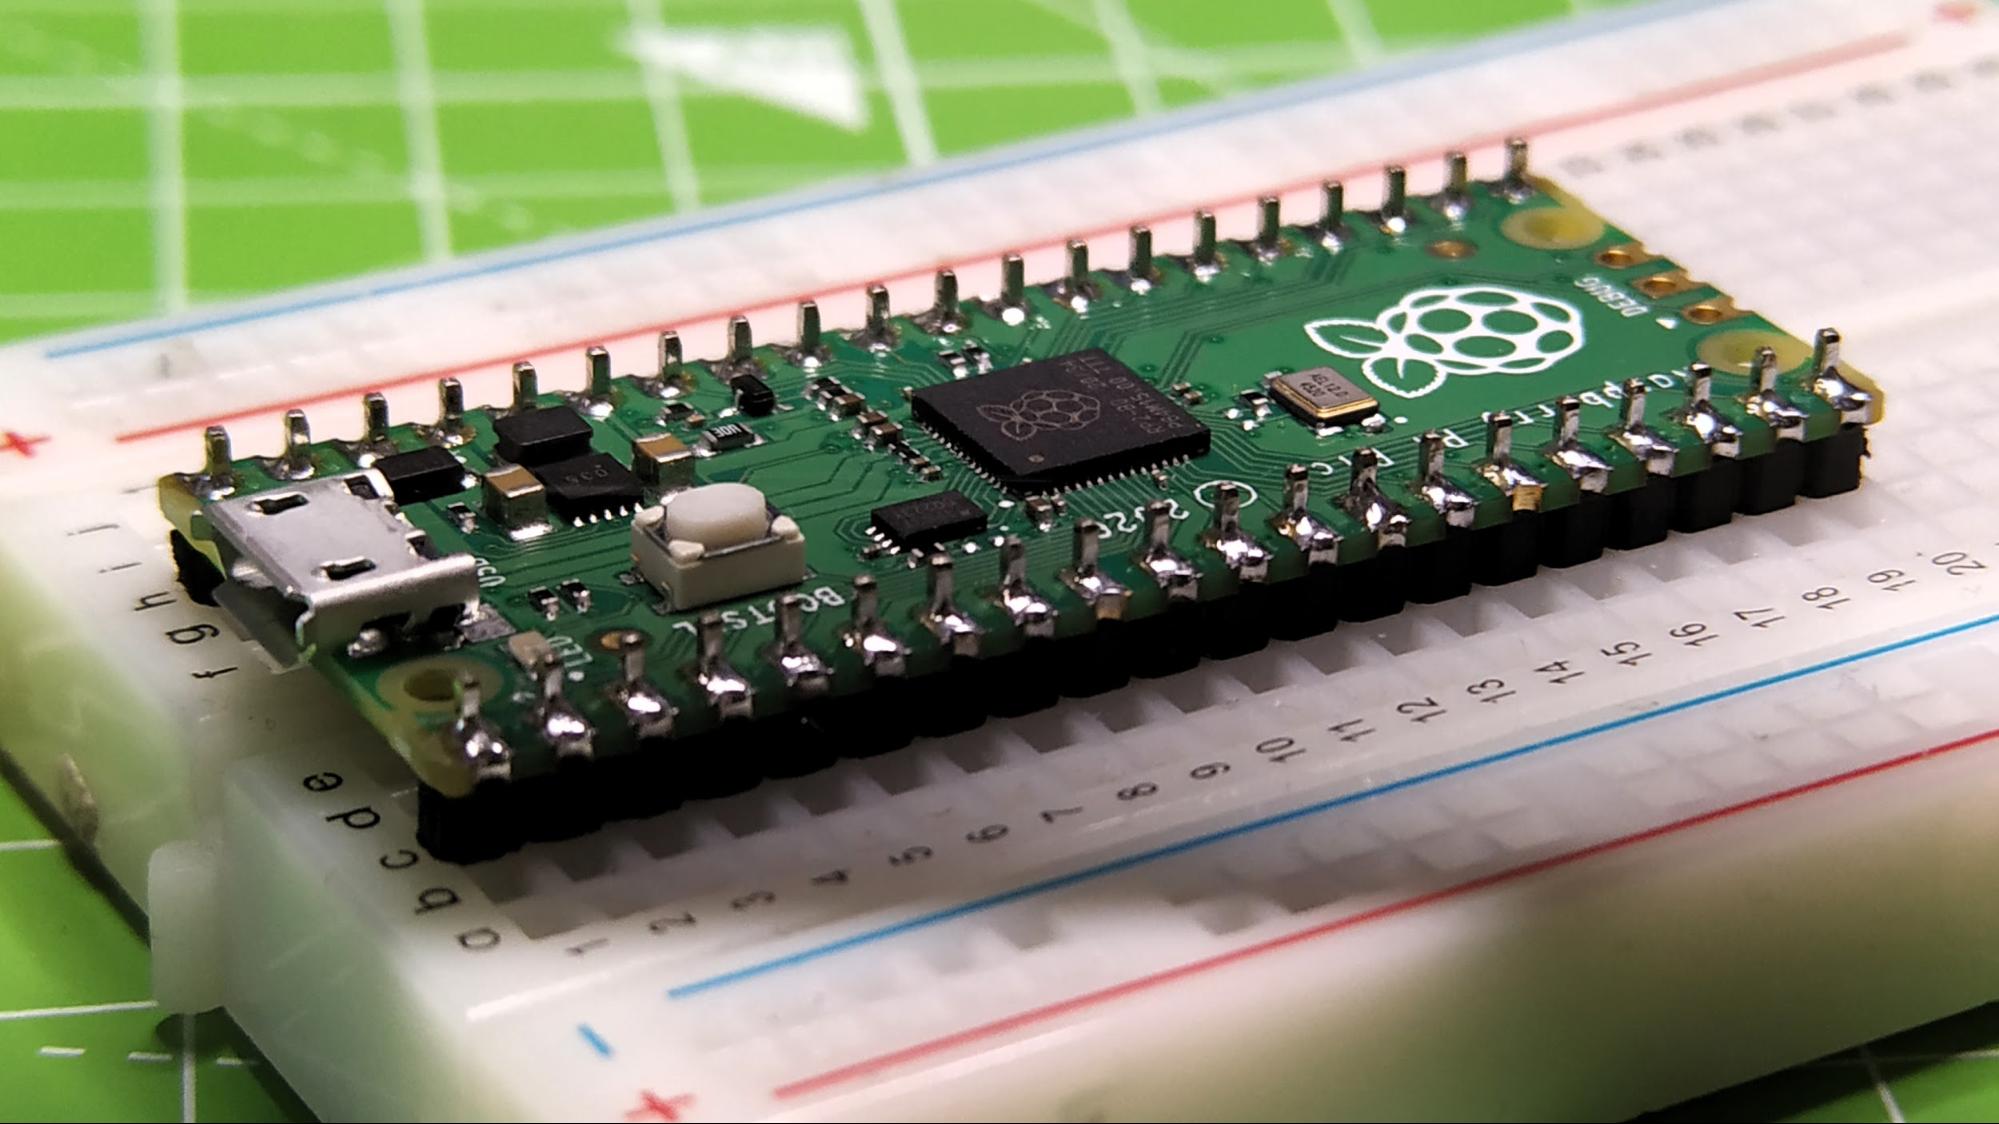
5. Check the solder joint. Does it flow around the joint? Are there gaps? Is the joint “hovering” above the point of contact? If so, bring the soldering iron back to the joint and reflow, add some more solder if you need to. In the pic you can see 40 solder joints for a Raspberry Pi Pico, all neat and tidy. Ok, bottom row, six in from the right is a bit ropey, but I fixed it.
6. Check it again, use a magnifying glass if you want.
7. Use your flush cutters to trim the component legs.
8. Personal preference, return the soldering iron to the joint and heat it up. This will smooth the freshly cut area and it looks nice.
Follow these tips and you will have a safe and fun soldering experience. Happy hacking!


