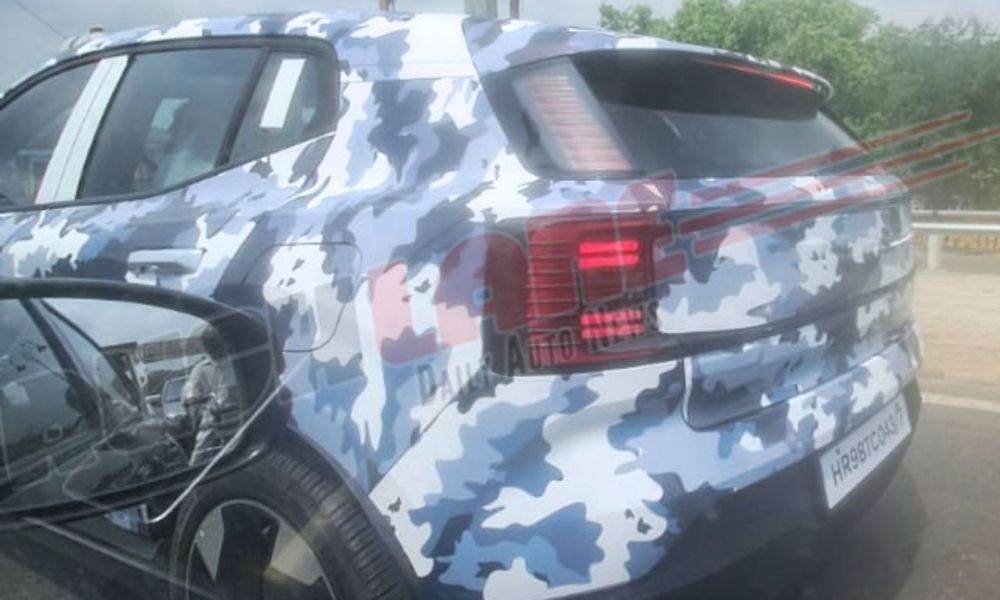
This post is about how I installed rear fog lights on the Baleno
BHPian Sam800 recently shared this with other enthusiasts:
Hello there
I’m Saket, residing in Bhilai, Chhattisgarh. Team-bhp has been my fav breakfast read for the last 7-8 years, and I’ve been a member for 2+ years. This is my first post on the forum because I finally got something different and informative to share with you all. I own a 1995 Maruti 800 and a Baleno Delta 2020.
Maruti 800 was bought new by father and has been in the family since. I was just 3 years old when she came and has been my happy place. It’s under my possession since 2008 when I still was in school. I’ve cried, screamed, slept, wept, loved and made use of car every way possible. We also have an Indigo eCs Cr4 2012 which has been provided by father’s company. But we upgraded from 800 directly to Baleno as our personal car, over 25 years of gap.


I don’t mind dirtying my hands and often plan out a DIY route as much as possible. I am not as experienced or as expert as so many members and DIYers on the forum, but if I feel confident about doing the stuff myself, I go ahead with it. Sometimes I definitely need to head to my trusted FNG mechanic when I get stuck in the middle, like it happened when I was trying to swap 800’s dash, but it was harder for me than it seemed.
Baleno hatch was launched in 2015, and it received a mild facelift, basically a bumper job, and inclusion of LED projector lights in all models except the base. The car had factory-fitted front fog lights only on Zeta and Alpha. Baleno is sold in 100 countries worldwide. Some Northern countries see dense fogs often. It’s a necessity for car makers to provide front and rear fogs in their cars to sell in cold-weather countries. Baleno too comes with rear fog lights in those countries, but skips the same for tropical countries. It’s nothing but a cost-cutting way for the manufacturer.
I wasn’t confident and sure enough to put on this thread on teambhp but my friend and bhpian Patient convinced me otherwise.

Here as you can see, the baleno tail light used to come in 2 different types. The sigma, delta, and zeta had these lights

While the top model had these lights.

As you can see, the official review states that for the Indian market, the lowest strip of light has been left as a dummy part across all the models.

Now I’m not sure if Alpha tail lights house any LEDs in the lower strip but in lower models there is an empty space at the bottom with reflecting background. On the back side we can clearly see the markings where bulbs would be fitted if the rear fog lights were provided. I decided to make use of these markings and install a rear fog lights.
I live in central India and no, it doesn’t see any fogs which would need the use of rear fog lights, but i decided to do it anyway for aesthetic purposes and to enable a feature which other baleno’s get but not ours. My inspiration was bhpian DevOnWheels‘s baleno sedan restoration thread where Sir Leoshashi mentioned baleno sedan too came with empty slot which used to house rear fog lights but was eliminated for Indian markets.

Things needed to do the job-
1. T10 bulbs – I bought 4 of these as I planned 2 bulbs on each side
https://durvient.com/t15-w16w-wy16w-…-free-led-bulb
2. 4 nos T10 bulb holder with rubber sleeve
https://www.amazon.in/Auto-Ex-socket…/dp/B084HKYCGM
3. Electrical tape and wiring harness fiber tape
https://amzn.in/d/a3co8Wc
4. Accessories switch. While you can purchase the OEM switch from Maruti, sourcing the wire/connector at back was difficult here. Hence i went ahead with generic ones available online https://amzn.in/d/5P0gqDs
5. Electrical wire (5-6 meters)
6. 10mm spanner
7. Binding wire to pull the cable (2-3 feet)
8. Trim remover tool
9. Drill machine with drill bit 8mm
10. Ring terminal crimp 2nos.
I hurriedly did the job at one go and didn’t take the pics then and there. All these pics are taken after the completion of job. Furthermore, I apologise as the job isn’t OEM level.
Here’s how I did it-
1. 
First we will open the boot, take the rear parcel tray out and open the right side tail light by loosening the 2 10mm bolts. The light is held by 3 plastic locks which can be pulled out without much effort.
2. 
Pull the wiring harness rubber stopper out. Take the binding wire and insert it for about 1 foot inside .
3. 
Open the trim parts opposite to the right C pillar by inserting the trim puller tool. No need to remove it completely, but enough to put your hand inside. Try to locate the binding wire by feeling it by fingers. Once u get it, pull it towards yourself (towards inside the cabin) .
4. Take 2 wire of equal lengths (about 5-6 feet) so that it could reach from tail light to dashboard. Splice the ends, join them together and wring it to the end of binding wire inside the car.
5. Pull the wire from the backlight towards outside so that the electric cable can go through from inside the C pillar to backlight.
6.

Open up the rubber seals by pulling it out, and the footboard plastic cover. Insert the wire inside and reseal the rubber.
7.
Open up the front footboard plastic cover and insert the binding wire from front to back again so that we could pass the electrical wire to the front footwell. Attach one end to the binding wire and pull it out towards the front. Make the electrical wire reach upto the bonnet opener lever and take 1/2 foot extra wire for switch connection.
8. Re-seal the front and back foot covers.
9.
Pull open the accessories switch dummy cover with the help of the trim remover tool. Open the lower part of the dashboard by unscrewing 2 screws. Bring the electrical wire that came from the back of the panel.
10.


Take the accessory switch, fit the connector pin at the back, and pull out the 2 electrical wires we bought from the back. Now join the wires as mentioned. Take the ground from the lower end of the dashboard bolt.
Fix the switch on the panel.
11. At the tail light, Splice up a part of the bulb holder harness leading to the parking light bulb. Don’t cut it but only splice it. Join one of the wires that came from the front to it. Don’t use the wire connector now. Just join it manually for testing.
12. Take both the t10 holders and attach the bulb. Join one wire from each holder and connect it to the other wire coming from inside the car. Don’t worry about the polarity. Now take one holder and touch the other open wire to the unpainted part of the car, preferably the hole in which the backlight bolt was fixed. If the bulb doesn’t light up, pull the bulb out and flip it and try again.
13. Now that the bulbs work, bring in the drill machine and carefully drill the required hole at the marked location. Be very careful about slips or the pressure you are applying. You don’t want the drill to hit the cover of the backlight.
14. Once the hole is done, flip the light upside down and blow some air so that the plastic drilled chips can fall down.
15. 
Insert the holder attached to the bulb. If the bulb is bigger than the hole, carefully increase the diameter of the hole so that the bulb will just go in. Don’t increase the hole too much else it will get too big for holder and it will just slide inside.
16. 
Attach a 15-20 cm long wire to the open part of the bulb holder wire and either fix it with the bumper bolt just below the backlight. Attach a ring terminal so that grounding can be used from the bolt, or to the common ground wire which is in the wiring harness by T tap or splicing it. I connected it with the bolt.
17. Take a long wire and attach it to the t10 holder wire, which has current (not the ground one). The wire should be long enough to reach the left taillight.
18. Repeat the steps that require removing the left backlight, drilling the hole and attaching the bulb, and wiring it.
19. Take the ground from the left bumper bolt beneath the backlight. Attach one of the wires from the t10 holders to the wire that came from the right tail lamp.
20. Check to see if everything is working well as intended. If not, reverse the polarity of leds by flipping them.
21. Take fiber tape and apply it for a 10cm length on both wires together, which will be going inside the car from the bulb harness location. Apply a thick layer. Also, neatly wrap the other wires.


22. Apply silicone sealant or hot glue around the t10 connectors so that they are snug and waterproof. Reattach the harness, backlights, and you’re done.
I again apologise for not OEM-level work and I took the pics after work had been completed. I know people can complete this job with a better level of cleanliness and in much better way than I did.
Here are the results-


Now why leave the 800 out? I ordered swift 2nd gen’s rear fog lamps and attached it to lower bumper on the left side. For now its directly connected to tail light. Being at lowest possible height & a filament bulb, it doesn’t glare at other vehicles behind. Will be putting a switch on it later.


My inspiration was this pic of the 1986 Alto GL for the fogs on the 800-

I hope I can contribute more to the forum later on.
Mods, please move this post to the appropriate thread.
All images are sourced from Amazon, Google image search, and my mobile camera.
Thank you

Check out BHPian comments for more insights and information.


