We eventually found out that we also had to loosen the prop shaft to remove the second part of the rubber buffer.
BHPian Jeroen recently shared this with other enthusiasts.
Earlier this week I picked up two exhaust dampers for Peter’s Jaguar XJ6. They are tough to source. You can still get them made from stainless steel. But apart from the price, which is quite ridiculous, they also give a very different sound.
Peter eventually found two second-hand ones at a place very near to us. So I drove over to pick them up. This was quite the workshop!! It’s owned and run by a guy, probably about my age, with his two sons. They deal only in Jaguars and Jaguar parts. It had a lot of stuff for my Jaguar too.
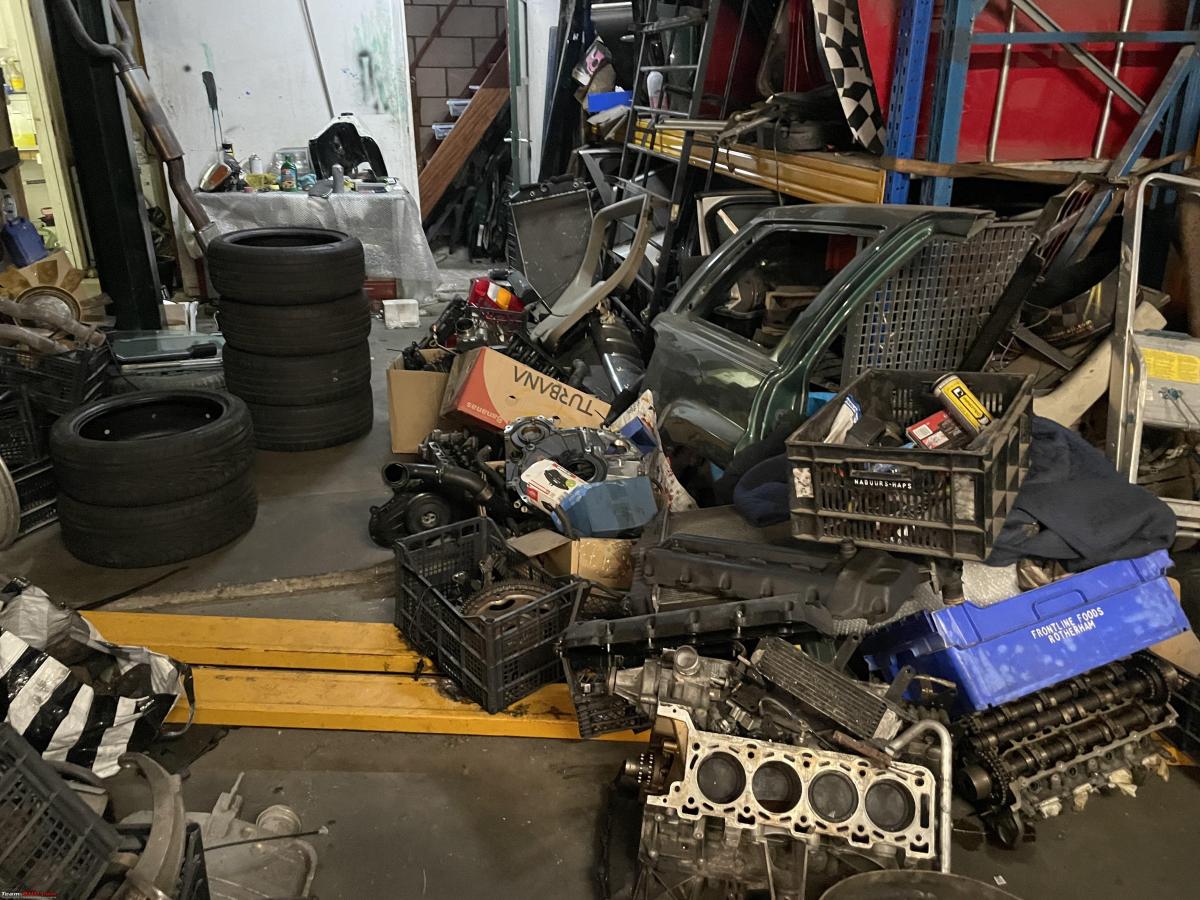
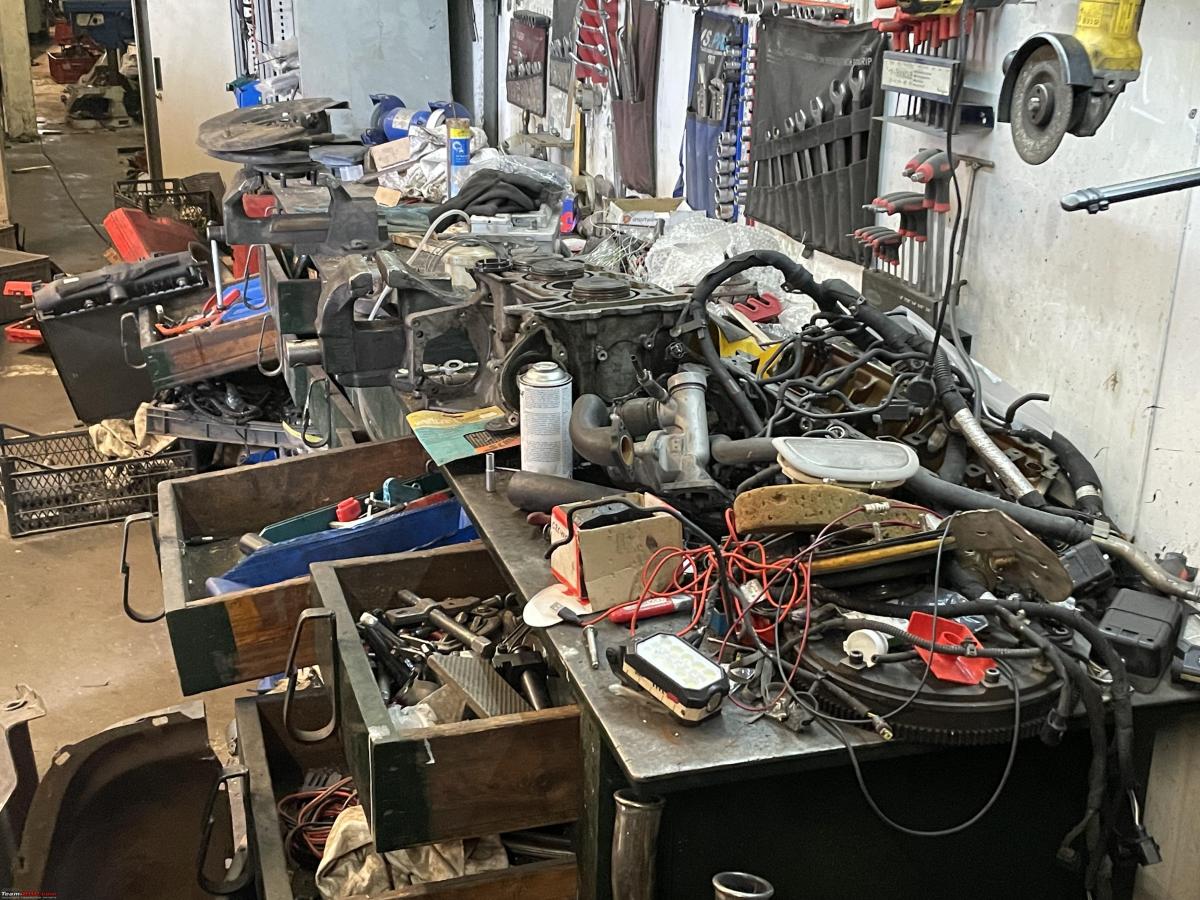

All ready for Peter, including the tools he left last time so I could finish up the Jeep and his change.

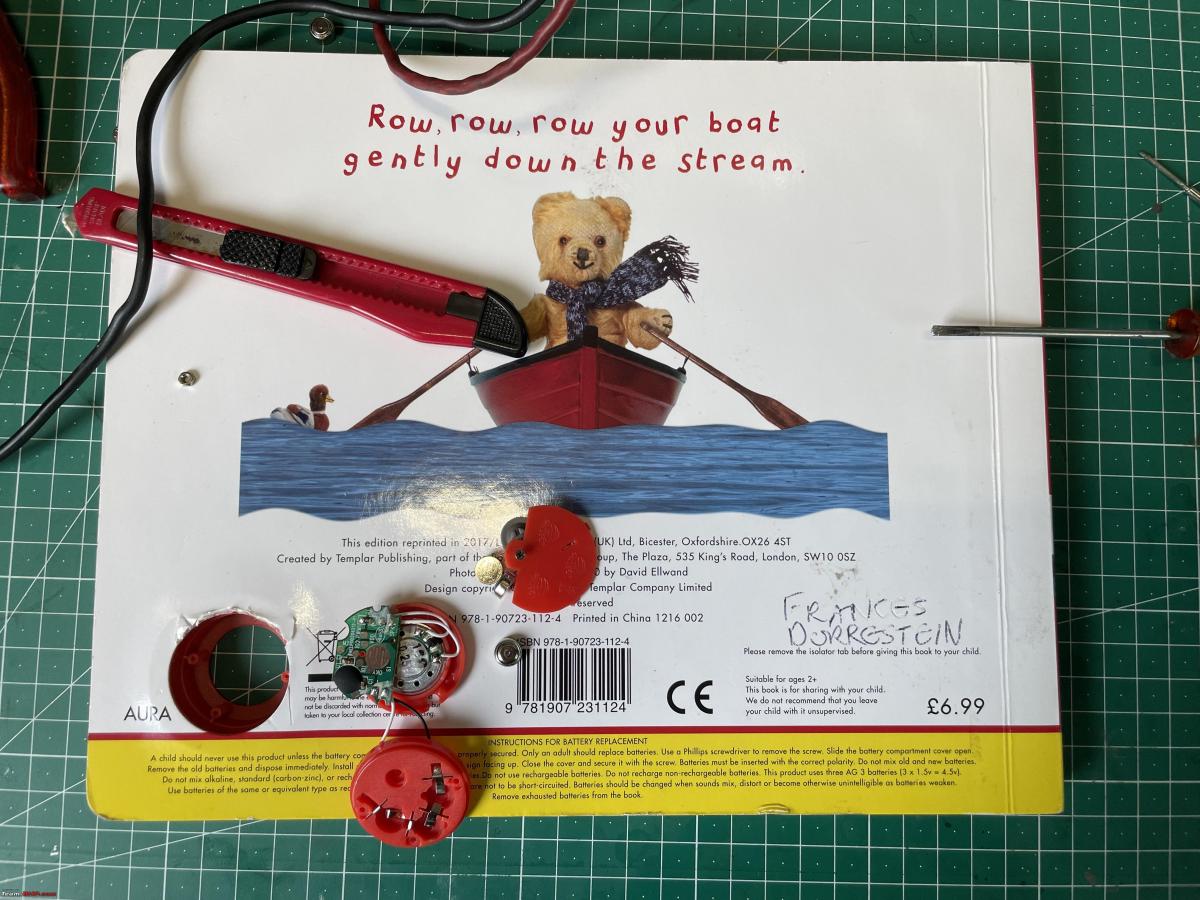
A small, but very important, repair job popped up. Our grandson’s favourite talking/singing book stopped singing!! Opa to the rescue. The batteries needed replacing, but then it still would not sing! So I took the little electronic music box apart, checked and cleaned it, popped it back in and now it works fine again!
Spanner mate Peter came around yesterday to help me change out the trailing arm and Diabolo rubber on the Spider.
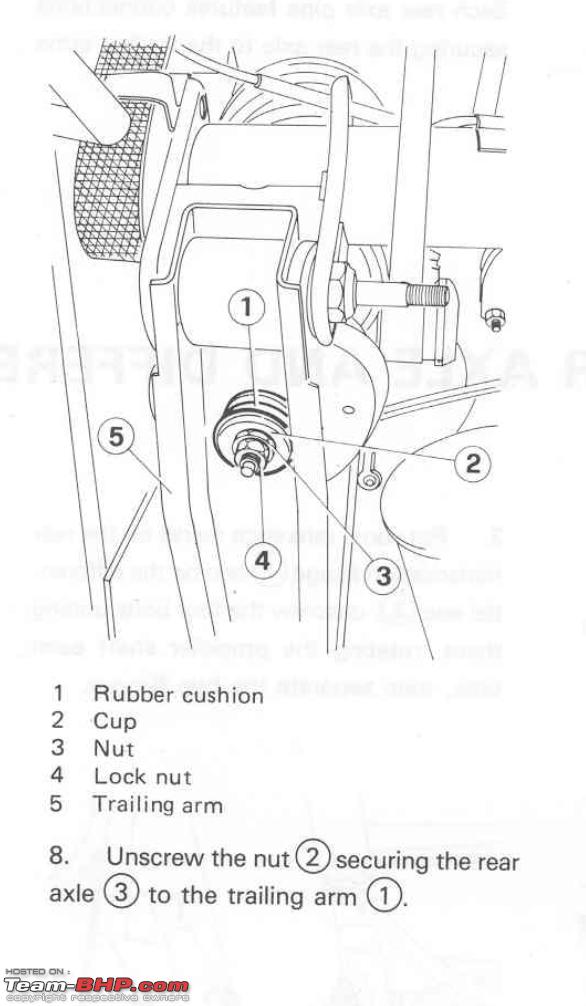
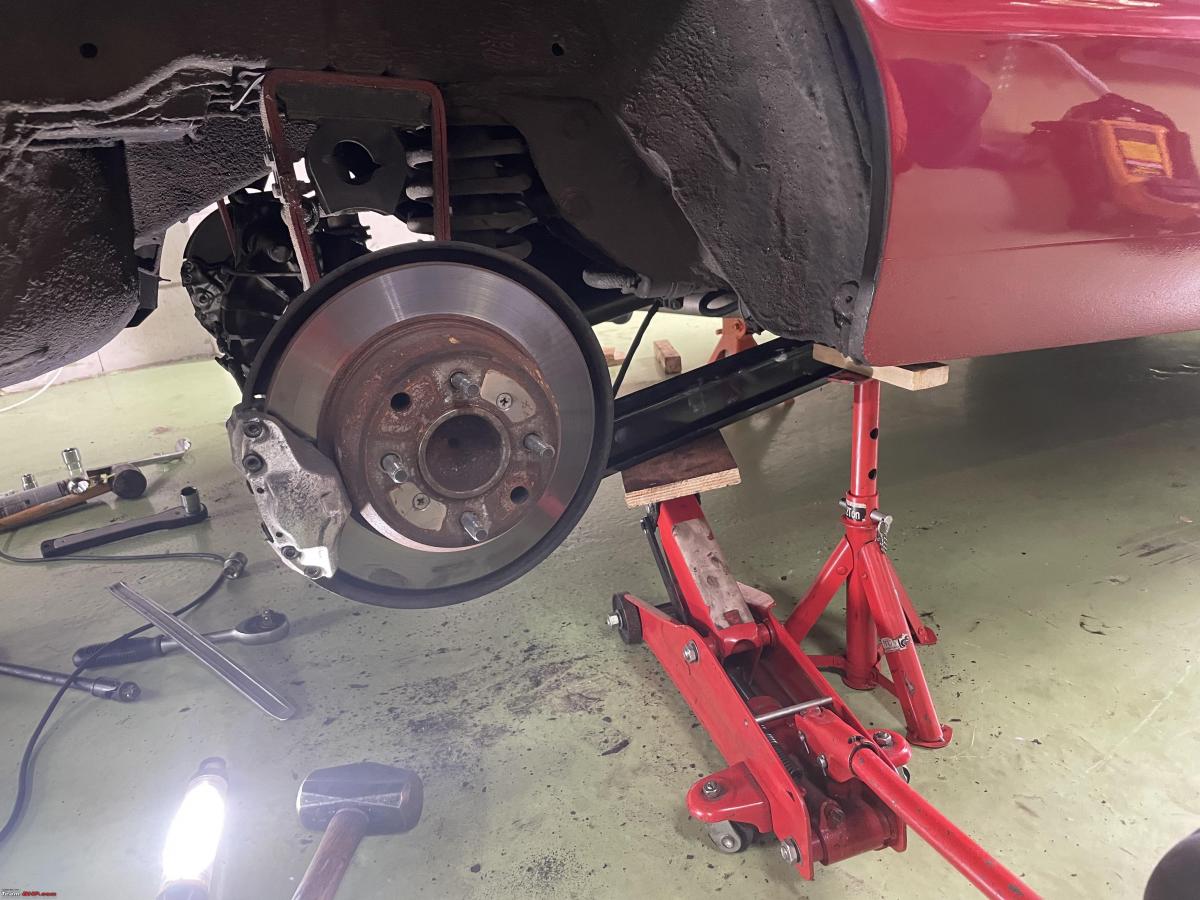
Let’s have a look at the rear suspension of this Spider. Pretty rudimentary. A fixed axle/differential. Two trailing arms and a reaction triangle. The reaction triangle is fixed to the chassis on the far sides and the middle holds on the differential using these buffer rubbers. Because these rubbers look like a Diabolo they are commonly referred to as Diabolo rubbers.


Peter and I replaced the trailing arms and the Diabolos on both our Spiders about 25 years ago. Took us the whole afternoon. So we thought we should be able to do better now. Ideally, you need to have the Spider on a lift. Makes a big difference, but I don’t have one, so we make do with some improvisations.
Moved the Jaguar out of the way and positioned the Spider so we could easily work and walk around it.

First thing. With two jacks we raise the rear of the Spider quite high and put the chassis on axle stands.
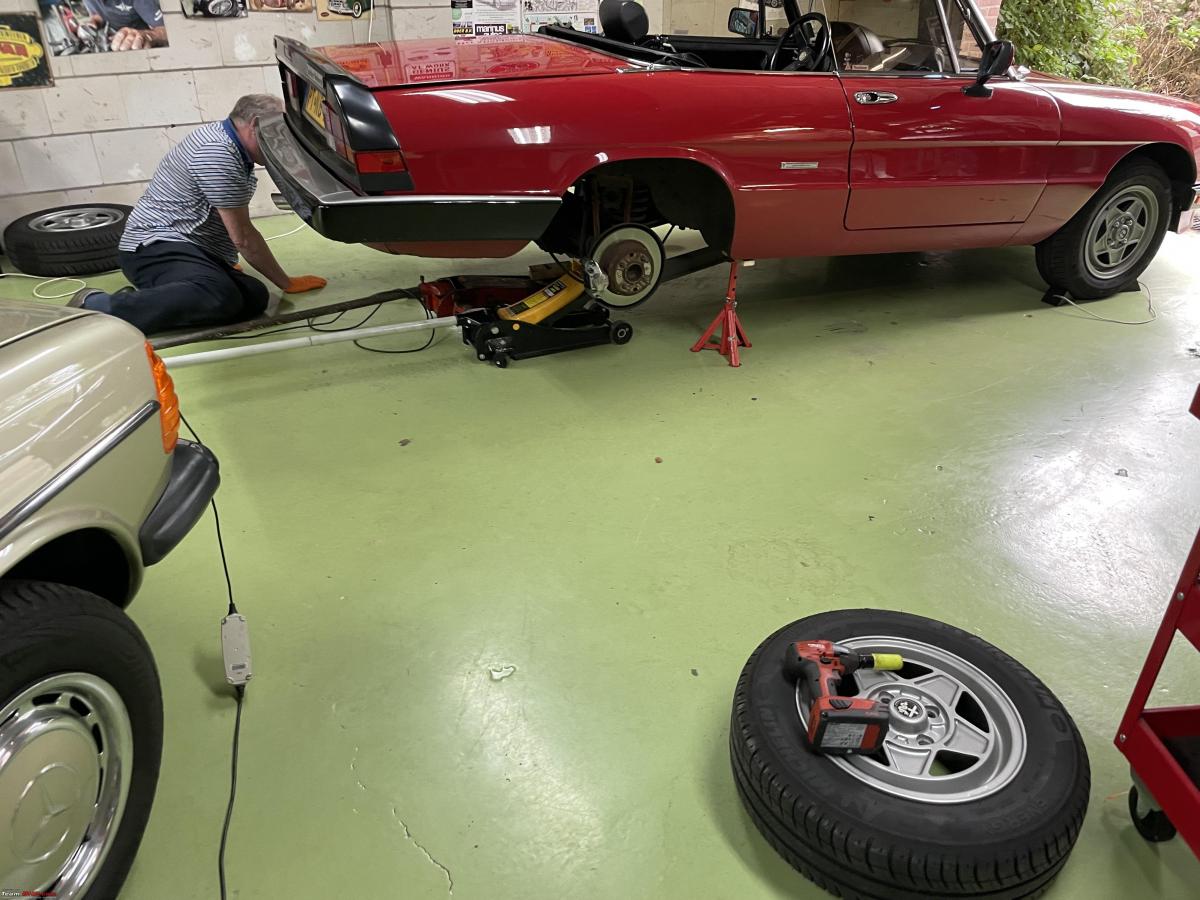
First, we undid the large nut holding the Diabolo in place.

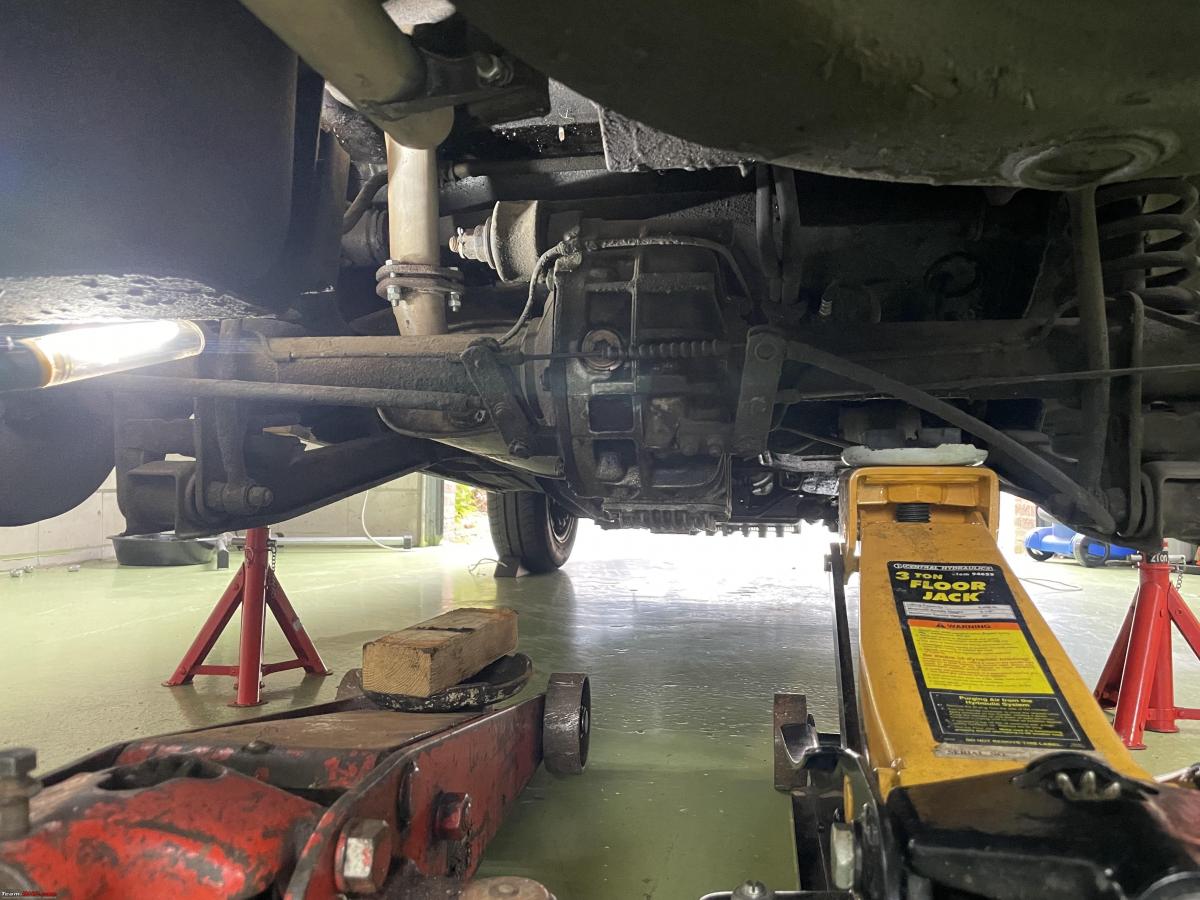
Peter fighting with the cotter pin!

Next, we undid the bolt retaining the shock absorber to the trailing arm.
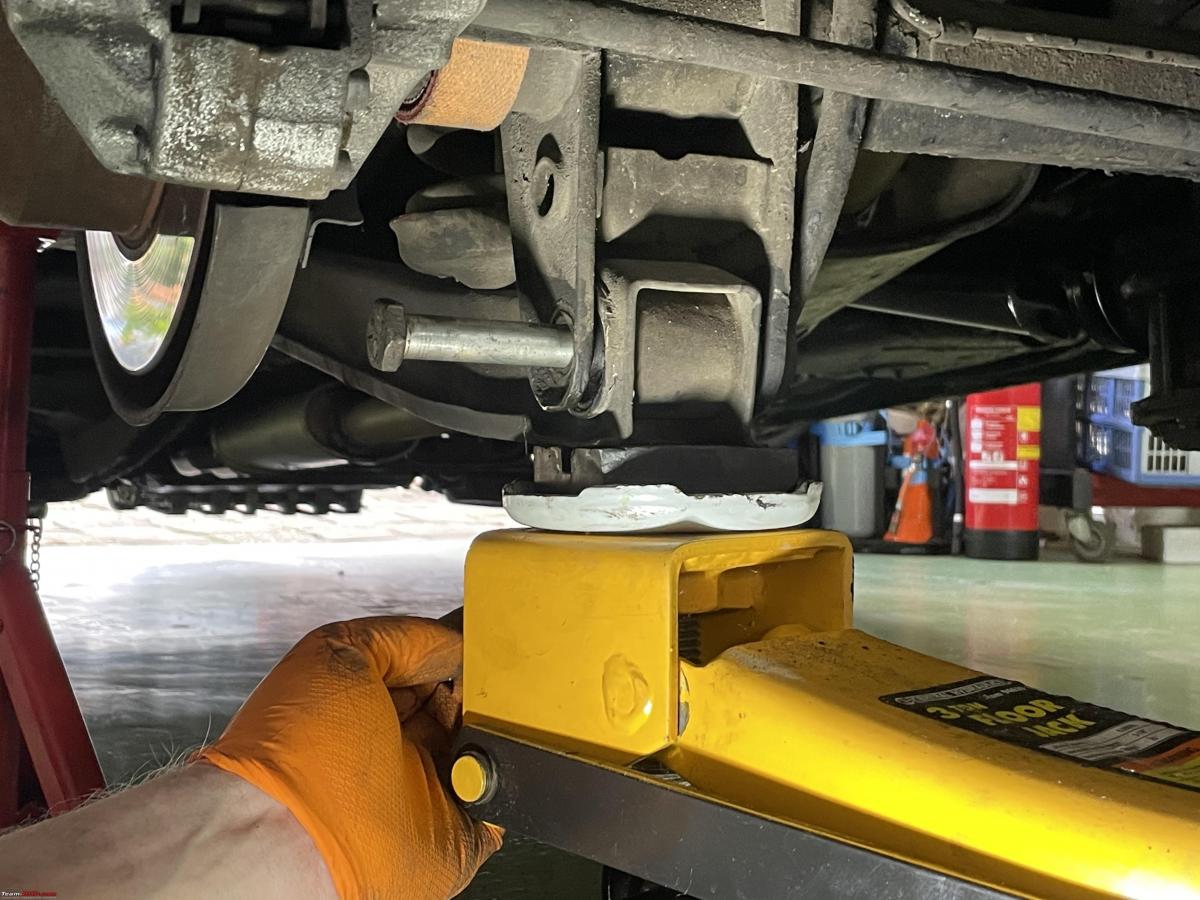
Next, we place a jack underneath the trailing arm (Because it is still compressing the spring!) and undo the large bolt holding it and the stabiliser bar in place.
Next lower the jack carefully, so the spring unloads and then remove the forward bolt holding the trailing arm to the chassis.
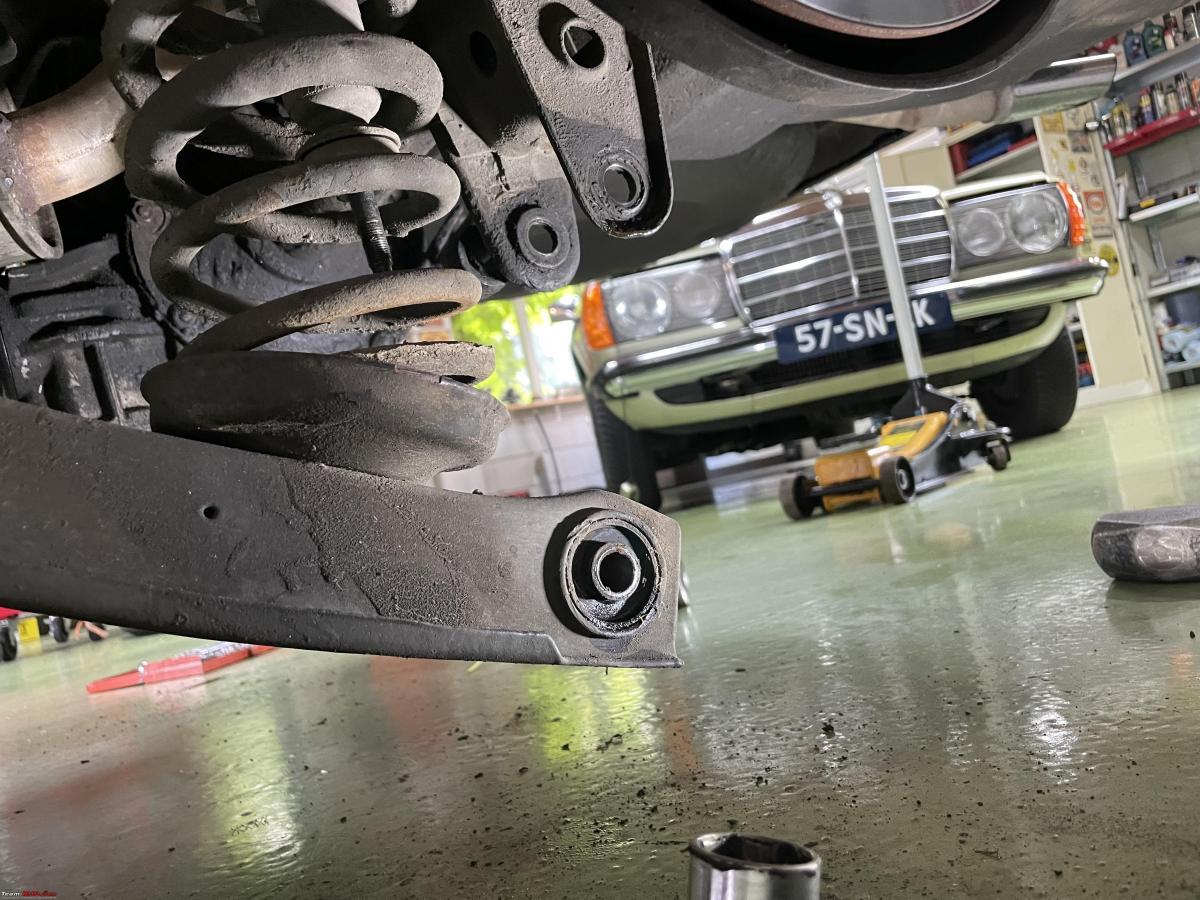
All went pretty smoothly.
With the trailing arm removed, the rear axle and differential hang in the rebound strap. We thought we could just push the whole axle to the right to get the second part of the Diabolo out. We put a jack under the differential for easy manoeuvring, but eventually found we also had to loosen the prop shaft. Always make sure to mark the flanges, because they need to go back together in an identical orientation!!

With the prop shaft disconnected we could easily manipulate the whole rear axle and push it so far to the right we could extract the other Diabolo half.
Here you see that huge bolt on which the diabolos sit held in place the reaction triangle, you see just above.

Peter doing some technical!! At our age, this sort of work is not impossible, but we are not as agile as we used to be. So it does take a bit longer!!

Putting the new trailing arms and the diabolo in is simply a matter of doing all of the above but in reverse order. The trickiest thing is to push the trailing arm back against the spring. We used a few different techniques. You also need to ensure that the spring sits correctly both on the top and bottom parts. It will only fit correctly in one specific orientation.
With everything bolted back on we took the Spider for a quick test drive. Handles a bit tighter and less pulling to the right under heavy braking.
It took us about five hours, start to finish, including two coffee and a lunch break. So we consider that pretty good going for two old gits!
As I showed in an earlier post, the parcel shelf was still removed. We listened very carefully, but no whistling from the new vacuum sensor, so that problem is solved as well!
Peter and I spent some more time going through the various tools and parts we will be taking with us.
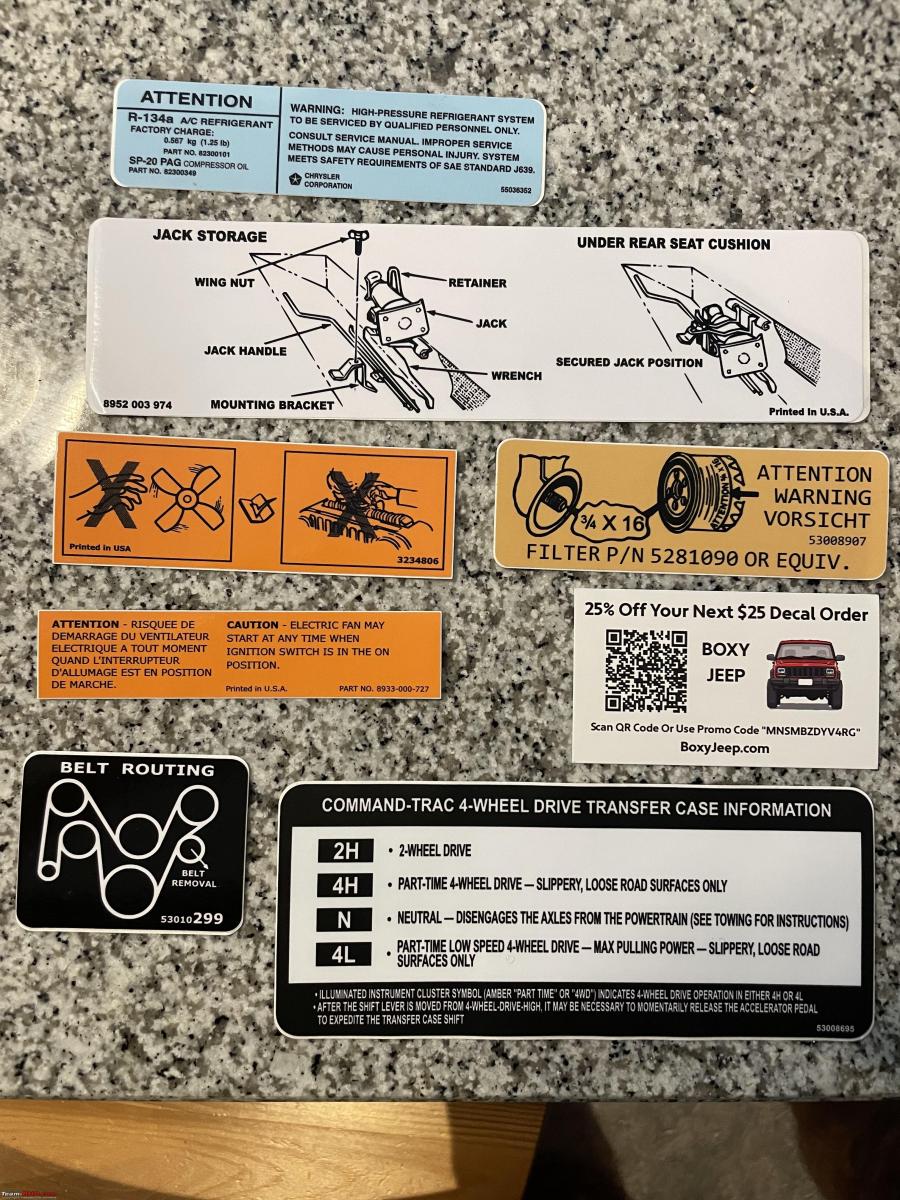
I received this set of decals for my Jeep. These are all the original decals as could be found on a factory-new Jeep. Mine still has a few, in various states of readability. I came across a guy who sells these on Facebook. Ordered them and they look pretty cool!! I will install them in the coming week.
I also picked up this heat gun. I did not have one. This one cost Euro 12 only! Which here in the Netherlands is unbelievably cheap.

This coming week I will start cleaning and preparing the Spider for our Scotland trip!
Check out BHPian comments for more insights and information.

